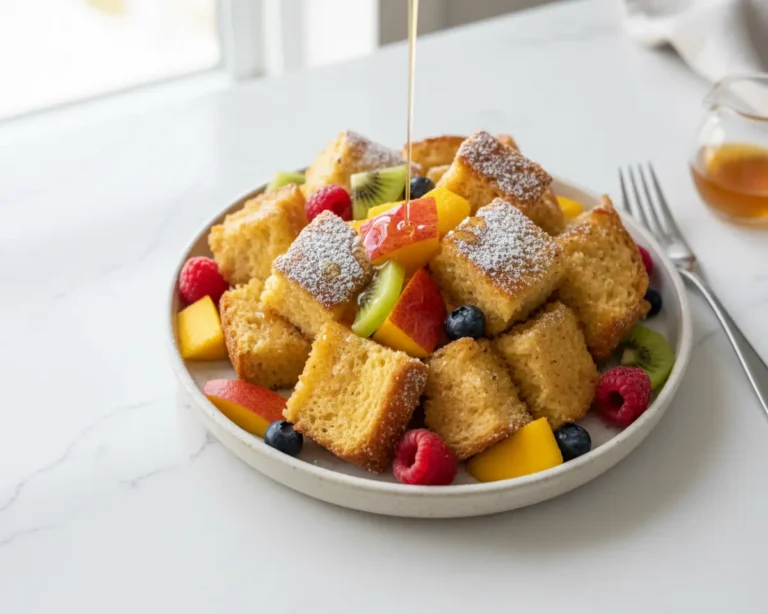
Avalanche Cookies – No Bake & Only 4 Ingredients
Today we’re ditching the oven entirely because these Avalanche Cookies – No Bake & Only 4 Ingredients are the kind of recipe that makes you look like a dessert genius while you’re literally just stirring things together in your pajamas.
Hey there, I’m Claire Whitmore — a pastry whisperer in Asheville, NC, where butter totally counts as self-care.
Honestly, I created these when I realized that not every cookie needs to require three hours, a perfectly calibrated oven, and flour dust in places you didn’t know flour could go. Sometimes the best treats are the ones that come together in under 15 minutes and taste like you actually know what you’re doing.
These crispy-marshmallow-white-chocolate clusters are my go-to when I need something pretty for the holidays, a last-minute gift, or just a Tuesday that needs a little sweetness.
They’re perfect alongside other festive bites like my Christmas fruit wreath appetizer or even as a gift with homemade gingerbread house icing. And the best part? Your kitchen won’t feel like it was hit by a baking tornado.
What This Recipe Delivers
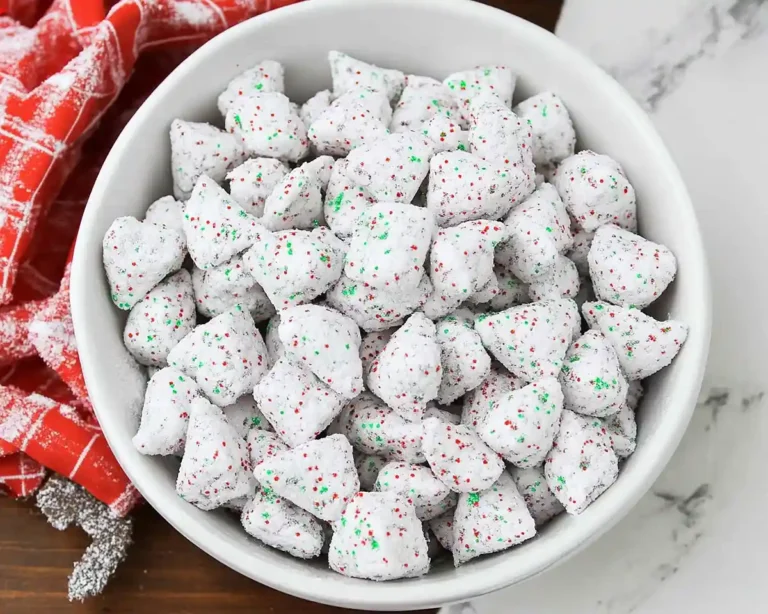
No-bake avalanche cookies are crispy rice and marshmallow clusters coated in melted white chocolate and peanut butter, ready in just 15 minutes with zero oven time.
Perfect for busy moms, holiday cookie platters, and anyone who wants that “I made this myself” moment without the stress. Just four ingredients, a microwave, and a fridge — that’s literally all you need.
Why You’ll Love This Recipe 🌸
- This no-bake avalanche cookie recipe takes less time than folding laundry and looks like you spent hours in the kitchen.
- Four ingredients. Seriously. If you can find butter, marshmallows, rice cereal, and white chocolate, you’re already winning.
- No oven required — just a microwave and about 10 minutes of stirring, which is honestly pretty therapeutic.
- According to King Arthur Baking’s guide to no-bake desserts, the simplest recipes are often the most impressive to share — and this avalanche cookie proves exactly why.
Quick Facts ⚡
Here’s the quick scoop on these no-bake avalanche cookies.
- CourseDessert
- Prep Time10 minutes
- Chill Time30-60 minutes
- Total Time45 minutes
- Servings24 cookies
- DifficultyEasy
Table of Contents
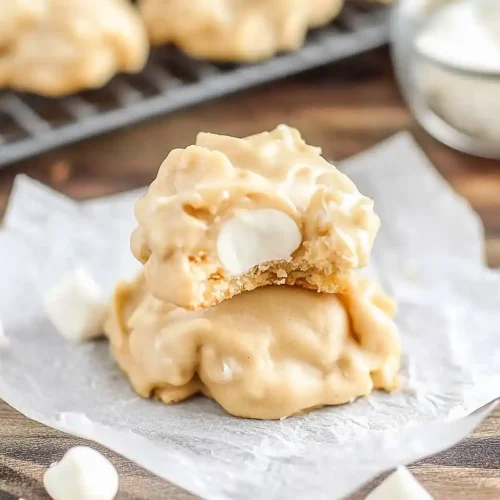
Avalanche Cookies – No Bake & Only 4 Ingredients
Equipment
- Large mixing bowl
- Heat-proof bowl
- Microwave
- Stirring spoon or spatula
- Cookie sheets
- Wax paper or parchment paper
- Tablespoon or cookie scoop
- Airtight container
Ingredients
Main Ingredients
- 2 cups Crispy rice cereal
- ½ cup Mini marshmallows
- 1 lb White chocolate chips Real white chocolate
- ½ cup Creamy peanut butter
Instructions
- Line two cookie sheets with wax paper or parchment paper. This is your landing pad for all those gorgeous little clusters, and parchment makes cleanup feel like a breeze.
- Toss the 2 cups of crispy rice cereal and 1/2 cup of mini marshmallows together in a large bowl. You want them evenly mixed so every cluster gets a little marshmallow sweetness and crunch.
- Add the 1/2 cup peanut butter and 1 lb white chocolate chips to a large heat-proof bowl. Microwave on medium power (about 6–8 if your microwave goes to 10) for 45 seconds. Remove and stir well.
- If the white chocolate isn’t fully melted, microwave for another 30 seconds and stir again. Repeat until it’s almost melted, then remove from the microwave and stir until smooth and glossy. Don’t rush this — slow and steady wins the melting game.
- Pour that silky peanut butter-white chocolate mixture into the bowl with your cereal and marshmallows. Stir gently but thoroughly to coat everything evenly. You want every piece dressed in that creamy goodness.
- Drop tablespoon-sized clusters onto your lined cookie sheets. They don’t need to be perfect — rustic is charming, remember?
- Pop everything in the fridge for 30–60 minutes until the chocolate is completely set. You’ll know they’re ready when they’re firm to the touch and don’t squish when you press them gently.
- Transfer to an airtight container and store in the fridge or at room temperature. They’ll keep for up to two weeks.
Notes
Nutritional Peek

| Nutrient | Per Cookie |
|---|---|
| Calories | 145 |
| Protein | 2.5g |
| Carbohydrates | 14g |
| Fat | 8.5g |
| Sugar | 12g |
Ingredients for Easy No-Bake Almond Snowball Cookies
For these avalanche no-bake cookies, you’re working with just four simple categories: the crispy base (rice cereal and mini marshmallows), the rich binding duo (peanut butter and white chocolate chips), and that’s genuinely it.
Each ingredient does its job without drama — the cereal adds crunch, the marshmallows bring air and sweetness, the peanut butter acts as the glue, and the white chocolate creates that beautiful shell. The beauty here is that these ingredients are probably already hiding in your pantry.
| Amount | Ingredient |
|---|---|
| 2 cups | Crispy rice cereal |
| 1/2 cup | Mini marshmallows |
| 1 lb | White chocolate chips (yes, real white chocolate — the stuff is magic) |
| 1/2 cup | Creamy peanut butter |
Equipment You’ll Actually Use
- Large mixing bowl (or two)
- Heat-proof bowl (for melting chocolate)
- Microwave
- Stirring spoon or spatula
- Cookie sheets or baking trays
- Wax paper or parchment paper
- Tablespoon or small cookie scoop (optional but helpful)
- Airtight container (for storage)
Step-by-Step Instructions for No-Bake Avalanche Cookies
Step 1: Prep Your Station Line two cookie sheets with wax paper or parchment paper. This is your landing pad for all those gorgeous little clusters, and parchment makes cleanup feel like a breeze.
Step 2: Combine Your Crispy Base Toss the 2 cups of crispy rice cereal and 1/2 cup of mini marshmallows together in a large bowl. You want them evenly mixed so every cluster gets a little marshmallow sweetness and crunch.
Step 3: Melt the Magic Add the 1/2 cup peanut butter and 1 lb white chocolate chips to a large heat-proof bowl. Microwave on medium power (about 6–8 if your microwave goes to 10) for 45 seconds. Remove and stir well.
Step 4: Keep Going (Patience, Friend) If the white chocolate isn’t fully melted, microwave for another 30 seconds and stir again. Repeat until it’s almost melted, then remove from the microwave and stir until smooth and glossy. Don’t rush this — slow and steady wins the melting game, and you’ll avoid burned edges.
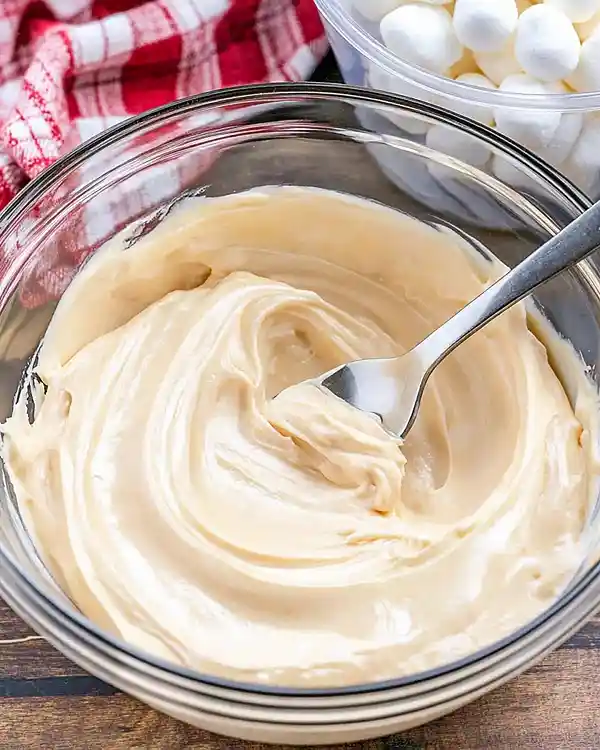
Step 5: Bring It Together Pour that silky peanut butter-white chocolate mixture into the bowl with your cereal and marshmallows. Stir gently but thoroughly to coat everything evenly. You want every piece dressed in that creamy goodness.
Step 6: Scoop and Drop Drop tablespoon-sized clusters onto your lined cookie sheets. They don’t need to be perfect — rustic is charming, remember?
Step 7: Chill and Set Pop everything in the fridge for 30–60 minutes until the chocolate is completely set. You’ll know they’re ready when they’re firm to the touch and don’t squish when you press them gently.
Step 8: Store and Enjoy Transfer to an airtight container and store in the fridge or at room temperature. They’ll keep for up to two weeks (if they last that long, which, let’s be honest, they won’t).
Claire’s Pro Tips & Gentle Guidance
Making no-bake avalanche cookies is truly forgiving, but here are a few little secrets I’ve learned along the way to make them even better.
Microwave Power Matters Different microwaves have different moods, so start with less time rather than more. You can always heat a little longer, but you can’t un-burn white chocolate. Medium power is your friend here — it’s gentle and gives you way more control.
Room Temperature Peanut Butter Works Best If your peanut butter is cold, it’ll seize up when it meets the melted chocolate. Let it sit out for a few minutes first, and everything will blend like butter. Literally.
Don’t Skip the Parchment Paper I know it seems like an extra step, but trust me — it saves your sanity during cleanup and keeps the bottoms from sticking to your cookie sheet. Plus, your clusters will pop right off once they’re set.
Marshmallow Size Matters Too Stick with mini marshmallows, not the full-size ones. Mini marshmallows melt slightly into the mixture and create that perfect chewy texture, while big ones just sit there like little pillows.
Pro Tip from the Kitchen According to Martha Stewart’s detailed chocolate-melting techniques , melting chocolate slowly and with patience always beats rushing it — and these no-bake clusters are the perfect proof of that wisdom.
Quick Fixes for No-Bake Avalanche Cookies (Troubleshooting Guide)
Problem: The White Chocolate Won’t Melt Smoothly Your microwave might be too powerful, or you’re heating for too long. Lower the power setting to 5–6 and stir more frequently. If it’s already grainy, add a tiny splash of coconut oil or shortening (not butter) and stir gently — it usually comes back.
Problem: The Clusters Are Too Soft and Won’t Hold Their Shape Your chocolate didn’t set long enough in the fridge, or your kitchen is really warm. Pop them back in the fridge for another 15–30 minutes, or stick them in the freezer for 10 minutes if you’re impatient (like me).
Problem: They’re Too Hard and Taste Like You’re Biting Through a Brick You might have overheated the white chocolate or chilled them too long. Try storing at room temperature next time instead of the fridge — they’ll stay firm but stay creamy. Also, make sure you’re not using compound coating instead of real white chocolate; it sets way harder.
Problem: The Marshmallows Are Floating to the Top The mixture cooled slightly before you scooped it, making it thicker. Next time, work quickly after combining everything, or gently reheat the mixture for 20 seconds and stir before scooping.
If this recipe made your day, you’re in for a treat. The full Cookies & Brownies guide is filled with tried-and-true favorites that real home cooks swear by. Trust me, you won’t be able to pick just one.
Variations & Fun Twists on Easy No-Bake Cookies
Dark Chocolate Avalanche Swap half the white chocolate for dark chocolate chips for a more sophisticated, slightly less sweet version. The contrast is absolutely stunning.
Holiday Sprinkle Edition After dipping in chocolate but before it fully sets, add a tiny pinch of festive sprinkles or crushed candy canes. So pretty, and honestly feels fancy.
Almond Butter Version Use creamy almond butter instead of peanut butter for a slightly more delicate flavor. Works beautifully if anyone has peanut allergies at your gathering.
Gluten-Free & Naturally Vegan Option Swap regular rice cereal for a certified gluten-free version, and use vegan white chocolate chips with vegan peanut butter. Everything else stays the same — it’s that easy.
Rustic Peanut Clusters Skip the marshmallows and add roasted peanuts instead. Different texture, same kind of delicious.
Serving, Storage & Reheating Your Avalanche Cookies
Serving Suggestions Present these beauties on a pretty platter and watch them disappear. They’re perfect for holiday parties, cookie swaps, or just because you deserve something sweet. Serve at room temperature for the best texture and flavor — they’re creamy and delicious that way.
Storage for Maximum Freshness If you actually have leftovers (which I doubt), store them in an airtight container at room temperature for up to 10 days. Or keep them in the fridge for up to two weeks if you want them a little firmer. They’ll stay fresh either way, though they’re honestly best enjoyed within the first few days while they’re still perfectly creamy.
No Reheating Needed These are ready to eat straight from storage — no reheating required. But if you’ve been storing them in the fridge and want them a touch softer, just let them sit at room temperature for 5 minutes before diving in.
No-Waste Kitchen Magic
Leftover Marshmallows? Toss them into hot chocolate, toast them over a campfire, or crush them into homemade trail mix. They’re endlessly useful.
Extra Peanut Butter If you have some left over, it’s already your best friend in the kitchen — stir it into oatmeal, spread it on apples, or make a quick peanut butter sauce for desserts.
Day-Old Cereal? Seriously stale cereal is actually perfect for this recipe because it doesn’t soften as much in the chocolate mixture. Use it up!
Avalanche Cookies – No Bake & Only 4 Ingredients FAQs
Can I freeze no-bake avalanche cookies?
Absolutely! Freeze them in an airtight container for up to three months. Just thaw at room temperature for about 15 minutes before eating — they’ll be back to their creamy, delicious self.
What if I don’t have a microwave?
Use a double boiler instead. Fill a pot with a little water, set a heat-proof bowl on top (making sure it doesn’t touch the water), and gently melt the peanut butter and white chocolate over low heat, stirring occasionally. Same result, just a little more old-school.
How do I know when the white chocolate is fully melted?
It should be smooth and glossy with no visible chunks. If you see little bits that won’t stir away, give it one more quick 20-second microwave burst and stir again.
Can I use milk chocolate instead of white chocolate?
Sure, but the flavor profile changes — milk chocolate is sweeter and darker, which shifts the whole vibe. White chocolate lets the peanut butter and cereal shine. That said, do what makes you happy!
Why are mine grainier than the picture?
Overheating is usually the culprit. Next time, use lower power and stir more often. You can also add a tiny bit of coconut oil to rescue a batch that’s already grainy.
What’s the best way to store these if I’m gifting them?
Layer them in a pretty box or jar with parchment paper between each layer. Store in a cool place, and they’ll look like you spent way more time than you actually did. That’s the whole point, really.
Can I make these dairy-free?
Use dairy-free white chocolate chips (some brands are surprisingly good) and any dairy-free peanut butter. Everything else stays the same, and honestly? Nobody would ever know.
Your Turn to Make Magic
I’d love to see your spin on these no-bake avalanche cookies! Drop a comment below with your photos — I’d genuinely love to see how you made them your own. Maybe you added sprinkles, or tried the almond butter version, or invented something totally new.
This recipe is so beautifully simple that it begs for your personal touch, and I bet you’ve already got amazing variations swirling around in your head.
I’m Claire Whitmore — a dessert daydreamer from Asheville, NC. For me, baking isn’t about perfect pastries — it’s about the joy of sharing something sweet (and maybe sneaking an extra scoop of chocolate between batches).
These no-bake avalanche cookies? They’re proof that sometimes the simplest recipes are the ones that bring the most happiness to your table.