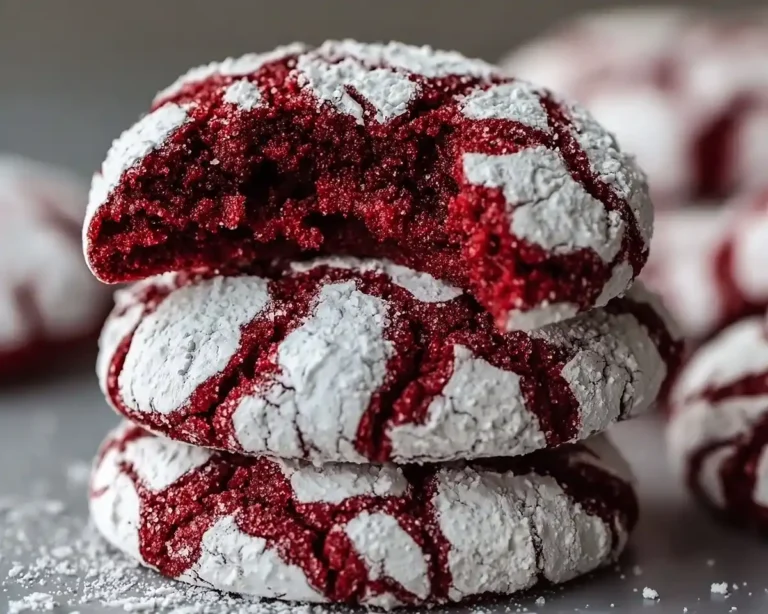
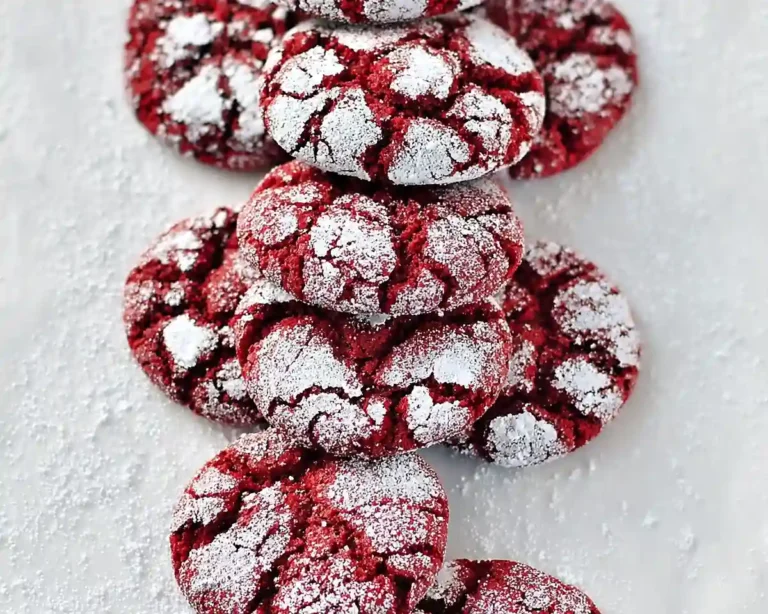
Soft Cut-Out Sugar Cookies
Soft cut-out sugar cookies are my love language, and I’m about to share why these beauties beat any store-bought option by a mile.
This recipe delivers tender, cloud-like cookies with crispy edges, simple ingredients you probably have on hand, minimal hands-on time, and a canvas for all your holiday decorating dreams.
I’ve been making these cookies for holiday parties, cookie swaps, and just because Wednesdays need sugar for about seven years now. The magic isn’t in complicated steps or fancy equipment—it’s in knowing exactly when to chill, how much to cream, and why that extra egg yolk stays the secret in my back pocket. Let me walk you through it.
What This Recipe Delivers
These soft cut-out sugar cookies are buttery, tender-crumbed, and stay soft for days thanks to the perfect ratio of sugar to flour and a touch of almond extract. Ready in about 3 hours (mostly hands-off chilling time), they’re beginner-friendly but impressive enough for gift-giving. Whether you’re decorating them with royal icing or keeping them plain, they’re the foundation for cookie magic.

Why You’ll Love This Recipe 🌸
- This soft cut-out sugar cookie recipe takes less time than folding laundry, and the payoff is SO much sweeter.
- Your cookies stay pillowy-soft for days, even without special ingredients or fussy techniques.
- They’re the perfect blank canvas for decorating—whether you’re a royal-icing artist or a “slap some sprinkles on it” baker.
- According to King Arthur Baking’s guide to achieving tender sugar cookies, the key to softness is in the cream-and-chill technique — and this recipe nails that approach.
Quick Facts ⚡
Here’s the quick scoop on this soft cut-out sugar cookie recipe.
- Course Dessert
- Prep Time 15 minutes
- Chill Time 1-2 hours
- Bake Time 8-10 minutes
- Total Time 2.5-3 hours (mostly hands-off)
- Yield 24-30 cookies
- Difficulty Easy
Table of Contents

Soft Cut-Out Sugar Cookies
Equipment
- Mixing bowls
- Electric mixer
- Measuring cups and spoons
- Whisk
- Parchment paper
- Rolling Pin
- Cookie cutters
- Baking sheets
- Wire cooling racks
- Piping bag and tips
Ingredients
Sugar Cookie Dough
- 2¾ cups All-purpose flour
- 1 teaspoon Baking powder
- ½ teaspoon Salt
- ¾ cup Salted butter softened at room temperature
- 1 cup Granulated sugar
- 2 large Eggs at room temperature
- 1 teaspoon Vanilla extract
- ½ teaspoon Almond extract optional, or substitute more vanilla
Icing (Optional)
- 3 cups Powdered sugar sifted
- 3-4 tablespoons Milk
- 2 tablespoons Light corn syrup
- ½ teaspoon Vanilla extract
- Gel food coloring optional
Instructions
- Whisk together flour, baking powder, and salt in a large bowl. Set aside.
- Cream butter and sugar together for 3–4 minutes until light and fluffy.
- Add eggs one at a time, then mix in vanilla and almond extracts until smooth.
- Gradually fold dry ingredients into the wet mixture until a soft dough forms. Do not overmix.
- Divide dough in half, roll between parchment sheets to ¼-inch thickness, and chill for 1–2 hours.
- Preheat oven to 375°F (190°C). Line baking sheets with parchment paper.
- Cut chilled dough into shapes and bake 8–10 minutes until edges are just golden.
- Cool cookies 5 minutes on the sheet, then transfer to wire racks to cool completely.
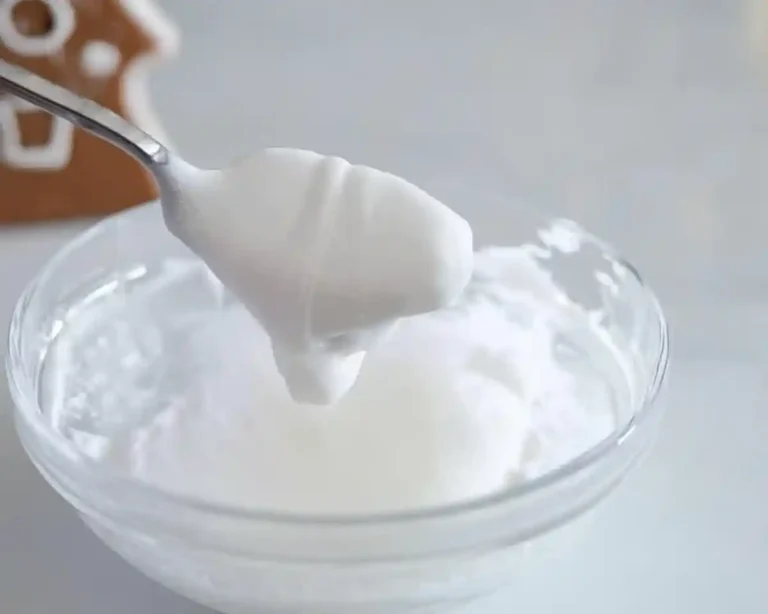
- For icing, mix powdered sugar, milk, corn syrup, and vanilla until smooth. Color and decorate cooled cookies as desired.
Notes
Nutritional Peek
| Nutrient | Amount per Cookie |
|---|---|
| Calories | 95 kcal |
| Protein | 1.2g |
| Carbs | 12.5g |
| Fat | 4.5g |
| Fiber | 0.1g |
| Sugar | 8g |
Ingredients for Soft Sugar Cookies
Making soft cut-out sugar cookies is all about temperature and technique. For the wet ingredients—softened butter, eggs, and extracts—they need to be at room temperature so they cream together into a fluffy cloud. For the dry mix of flour, baking powder, and salt, you’ll want to whisk them together gently to avoid overworking the dough.
| Amount | Ingredient |
|---|---|
| 2¾ cups | All-purpose flour |
| 1 teaspoon | Baking powder |
| ½ teaspoon | Salt |
| ¾ cup | Salted butter, softened at room temperature (yes, room temp—this makes all the difference) |
| 1 cup | Granulated sugar |
| 2 large | Eggs, at room temperature |
| 1 teaspoon | Vanilla extract |
| ½ teaspoon | Almond extract (optional—use more vanilla if you skip it) |
For the Icing (Optional):
| Amount | Ingredient |
|---|---|
| 3 cups | Powdered sugar, sifted |
| 3-4 tablespoons | Milk |
| 2 tablespoons | Light corn syrup |
| ½ teaspoon | Vanilla extract |
| — | Gel food coloring (optional) |
Equipment You’ll Actually Use
- Two large mixing bowls
- Electric mixer (or strong arms and a whisk)
- Measuring cups and spoons
- Whisk
- Parchment paper
- Rolling pin
- Cookie cutters (any shapes you love)
- Baking sheets
- Wire cooling racks
- Piping bag and tips (optional, for icing details)
Step-by-Step Instructions for Soft Cut-Out Sugar Cookies
Step 1: Prepare Your Dry Ingredients In a large bowl, whisk together 2¾ cups all-purpose flour, 1 teaspoon baking powder, and ½ teaspoon salt until evenly combined. Set aside—this prevents lumps and helps your cookies rise evenly.
Step 2: Cream the Butter and Sugar In another large bowl, beat ¾ cup softened salted butter and 1 cup granulated sugar with an electric mixer on medium speed for 3-4 minutes until the mixture is light, fluffy, and pale (think whipped cloud texture). This is where the softness begins—you’re incorporating air into the dough.
Step 3: Add Eggs and Extracts Add 2 room-temperature eggs one at a time, beating well after each addition. Stir in 1 teaspoon vanilla extract and ½ teaspoon almond extract, mixing until everything is smooth and combined. If your mixture looks a bit curdled, don’t panic—it’ll come together once you add the dry ingredients.
Step 4: Combine Wet and Dry Gradually fold the dry ingredient mixture into the wet ingredients using a spatula or wooden spoon, stirring until a soft dough just forms. Don’t overmix—you want tender cookies, not tough ones.
Step 5: Roll and Chill Divide the dough into two equal portions. Working with one portion at a time, roll the dough to ¼-inch thickness between two pieces of parchment paper. Transfer to a baking sheet, cover loosely with plastic wrap, and refrigerate for at least 1-2 hours (or up to overnight). Chilling is non-negotiable here—it prevents spreading and keeps your shapes crisp.
Step 6: Preheat and Prep About 15 minutes before baking, preheat your oven to 375°F (190°C). Line two baking sheets with parchment paper or silicone mats.
Step 7: Cut and Bake Remove one portion of chilled dough from the fridge. Using your favorite cookie cutters, cut shapes and arrange them on your prepared baking sheets, spacing them about 2 inches apart. Bake for 8-10 minutes, until the edges just start to turn golden but the centers still look slightly underbaked—this is the secret to softness! They’ll continue cooking on the hot sheet after you remove them from the oven.
Step 8: Cool Like a Pro Let the cookies cool on the baking sheet for 5 minutes, then gently transfer them to wire racks to cool completely. This prevents them from becoming too crispy and keeps that tender crumb.
Step 9: Decorate (Optional) For the icing: mix 3 cups sifted powdered sugar, 3-4 tablespoons milk, 2 tablespoons light corn syrup, and ½ teaspoon vanilla extract until smooth and pourable. Divide into bowls and add gel food coloring as desired. Spread or pipe onto cooled cookies and let set for 30 minutes to a few hours before serving or storing.
Claire’s Pro Tips & Gentle Guidance
Here’s where I’m going to share the little secrets I’ve learned from making dozens of batches of these beauties. These tips aren’t just nice-to-knows—they’re the difference between cookies that are just okay and cookies that make people ask for your recipe.
Room Temperature Is Everything Butter, eggs, and everything else really do need to be at room temperature. Cold eggs and butter won’t incorporate smoothly, and you’ll end up with dense, tough cookies instead of fluffy clouds. I leave my ingredients on the counter for at least 30 minutes before baking.
Don’t Skip the Chill I know it’s tempting to skip this step, but chilled dough is what keeps your shapes crisp and prevents excessive spreading. I usually prep my dough the night before and chill it overnight—bonus: less stress on baking day.
Watch the Bake Time Closely The difference between soft and hard cookies is literally 1-2 minutes. Your cookies should have golden edges but still look slightly underbaked in the center when you pull them from the oven. They’ll firm up as they cool on the sheet.
Almond Extract Is the Secret Weapon That tiny bit of almond extract adds a depth of flavor you can’t quite put your finger on—guests always ask what’s in them. If you don’t have it, more vanilla works, but give the almond a try if you can.
Use Real Butter According to King Arthur Baking’s trusted resource on baking with butter, the fat content and flavor profile of real butter are irreplaceable for tender, flavorful cookies. Margarine just won’t deliver the same results.
This recipe is just the beginning. Over in the Cookies & Brownies collection, you’ll find even more dishes that are just as easy and packed with flavor. Go take a peek — your next favorite is waiting.
Quick Fixes for Soft Cut-Out Sugar Cookies
Problem: Cookies are spreading too much This usually means your dough wasn’t chilled long enough or your oven temperature is off. Make sure to chill for at least 1-2 hours, and use an oven thermometer to verify your temperature—ovens can be deceiving!
Problem: Cookies are hard and crispy You’ve likely overbaked them. Remove them when the edges are golden but the centers still look slightly soft—they’ll firm up as they cool. Set a timer and check at 8 minutes for smaller cookies, 10 for larger ones.
Problem: Edges brown too quickly but centers stay raw Your oven might be running hot, or you’re baking too many cookies at once and crowding the sheet. Try lowering the temperature by 25°F, or bake one sheet at a time in the center rack position.
Problem: Dough is too sticky to roll Add 1-2 tablespoons more flour to the dough if it feels too soft. You want it firm enough to roll but still soft—not stiff or dry. If you’ve already mixed it, chill it longer before rolling.
Problem: Cookies stick to the cutter Dip your cookie cutters in flour between cuts, or use cookie cutters with a built-in ejector. Cold dough is less sticky, so make sure your dough stays chilled while you’re cutting.
Variations & Fun Twists
Holiday Flavor Swaps Swap half the vanilla for 1 teaspoon peppermint extract for festive peppermint cookies, or add ½ teaspoon lemon zest for bright, citrusy sugar cookies that shine in spring.
Chocolate-Dipped Edges Once your cookies are baked and cooled, dip the edges in melted dark or white chocolate. It’s an easy way to make them look fancy without extra icing work.
Gluten-Free Option Replace the all-purpose flour with a 1:1 gluten-free flour blend (like Bob’s Red Mill). You may need to add 1-2 tablespoons extra flour since gluten-free blends absorb liquid differently.
Brown Butter Magic Brown your butter before creaming it with sugar for a deeper, nuttier flavor. Let it cool completely first, then proceed as normal.
Serving, Storage & Reheating
Serving Suggestions Serve these beauties plain, decorated with royal icing, dusted with sparkling sugar, or even drizzled with melted chocolate. They’re perfect on a dessert table, packaged as gifts, or crumbled into ice cream.
Storage Store cooled, undecorated cookies in an airtight container at room temperature for up to 5 days. If you’ve decorated them with icing, let the icing set completely (at least 2-3 hours) before stacking, and store them in layers separated by parchment paper. You can also freeze unbaked dough portions for up to 3 months—just thaw in the fridge before rolling.
Reheating Honestly, these cookies are best enjoyed at room temperature, but if they’ve gone a bit hard, warm them gently in a 300°F oven for 2-3 minutes to soften them back up. Don’t overdo it or they’ll crisp up again.
No-Waste Kitchen Magic
Dough Scraps Don’t throw away the scraps left over from cutting shapes! Gather them, gently re-roll, and cut again. You might get slightly less-uniform edges, but they taste just as delicious.
Day-Old Cookies If your cookies have hardened, layer them in an airtight container with a slice of bread. The cookies will absorb moisture from the bread and soften right up—swap the bread daily to keep it from going stale.
Extra Icing Leftover icing lasts about a week in an airtight container in the fridge. Use it to decorate more cookies, pipe onto cupcakes, or thin it out with a little milk to drizzle over brownies.
Soft Cut-Out Sugar Cookies FAQs
What is the secret to soft cut-out cookies?
Room-temperature ingredients, proper creaming, chilling the dough, and—most importantly—not overbaking. Remove them when edges are golden but the center still looks slightly underbaked. They firm up perfectly as they cool!
What makes sugar cookies soft and chewy?
The ratio of butter to flour, the almond extract for depth, and the baking powder (not soda) all contribute. But the real magic is in stopping the bake just a minute or two before they look fully done.
Are sugar cookies supposed to be soft out of the oven?
Yes! They’ll feel slightly soft and even a tiny bit under-baked when you pull them out. They continue cooking on the hot sheet and will firm to the perfect texture as they cool completely.
Can I freeze soft cut-out sugar cookies?
You can freeze baked cookies for up to 3 months in an airtight container, or freeze unbaked dough portions for up to 3 months. Thaw cookies at room temperature or baked dough in the fridge before rolling and cutting.
How do I get my icing smooth and shiny on these cookies?
The light corn syrup in the icing recipe is your secret weapon—it creates that glossy finish. Make sure your icing is smooth (no lumps in the powdered sugar), and thin it with milk to the right consistency for spreading or piping.
More Cookie Magic from EdenPlate
Once you’ve mastered these soft cut-out sugar cookies, you’re ready to explore other festive favorites in our cookie collection. If you love the decorating canvas these cookies provide, check out our peppermint red velvet blossoms for a stunning flavor twist that impresses without the extra fuss. Looking for another elegant option? Our red velvet thumbprint cookies offer a beautiful way to add color and sophistication to your holiday spread—they’re equally soft and just as easy to make.
And if you’re planning a full cookie-swap lineup, don’t miss our Christmas cookie pinwheels for a show-stopping swirl design that looks complicated but comes together beautifully. Mix and match these recipes to build your dream cookie collection!
Cozy Closing
I’d love to see your spin on these soft cut-out sugar cookies! Drop a comment below with your cookie photos—I’d absolutely love to see how you decorated them, whether you went minimalist or went full glitter-and-sprinkle mode. These cookies are so versatile; I bet you’ve already got amazing flavor variations brewing in your head. Share your twists, ask questions, and let’s build a little community of cookie lovers right here.
I’m Claire Whitmore—a dessert daydreamer from Asheville, NC. For me, baking isn’t about perfect pastries—it’s about the joy of sharing something sweet (and maybe sneaking an extra scoop of icing). These soft cut-out sugar cookies have been part of my holiday traditions for years, and now I can’t wait for them to become part of yours too.