Homemade Reese’s Peanut Butter Cups
Homemade Reese’s Peanut Butter Cups are rich, creamy peanut butter wrapped in smooth chocolate — ready in under 30 minutes with just 5 simple ingredients. Skip the store and make them your way!
These easy DIY treats use just five simple ingredients you probably already have: creamy peanut butter, butter, powdered sugar, vanilla extract, and chocolate chips. They’re quick to prep, freezer-friendly, and totally customizable with your favorite toppings or chocolate varieties.
Hey there, I’m Claire Whitmore — a dessert daydreamer from Asheville, NC, where chocolate-covered anything is basically a love language.
Table of Contents
Little Snapshot: What This Recipe Delivers
This Homemade Reese’s Peanut Butter Cups recipe gives you 36 rich, creamy chocolate-peanut butter treats in about 30 minutes using just five ingredients: peanut butter, butter, powdered sugar, vanilla, and chocolate chips.
They’re beginner-friendly, freezer-ready, and infinitely customizable — perfect for gifting, snacking, or stashing in the freezer for emergency chocolate cravings.
Why You’ll Love This Recipe 🌸
- This Homemade Reese’s Peanut Butter Cups recipe is faster than a Target run — seriously, you’ll have chocolate-peanut butter perfection in under 30 minutes.
- You only need five ingredients, and there’s a solid chance you’ve already got them hanging out in your pantry right now.
- You control the peanut butter ratio, the chocolate thickness, and even the sweetness level — it’s like being the boss of your own candy aisle.
- According to King Arthur Baking’s guide to easy homemade candy, the best confections are the ones you can customize to your taste — and this recipe proves exactly why.
Quick Facts ⚡
Here’s the quick scoop on this Homemade Reese’s Peanut Butter Cups recipe.
- CourseDessert
- Prep Time15 minutes
- Cook Time10 minutes
- Total Time25 minutes (plus chilling)
- Servings36 cups
- DifficultyEasy
Nutritional Peek
Here’s a quick nutritional snapshot per peanut butter cup — because even homemade treats deserve a little clarity (and maybe a little less guilt).
| Nutrient | Amount per Serving |
|---|---|
| Calories | 95 kcal |
| Protein | 2g |
| Carbohydrates | 10g |
| Total Fat | 6g |
| Saturated Fat | 2.5g |
| Fiber | 0.5g |
| Sugar | 8g |
Note: Nutritional values are approximate and may vary based on specific ingredients used.
Ingredients
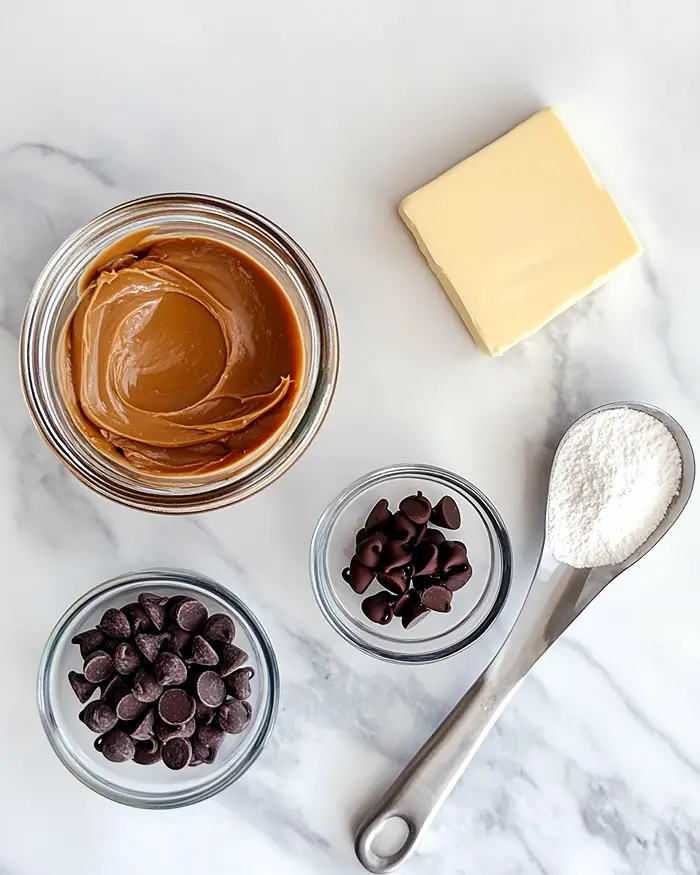
When you’re learning how to make Homemade Reese’s Cups, the ingredient list is blissfully short — just five pantry staples that come together like magic.
For the peanut butter filling, you’ll want creamy peanut butter (not the natural kind that separates), softened butter for easy mixing, powdered sugar to sweeten and firm things up, and vanilla extract for a little extra warmth.
For the chocolate coating, grab your favorite chocolate chips or candy melts — semi-sweet, milk chocolate, or dark all work beautifully depending on your preference.
| Amount | Ingredient |
|---|---|
| 1 cup | Creamy peanut butter (not natural/separated) |
| 1/4 cup | Butter, softened |
| 1 tsp | Vanilla extract |
| 1 1/2 cups | Powdered sugar |
| 2 packages (about 24 oz total) | Chocolate chips or CandiQuik/candy melts |
Tools You’ll Actually Use
Here’s what you’ll need to make your DIY Reese’s Peanut Butter Cups come to life — nothing fancy, just a few kitchen basics:
- Microwave-safe bowl (for melting the peanut butter mixture)
- Medium mixing bowl
- Spatula or wooden spoon
- Muffin tin
- Cupcake liners (36 regular-sized)
- Small saucepan (for melting chocolate)
- Spoon or small ladle (for portioning chocolate)
Step-by-Step Instructions
Making Homemade Reese’s Peanut Butter Cups is all about layering that creamy peanut butter filling with smooth, melted chocolate — and trust me, it’s way easier than it sounds.
Step 1: Make the peanut butter filling.
In a microwave-safe bowl, combine 1 cup creamy peanut butter and 1/4 cup softened butter. Microwave for 1 minute, then stir until completely blended and smooth.
Add 1 1/2 cups powdered sugar and 1 teaspoon vanilla extract, and mix well until the mixture is thick, sweet, and slightly crumbly but holds together when pressed. Pop the bowl in the freezer for 15 minutes to firm up — this makes it way easier to shape.
Step 2: Shape the peanut butter centers.
Once the peanut butter mixture is chilled, grab a small scoop (about 1 tablespoon) and roll it into a ball between your palms. Gently flatten the ball into a disc shape, about 1/4-inch thick — think mini hockey puck.
Set each flattened disc aside on a plate or parchment-lined tray. Repeat until you’ve used all the peanut butter mixture (you should get about 36 discs).
Step 3: Melt the chocolate.
Place 2 packages of chocolate chips (or candy melts) in a small saucepan over low heat. Stir continuously until the chocolate is completely smooth and glossy — don’t rush this part or the chocolate can seize up. Remove from heat once fully melted.
Step 4: Assemble the peanut butter cups.
Line a muffin tin with 36 cupcake liners. Spoon 1 to 2 tablespoons of melted chocolate into the bottom of each liner, just enough to cover the base. Place one flattened peanut butter disc on top of the chocolate in each liner, pressing down gently.
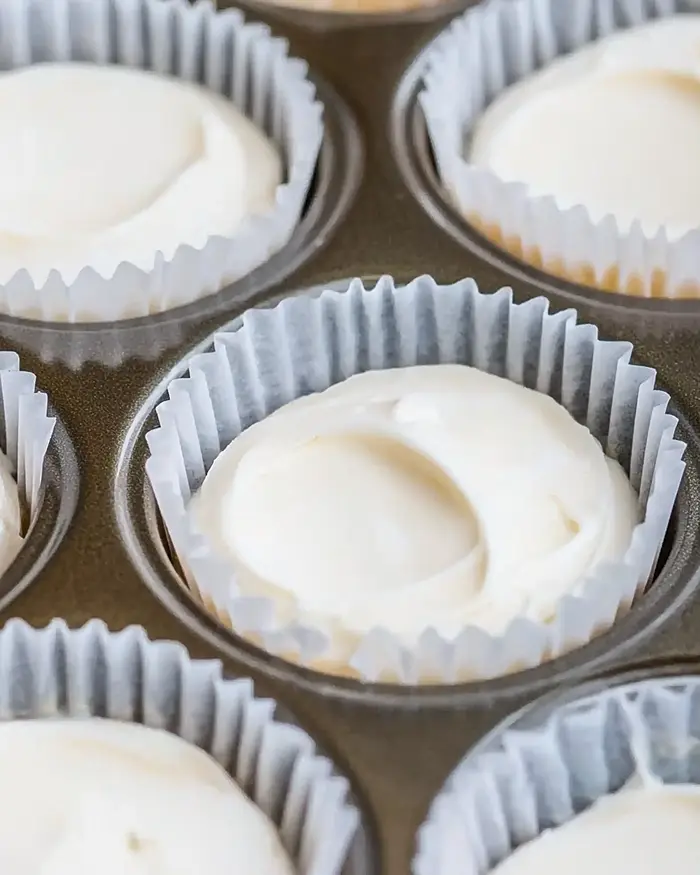
Spoon another 1 to 2 tablespoons of melted chocolate over the peanut butter, making sure it’s completely covered. Lightly tap the muffin tin on the counter a few times to help the chocolate settle and smooth out.
Step 5: Chill and set.
Pop the muffin tin in the refrigerator for about 10 minutes, or until the chocolate has completely set and hardened. If you want to get fancy, drizzle a little extra melted chocolate on top or add sprinkles before the final layer sets.
Step 6: Peel and enjoy.
Once the chocolate is firm, peel away the cupcake liners and enjoy your homemade masterpiece. Store any extras in the fridge (if they last that long).
Claire’s Pro Tips & Gentle Guidance
Here’s how to make Reese’s Peanut Butter Cups Homemade like an absolute pro — because a few little tricks can take these from good to “wait, you made these?!” level.
Use room-temperature butter for the filling so it blends smoothly with the peanut butter. Cold butter will create lumps, and melted butter makes the mixture too runny.
Don’t skip the freezer step after mixing the peanut butter filling. That 15-minute chill makes the mixture firm enough to shape without sticking to your hands — trust me, I’ve tried to skip it and ended up with a sticky mess.
If your peanut butter discs are cracking when you flatten them, the mixture might be too cold or too dry. Let it sit at room temperature for a minute or add a tiny bit more softened butter to bring it back together.
When melting chocolate, low and slow is the secret. High heat can cause chocolate to seize up and turn grainy, and according to Serious Eats‘ detailed chocolate melting guide, gentle, continuous stirring is your best friend for smooth, glossy results.
Tap the muffin tin on the counter after adding the final chocolate layer. This releases air bubbles and helps the chocolate settle evenly around the peanut butter filling — it’s the difference between a lumpy cup and a bakery-smooth one.
One recipe down, and so many more to explore! Head over to our complete Classic Comfort Foods lineup for more delicious ideas that’ll keep your kitchen buzzing. Bookmark this one — you’ll thank yourself later.
Quick Fixes for Homemade Reese’s Peanut Butter Cups
Problem: The peanut butter filling is too crumbly and won’t hold together.
Solution: Add an extra tablespoon of softened butter or a tiny splash of milk, and mix until the filling comes together. You want it firm enough to shape, but not so dry that it falls apart when you press it.
Problem: The chocolate is too thick and won’t spread smoothly.
Solution: Stir in a teaspoon of coconut oil or vegetable shortening to thin it out slightly. This makes the chocolate flow better and gives you a smoother coating without changing the flavor.
Problem: The peanut butter filling is sinking into the bottom chocolate layer.
Solution: Let the bottom chocolate layer set in the fridge for 2 to 3 minutes before adding the peanut butter disc. A semi-firm base helps the filling stay centered instead of sliding around.
Problem: The chocolate cracked when I peeled off the cupcake liner.
Solution: Let the cups sit at room temperature for about 5 minutes before peeling. Cold chocolate can be brittle, and a quick rest helps it soften just enough to release cleanly.
Variations & Fun Twists
Once you’ve mastered how to make Homemade Reeses Cups, the flavor possibilities are endless — and honestly, that’s half the fun.
Swap semi-sweet chocolate for dark chocolate (70% cacao or higher) if you want a richer, less-sweet version that balances the creamy peanut butter filling beautifully. For a sweeter twist, use milk chocolate or white chocolate instead.
Make them mini by using mini muffin tins and mini cupcake liners — you’ll get about 60 to 70 bite-sized cups, perfect for parties or portion control (or just eating twice as many, no judgment).
Add a pinch of sea salt on top of the final chocolate layer before it sets. The sweet-salty combo is chef’s kiss, and it makes them taste extra fancy.
Try almond butter, cashew butter, or sunflower seed butter instead of peanut butter for a fun twist or to make them allergy-friendly. Just make sure whatever nut or seed butter you use is creamy, not the natural kind that separates.
Go gluten-free and vegan by using dairy-free chocolate chips and swapping the butter for coconut oil or vegan butter. The texture stays just as dreamy, and no one will know the difference.
For a seasonal spin, add a tablespoon of pumpkin spice to the peanut butter mixture in fall, or swap in crushed peppermint candies and use dark chocolate for a holiday version.
Serving, Storage & Reheating
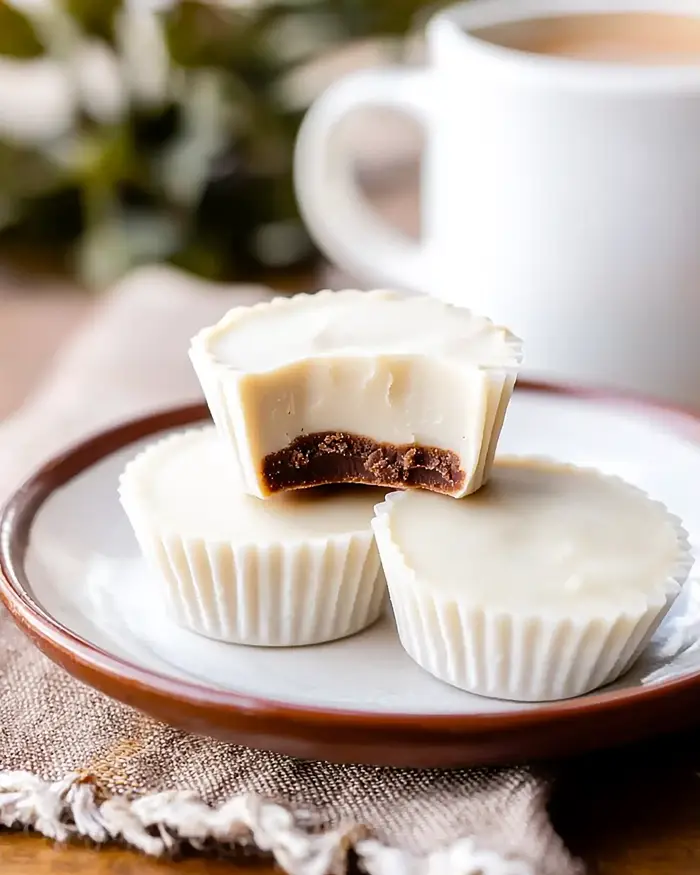
Your DIY Reese’s Peanut Butter Cups are best enjoyed straight from the fridge when the chocolate is firm and the peanut butter filling is perfectly creamy. Serve them as a quick dessert, pack them in lunch boxes, or wrap a few in cellophane bags tied with ribbon for the easiest (and most impressive) homemade gift.
Store your Homemade Reese’s Peanut Butter Cups in an airtight container in the refrigerator for up to two weeks. If you stack them, slip a piece of parchment paper between layers so they don’t stick together — learned that one the hard way.
For longer storage, freeze them in a freezer-safe container or zip-top bag for up to three months. Let them thaw in the fridge for about 30 minutes before eating, or enjoy them straight from the freezer if you like your chocolate extra-firm and snappy.
No-Waste Kitchen Magic
Got leftover melted chocolate after making your Homemade Reese’s Peanut Butter Cups? Pour it into silicone molds or onto a parchment-lined baking sheet, sprinkle with sea salt or crushed pretzels, and let it set for quick homemade chocolate bark.
If you have extra peanut butter filling, roll it into small balls and freeze them for a quick protein-packed snack, or press them into the bottom of a pie crust for an easy no-bake peanut butter pie base.
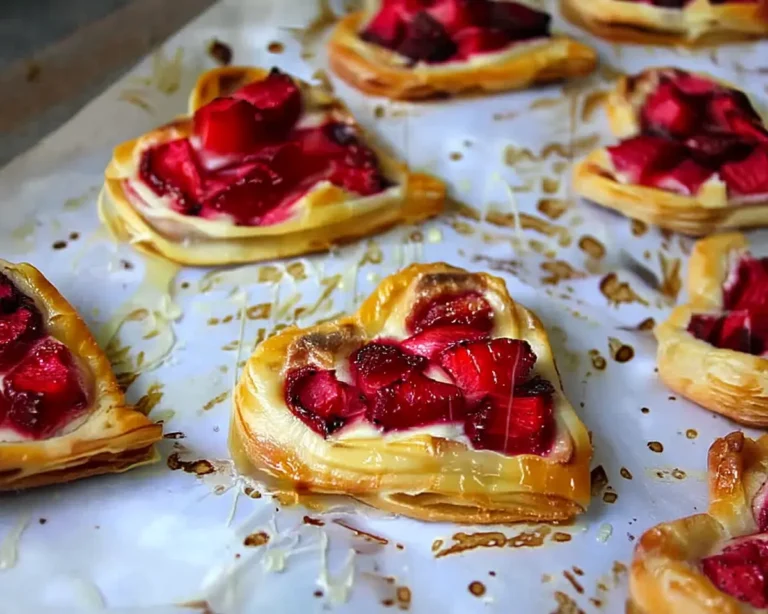
Day-old peanut butter cups (if they somehow last that long) can be chopped up and stirred into vanilla ice cream, folded into brownie batter, or crumbled over these Strawberry Cream Cheese Heart Danishes for an over-the-top dessert mashup.
Save your cupcake liners if they’re still in good shape — give them a quick rinse and reuse them for your next batch. It’s a tiny step, but it cuts down on waste and keeps your baking stash stocked.
Homemade Reese’s Peanut Butter Cups FAQs
Can I freeze Homemade Reese’s Peanut Butter Cups?
Absolutely! These freeze beautifully for up to three months in an airtight container or freezer bag. Just let them thaw in the fridge for about 30 minutes before enjoying, or eat them straight from the freezer if you love that extra-firm chocolate snap.
What’s the best way to store Homemade Reese’s Peanut Butter Cups?
Keep them in an airtight container in the fridge for up to two weeks. If you’re stacking them, use parchment paper between layers so the chocolate doesn’t stick together.
How do I know when the chocolate has set properly?
The chocolate should look matte and feel firm to the touch — not tacky or shiny. If you press gently on the surface and it doesn’t leave a fingerprint, you’re good to go. Usually takes about 10 minutes in the fridge.
Can I use candy melts instead of chocolate chips?
Yes! Candy melts (like CandiQuik) are actually easier to work with because they melt super smoothly and set quickly. They also come in fun colors if you want to make these festive for holidays or parties.
Will this recipe work in a mini muffin tin?
Totally! Use mini cupcake liners and mini muffin tins, and you’ll get about 60 to 70 mini peanut butter cups. Just use about 1 to 2 teaspoons of chocolate per layer and smaller peanut butter discs (about 1 teaspoon of filling each).
Could I make these without a muffin tin?
If you don’t have a muffin tin, you can use small silicone baking cups placed on a baking sheet. They’ll hold their shape just fine, and the cups pop out easily once the chocolate sets.
Cozy Closing
There you have it — your very own batch of Homemade Reese’s Peanut Butter Cups that taste better than anything you’ll find in the checkout aisle. Whether you’re making them for a party, stashing them in the freezer for emergencies, or just treating yourself to a little homemade chocolate therapy, this recipe is a total win.
I’d love to see your spin on this Homemade Reese’s Peanut Butter Cups recipe! Drop a comment below with your photos or your favorite flavor twists — I’d love to see how you made them your own. This recipe is so versatile; I bet you’ve got amazing variations already in mind!
And hey, if you’re craving more easy crowd-pleasers, check out these Taco Ranch Bites for your next party spread, or try this comforting Chicken Cordon Bleu Casserole for a cozy weeknight dinner.
Happy baking (and snacking)!
I’m Claire Whitmore — a dessert daydreamer from Asheville, NC. For me, baking isn’t about perfect pastries — it’s about the joy of sharing something sweet (and maybe sneaking an extra scoop of icing… or an extra peanut butter cup).
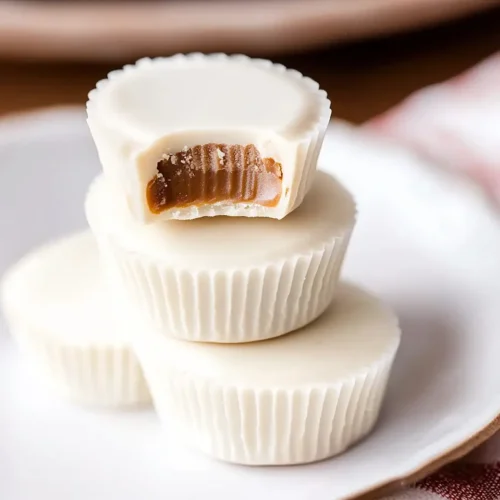
Homemade Reese’s Peanut Butter Cups
Equipment
- Microwave-safe bowl
- Medium mixing bowl
- Spatula or wooden spoon
- Muffin tin
- Cupcake liners
- Small saucepan
- Spoon or small ladle
Ingredients
For the Peanut Butter Filling
- 1 cup creamy peanut butter not natural/separated
- ¼ cup butter softened
- 1 tsp vanilla extract
- 1 ½ cups powdered sugar
For the Chocolate Coating
- 2 packages chocolate chips or CandiQuik/candy melts about 24 oz total
Instructions
- In a microwave-safe bowl, combine 1 cup creamy peanut butter and 1/4 cup softened butter. Microwave for 1 minute, then stir until completely blended and smooth. Add 1 1/2 cups powdered sugar and 1 teaspoon vanilla extract, and mix well until the mixture is thick, sweet, and slightly crumbly but holds together when pressed. Pop the bowl in the freezer for 15 minutes to firm up.
- Once the peanut butter mixture is chilled, grab a small scoop (about 1 tablespoon) and roll it into a ball between your palms. Gently flatten the ball into a disc shape, about 1/4-inch thick. Set each flattened disc aside on a plate or parchment-lined tray. Repeat until you’ve used all the peanut butter mixture (you should get about 36 discs).
- Place 2 packages of chocolate chips (or candy melts) in a small saucepan over low heat. Stir continuously until the chocolate is completely smooth and glossy. Remove from heat once fully melted.
- Line a muffin tin with 36 cupcake liners. Spoon 1 to 2 tablespoons of melted chocolate into the bottom of each liner, just enough to cover the base. Place one flattened peanut butter disc on top of the chocolate in each liner, pressing down gently. Spoon another 1 to 2 tablespoons of melted chocolate over the peanut butter, making sure it’s completely covered. Lightly tap the muffin tin on the counter a few times to help the chocolate settle and smooth out.
- Pop the muffin tin in the refrigerator for about 10 minutes, or until the chocolate has completely set and hardened. If you want to get fancy, drizzle a little extra melted chocolate on top or add sprinkles before the final layer sets.
- Once the chocolate is firm, peel away the cupcake liners and enjoy your homemade masterpiece. Store any extras in the fridge.