Halloween Vampire Bite Cupcakes
Hey there, I’m Claire Whitmore — a pastry whisperer in Asheville, NC, where butter totally counts as self-care. This Halloween Vampire Bite Cupcakes with a Gory Surprise recipe is proof that dessert doesn’t have to be complicated to feel special.
I’ll never forget the first time I bit into one of these beauties at a Halloween party. The hostess had that mischievous glint in her eye as she handed me what looked like an innocent, pale cupcake.
One bite later, I was staring at this gorgeous crimson “blood” oozing out, and I knew I had to recreate this theatrical masterpiece in my own kitchen. There’s something so delightfully wicked about a dessert that surprises you — and trust me, these vampire bites deliver drama in the best possible way.
Little Snapshot: What This Recipe Delivers
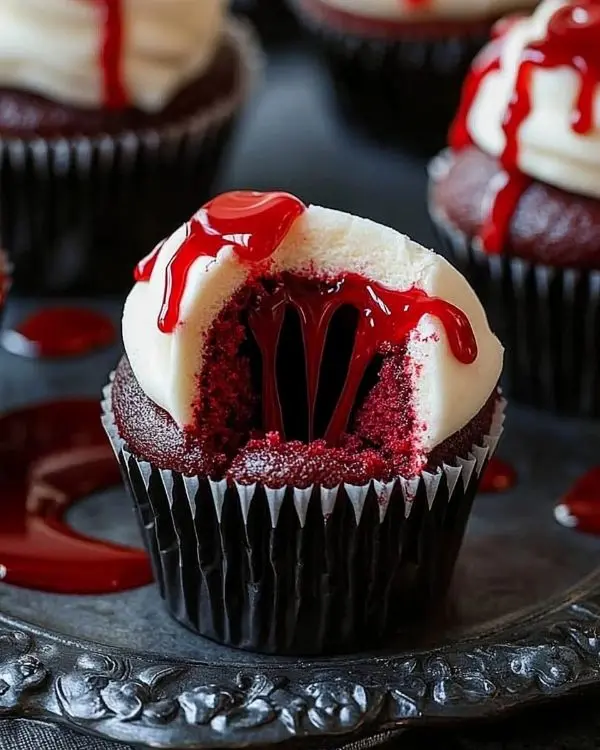
These Halloween Vampire Bite Cupcakes feature rich red velvet cake filled with a glossy, blood-red filling that dramatically spills out when bitten, all topped with pale “skin-tone” buttercream and decorated with realistic vampire puncture marks for the ultimate spooky surprise.
Why You’ll Love This Recipe 🌸
- This Halloween Vampire Bite Cupcakes recipe looks terrifyingly fancy but takes less time than deciding on a Halloween costume.
- The gory surprise filling creates that perfect “wow” moment that’ll have your guests talking until next Halloween.
- They’re actually quite forgiving — if your decorating gets a little messy, it just adds to the spooky, realistic effect!
- According to Wilton, the key to great Halloween treats is balancing delicious flavors with visual drama — and these cupcakes nail both perfectly.
Quick Facts ⚡
Here’s the quick scoop on this Halloween Vampire Bite Cupcakes with a Gory Surprise.
- CourseDessert
- Prep Time30 minutes
- Cook Time20 minutes
- Total Time50 minutes
- Servings12 cupcakes
- DifficultyMedium
Table of Contents
Nutritional Peek
| Nutrient | Amount per serving |
|---|---|
| Calories | 385 |
| Protein | 4g |
| Carbohydrates | 52g |
| Total Fat | 18g |
| Saturated Fat | 11g |
| Fiber | 1g |
| Sugar | 48g |
These numbers are approximate and can vary based on specific ingredients used.
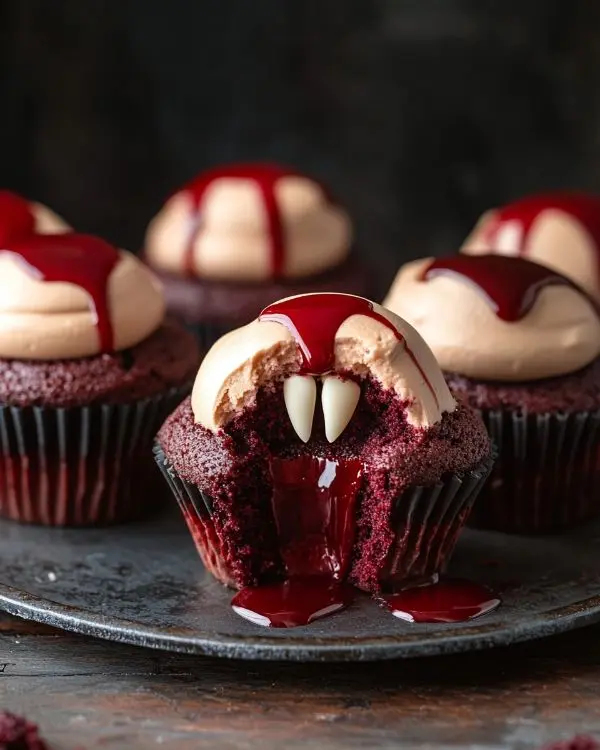
Ingredients for the Perfect Halloween Vampire Bite Cupcakes
These Halloween Decorated Cupcakes start with a classic red velvet base, but the magic happens with that gloriously gory filling that’ll have everyone doing double-takes.
| Amount | Ingredient |
|---|---|
| For the Red Velvet Cupcakes: | |
| 1 1/2 cups | all-purpose flour |
| 1 cup | granulated sugar |
| 1/2 cup | unsalted butter, softened (yes, real butter — margarine just doesn’t cut it here) |
| 2 large | eggs |
| 1/2 cup | buttermilk |
| 2 tbsp | cocoa powder |
| 1 tbsp | red food coloring (gel-based for that vibrant color) |
| 1 tsp | vanilla extract |
| 1/2 tsp | baking soda |
| 1 tsp | white vinegar |
| 1/4 tsp | salt |
| For the Creamy Spilling Red Velvet Filling: | |
| 1/2 cup | red velvet cake crumbs (from the cupcake centers) |
| 1/3 cup | sweetened condensed milk |
| 1 tbsp | unsalted butter, melted |
| 1-2 tbsp | red food coloring (for that glossy, vampire-blood effect) |
| For the Pale Skin-Tone Buttercream Frosting: | |
| 1 cup | unsalted butter, softened |
| 3-4 cups | powdered sugar, sifted |
| 2-3 tbsp | milk or heavy cream |
| 1 tsp | vanilla extract |
| A few drops | ivory or peach food coloring (for that pale, eerie skin tone) |
| For the Vampire Bite Decoration: | |
| As needed | candy fangs or small dots of red gelatin |
| As needed | red syrup or edible red gel (for those dramatic “blood” drips) |
| Optional | red straws (for decoration only — not edible!) |
Tools You’ll Actually Use
- 12-cup muffin tin
- Paper cupcake liners
- Electric mixer (stand or hand mixer)
- Large mixing bowls
- Measuring cups and spoons
- Wire cooling rack
- Small knife or cupcake corer
- Offset spatula or piping bag
- Small spoon for filling
One recipe down, and so many more to explore! Head over to our complete Halloween & Spooky Treats lineup for more delicious ideas that’ll keep your kitchen buzzing. Bookmark this one — you’ll thank yourself later.
How to Make Halloween Vampire Bite Cupcakes
These Halloween Vampire Bite Cupcakes might look intimidatingly professional, but I promise they’re more forgiving than they appear — and way more fun to make than you’d expect.
Step 1: Preheat and Prepare Preheat your oven to 350°F (175°C) and line that muffin tin with paper liners. Think of this as setting the stage for your spooky masterpiece.
In your large mixing bowl, cream together the softened butter and sugar until it’s light and fluffy — about 2-3 minutes of good beating. Add those eggs one at a time (patience, my friend), beating well after each addition. Mix in the vanilla extract and red food coloring until you’ve got this gorgeous, deep red that screams “vampire chic.”
Step 2: Mix and Bake In a separate bowl, whisk together the flour, cocoa powder, and salt. Here’s where the magic happens — gradually add these dry ingredients to your red mixture, alternating with the buttermilk. You want everything just combined, not overworked. Stir in that baking soda and vinegar mixture (yes, it’ll bubble a bit — that’s the good stuff helping your cupcakes rise beautifully).
Spoon the batter into your prepared muffin cups, filling each about 2/3 full. Bake for 18-20 minutes, until a toothpick comes out clean. Let them chill in the pan for 5 minutes, then transfer to a wire rack. Once completely cool, carefully peel off those paper liners to reveal those gorgeous red sides.
Step 3: Prepare the Creamy Spilling Red Velvet Filling This is where things get deliciously messy. In a small bowl, combine those red velvet cake crumbs with sweetened condensed milk and melted butter. Stir until it’s smooth and slightly glossy — think vampire blood, but tastier. Add red food coloring until you achieve that intense, almost unnaturally vibrant red that’ll make people gasp when they bite in.
Step 4: Hollow Out the Cupcakes Here’s the fun part — use a small knife or cupcake corer to remove a small section from the center of each cupcake. Be gentle (we don’t want any cracking casualties). Fill each little cavity with that gorgeous red filling, making sure it reaches the top. This is your “gory surprise” waiting to happen.
Step 5: Make the Skin-Tone Buttercream Frosting Beat that softened butter until it’s creamy and dreamy. Gradually add the powdered sugar, one cup at a time — no shortcuts here, trust the process. Add vanilla and 2 tablespoons of milk or cream, beating until smooth and fluffy. Now for the slightly creepy part — add just a few drops of ivory or peach food coloring to achieve that pale, almost ethereal skin tone. It should look like porcelain perfection.
Step 6: Frost the Cupcakes Using an offset spatula or piping bag, frost each cupcake with that pale buttercream. You want the surface smooth and even — think flawless vampire skin. For an ultra-smooth finish, pop these babies in the fridge for a few minutes before the final decorating step.
Step 7: Create the Vampire Bite Decoration This is where your inner artist comes out to play. Use candy fangs or small drops of red gelatin to create two close-set puncture marks on each cupcake’s surface. Then comes the pièce de résistance — drizzle red syrup or edible gel from those puncture marks, letting it drip dramatically down the sides. Add a few extra drops around the base on your serving platter for maximum impact.
Step 8: Final Touches Arrange these beauties on a dark serving platter with additional red syrup drips for that extra spooky atmosphere. The contrast of pale frosting, deep red filling, and those blood-like drips creates something that’s both terrifying and absolutely irresistible.
Claire’s Pro Tips & Gentle Guidance
When making these Vampire Dessert Ideas, I’ve learned a few tricks that’ll save you from the mistakes I made early on. First, don’t skip the gel food coloring — liquid just won’t give you that intense, vibrant red you’re after. I learned this the hard way when my first batch looked more pink than vampire-worthy.
The filling consistency is crucial too. You want it creamy but slightly runny with that glossy finish. If it’s too thick, it won’t create that dramatic “blood” spill effect when someone bites in. According to the experts at King Arthur Baking, the key to successful Halloween treats is getting the textures just right — and they’re absolutely spot-on with this advice.
Here’s my favorite pro tip: make the filling a day ahead and let it chill overnight. This helps the flavors meld and makes it easier to work with when you’re ready to assemble.
Quick Fixes for Halloween Vampire Bite Cupcakes
Cupcakes turned out dense? This usually means the butter wasn’t properly softened or you overmixed the batter. Next time, let that butter sit at room temperature for at least an hour, and mix just until combined.
Filling too runny? Add more cake crumbs gradually until you reach that perfect consistency. Too thick? A tiny bit more sweetened condensed milk will do the trick.
Frosting looks streaky? Your butter might have been too cold, or there are lumps in your powdered sugar. Make sure to sift that sugar and really beat the frosting until it’s silky smooth.
“Blood” drips not staying put? Pop the frosted cupcakes in the fridge for 10-15 minutes before adding the red gel — this gives it something firmer to cling to.
Variations & Fun Twists
These Halloween Red Velvet Cupcakes are wonderfully adaptable to your spooky preferences. For a chocolate version, swap the red velvet base for rich chocolate cupcakes — the contrast with the red filling is still absolutely stunning.
Want to make them gluten-free? Substitute the all-purpose flour with a 1:1 gluten-free baking blend. I’ve tested this with King Arthur’s gluten-free flour, and the results are nearly identical to the original.
For a less intense “blood” effect, try using strawberry jam mixed with a little corn syrup and red food coloring. It’s slightly less dramatic but still gets that “whoa” reaction when people bite in.
If you’re serving these to younger kids who might be scared by the gore factor, you can make “love bite” versions with pink filling and lighter drips — still fun and themed, but less terrifying.
Serving, Storage & Reheating
These Halloween Decorated Cupcakes are best served at room temperature when that filling is perfectly creamy and the flavors are at their peak. If you actually have leftovers (which I doubt — these disappear faster than vampire bats at dawn), store them in the refrigerator for up to 3 days.
The filling might firm up a bit when chilled, so let them come to room temperature for about 20 minutes before serving for that optimal “gory spill” effect. Don’t freeze these beauties — the filling doesn’t thaw well and loses that perfect consistency.
For parties, I like to arrange them on a tiered cake stand with some spooky decorations around the base. The height adds drama, and guests can really appreciate the artistry you’ve put into each one.
No-Waste Kitchen Magic
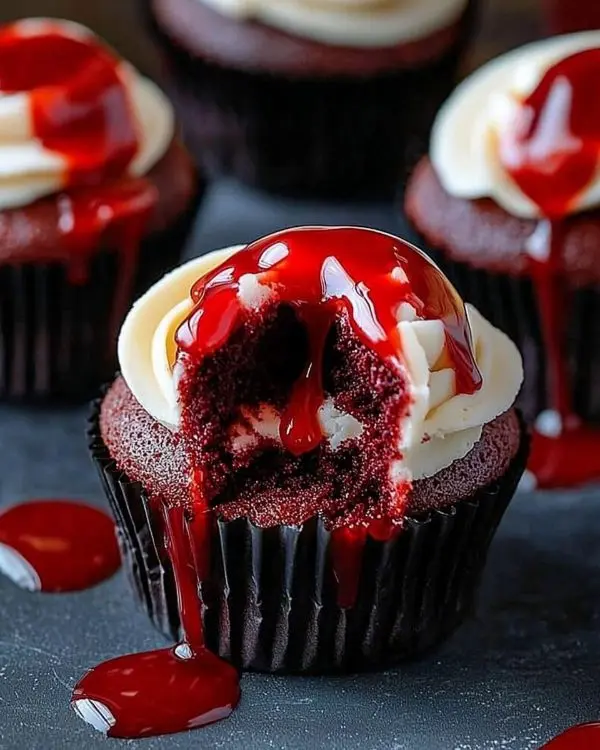
Don’t toss those cupcake centers you removed — they’re the star of your filling! If you end up with extra red velvet crumbs, they make an incredible ice cream topping or can be mixed into cream cheese frosting for other desserts.
Leftover buttercream freezes beautifully for up to 3 months. Just thaw it overnight in the fridge and rewhip before using — perfect for your next baking adventure.
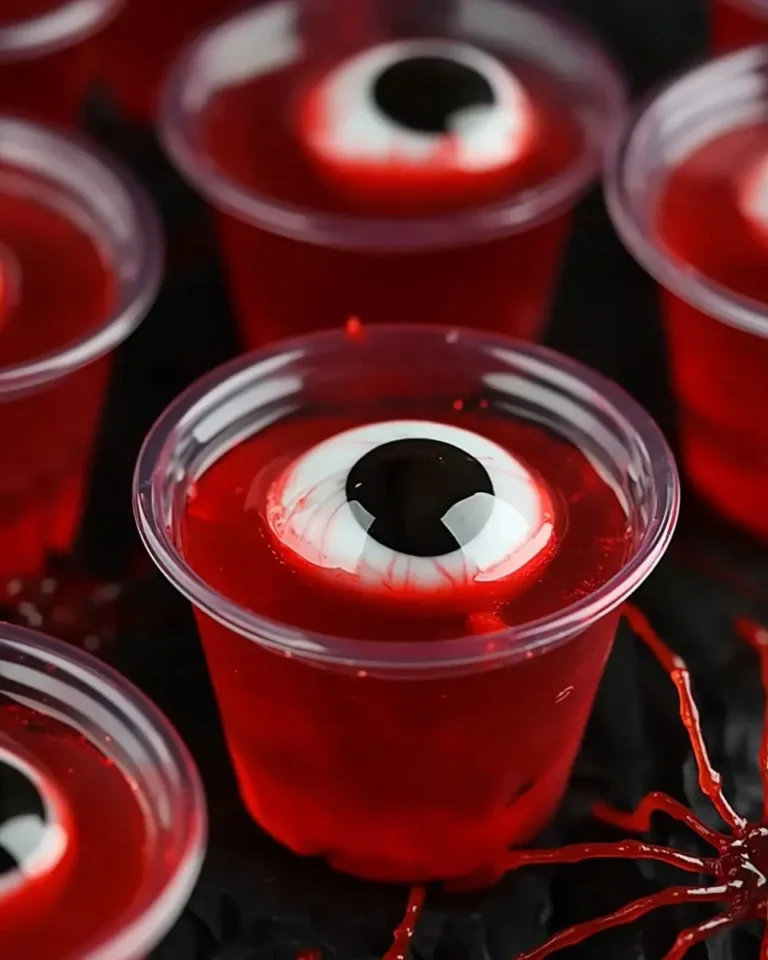
Those candy fangs can be saved and reused for future Halloween projects, and any extra red gel or syrup works wonderfully for Vampire’s Kiss Halloween Shots or drizzling over Halloween Eyeball Jello Shots.
Halloween Decorated Cupcakes FAQs
Can I make these Halloween Vampire Bite Cupcakes ahead of time?
Absolutely! Bake the cupcakes and make the filling up to 2 days ahead. Store the unfrosted cupcakes covered at room temperature and the filling in the fridge. Assemble and frost the day you plan to serve them for the best texture and appearance.
What if I can’t find gel food coloring?
While gel gives the most vibrant results, you can use liquid food coloring — just use more to achieve that deep red color, and you might need to adjust your liquid ratios slightly in the recipe.
Can I freeze Halloween Red Velvet Cupcakes?
The unfrosted, unfilled cupcakes freeze beautifully for up to 3 months. Wrap them individually and thaw completely before filling and frosting. However, don’t freeze the assembled cupcakes as the filling doesn’t thaw well.
How do I prevent the filling from leaking out during frosting?
Make sure your filling isn’t too runny, and don’t overfill the cavities. The filling should be just level with the top of the cupcake, not mounded above it.
Are these suitable for kids’ parties?
That depends on your crowd! The “gore” factor might be too intense for very young children, but most kids 8+ find them thrillingly fun rather than scary. You know your audience best!
Cozy Closing
There’s something absolutely magical about creating Halloween Vampire Bite Cupcakes that surprise and delight everyone who tries them. The combination of familiar red velvet flavors with that unexpected gory twist never fails to get people talking and laughing.
These cupcakes have become my signature Halloween treat, and I love how they bring out the playful side in everyone — from serious adults who can’t help but giggle when the “blood” spills out, to teenagers who dramatically gasp for effect.
They’re proof that the best desserts aren’t just about taste (though these definitely deliver on that front) — they’re about creating moments and memories.
I’d love to see your spin on this Halloween Vampire Bite Cupcakes recipe! Leave a note below or tag me on Instagram so we can share a sweet (and slightly spooky) moment together. Whether you stick to the classic version or try one of the fun variations, I know these will be the hit of your Halloween celebration.
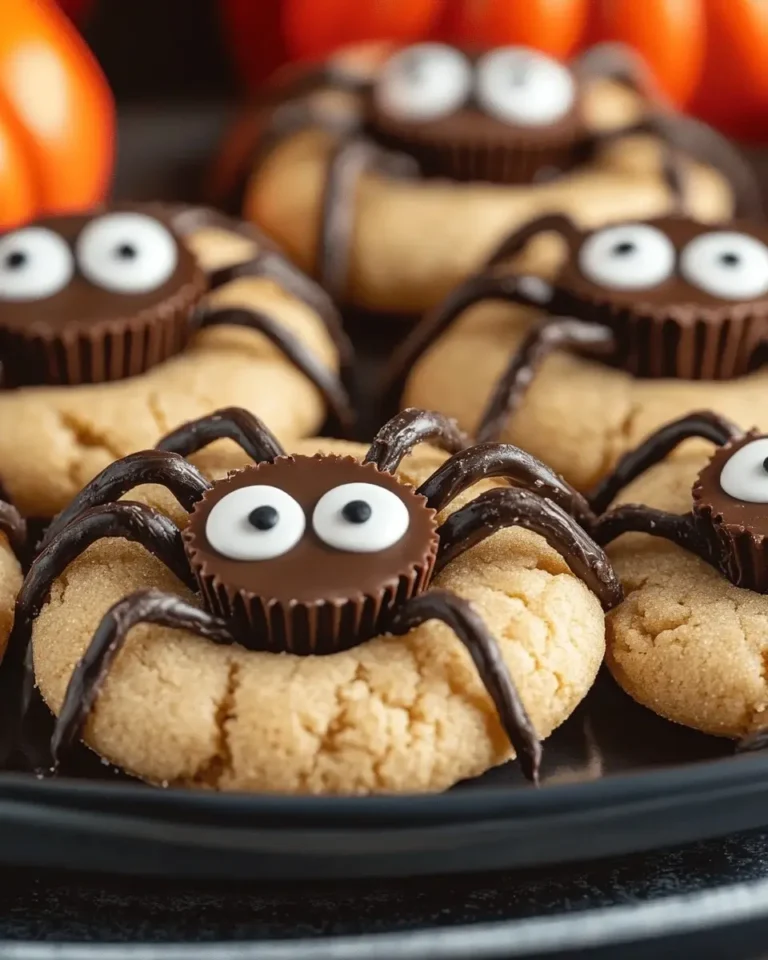
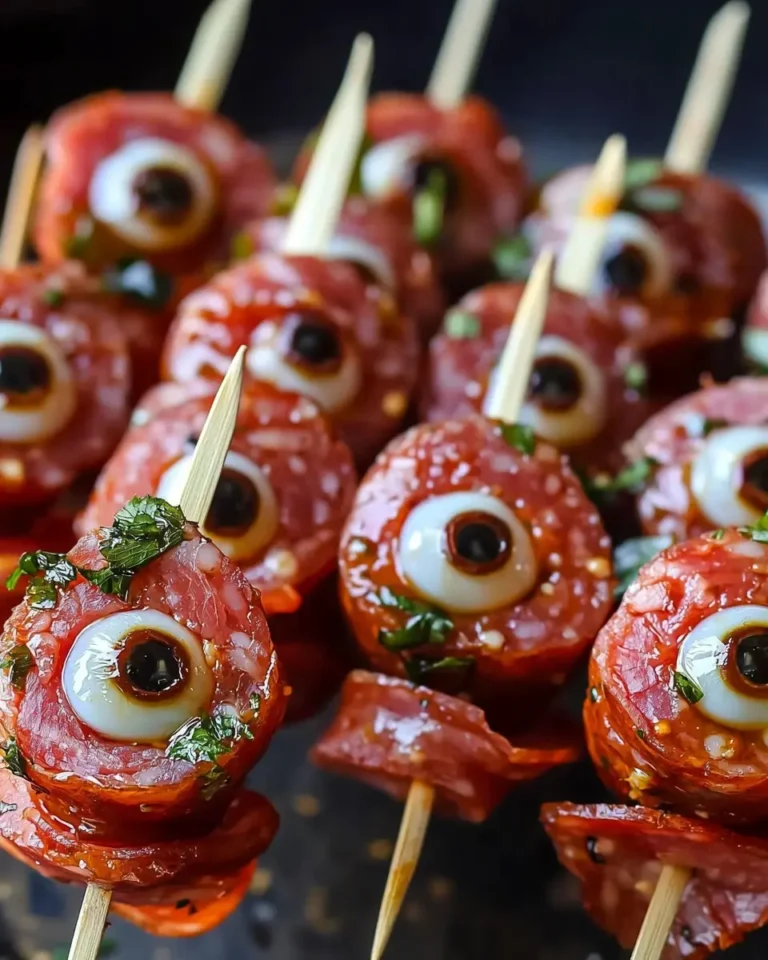
For more spooky treats that’ll make your Halloween spread absolutely legendary, check out these other favorites: Salami Mozzarella Eyeballs, Peanut Butter Spider Cookies, and Halloween Brains Marshmallow Rice Krispies.
I’m Claire Whitmore — a dessert daydreamer from Asheville, NC. For me, baking isn’t about perfect pastries — it’s about the joy of sharing something sweet (and maybe sneaking an extra bite of that gloriously gory filling).
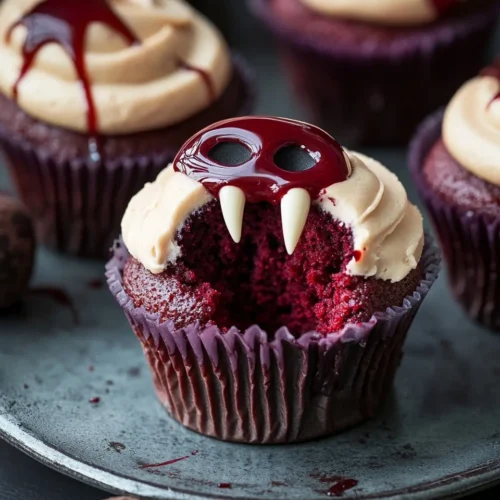
Halloween Vampire Bite Cupcakes with a Gory Surprise
Equipment
- 12-cup muffin tin
- Paper cupcake liners
- Electric mixer
- Large mixing bowls
- Measuring cups and spoons
- Wire cooling rack
- Small knife or cupcake corer
- Offset spatula or piping bag
- Small spoon
Ingredients
For the Red Velvet Cupcakes
- 1 ½ cups all-purpose flour
- 1 cup granulated sugar
- ½ cup unsalted butter softened
- 2 large eggs
- ½ cup buttermilk
- 2 tbsp cocoa powder
- 1 tbsp red food coloring gel-based
- 1 tsp vanilla extract
- ½ tsp baking soda
- 1 tsp white vinegar
- ¼ tsp salt
For the Creamy Spilling Red Velvet Filling
- ½ cup red velvet cake crumbs from cupcake centers
- ⅓ cup sweetened condensed milk
- 1 tbsp unsalted butter melted
- 1-2 tbsp red food coloring for glossy blood effect
For the Pale Skin-Tone Buttercream Frosting
- 1 cup unsalted butter softened
- 3-4 cups powdered sugar sifted
- 2-3 tbsp milk or heavy cream
- 1 tsp vanilla extract
- a few drops ivory or peach food coloring for pale skin tone
For the Vampire Bite Decoration
- as needed candy fangs or small dots of red gelatin
- as needed red syrup or edible red gel for blood drips
- optional red straws for decoration only
Instructions
- Preheat oven to 350°F (175°C), line muffin tin with liners, and cream butter with sugar. Beat in eggs, vanilla, and food coloring until combined.
- Whisk flour, cocoa, and salt. Alternate adding dry ingredients with buttermilk. Stir in baking soda and vinegar mixture. Fill cups 2/3 and bake 18-20 minutes. Cool completely.
- Mix cupcake crumbs, condensed milk, melted butter, and red food coloring until glossy. Adjust for a blood-like effect.
- Use a knife or corer to hollow centers. Fill with red mixture up to the top.
- Beat butter, then gradually add powdered sugar. Add vanilla and milk, beating until fluffy. Tint with ivory or peach food coloring for skin tone.
- Frost cupcakes with smooth pale buttercream using spatula or piping bag.
- Create two puncture marks with candy fangs or gelatin dots. Add red gel drips from marks for blood effect.
- Arrange cupcakes on dark platter with extra red syrup drips for spooky serving.