Easy No-Bake Peanut Butter Pie Recipe
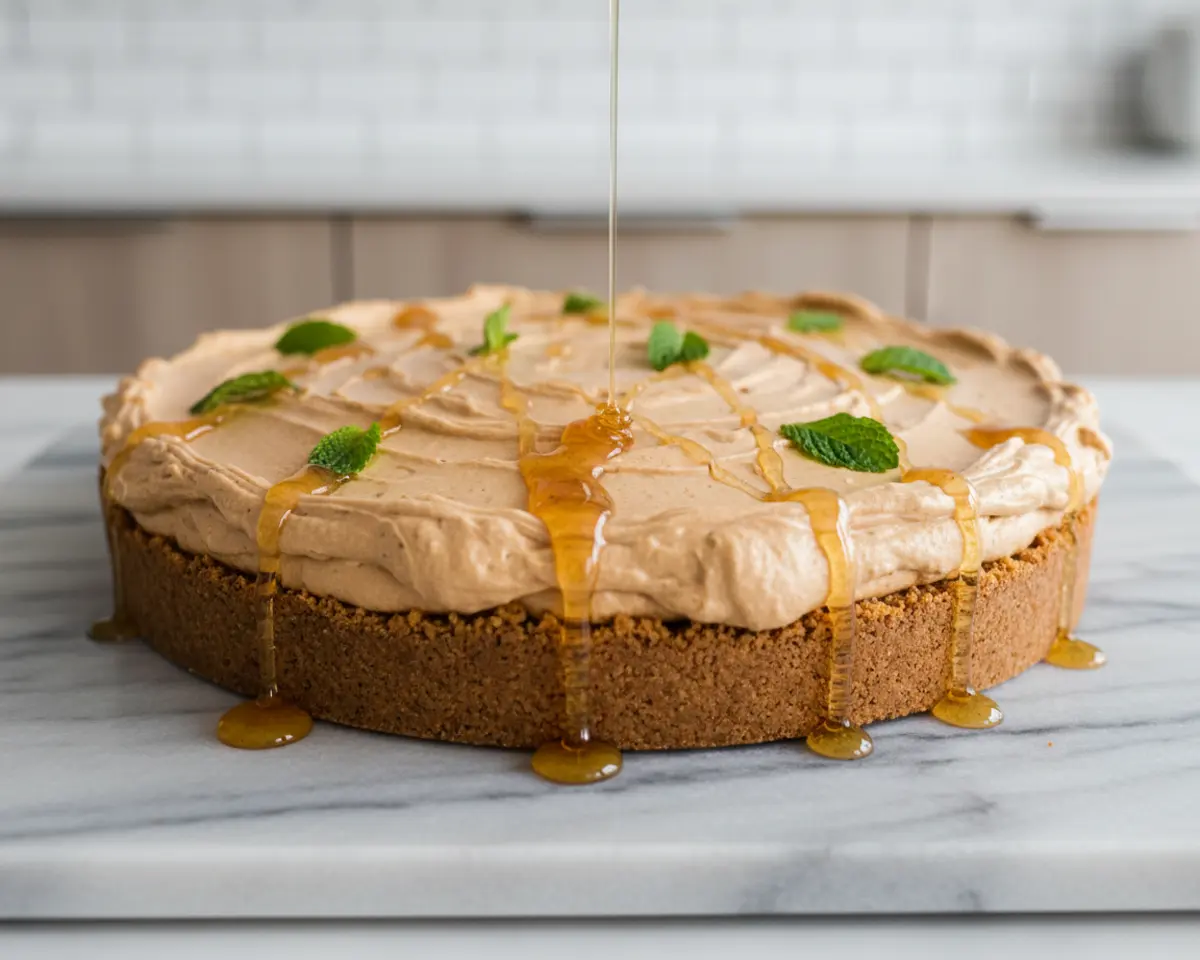
This No-Bake Peanut Butter Pie is the ultimate creamy, dreamy dessert that requires zero oven time and comes together in just minutes. With a fluffy peanut butter filling nestled in a graham cracker crust, this easy peanut butter recipe is perfect for busy weeknights or last-minute gatherings.
I’m Claire Whitmore, and I’m convinced that No-Bake Peanut Butter Pie is proof that the universe loves us. This creamy peanut butter pie has saved me more times than I can count when unexpected guests show up or when turning on the oven feels like an Olympic event.
I’ll never forget the first time I made this pie for a summer potluck in Asheville. The air conditioning was broken, my oven was off-limits, and I was sweating through my apron just thinking about baking. I whipped up this No-Bake Peanut Butter Pie in about ten minutes, popped it in the fridge, and showed up fashionably late with what became the star of the dessert table.
Table of Contents
Quick Overview
This is just one of the many gems in our Classic Baked Dinners series. Every recipe there has been tested and loved in real kitchens, and I promise there’s something for every craving. Go see for yourself.
Little Snapshot: What This Recipe Delivers
This No-Bake Peanut Butter Pie delivers a creamy, mousse-like filling with rich peanut butter flavor in a crunchy graham cracker crust—no oven required. It takes just 10 minutes of active prep time and sets perfectly in the refrigerator in 4 hours.
Why You’ll Love This Recipe 🌸
- This No-Bake Peanut Butter Pie takes less time than folding laundry and tastes a thousand times better.
- You only need 5 ingredients plus a store-bought crust—perfect for those nights when you want something sweet without the fuss.
- It’s make-ahead friendly, so you can prep it the night before and have dessert ready when life gets chaotic.
- According to Harvard School of Public Health, peanut butter provides heart-healthy fats and protein — and this recipe proves exactly why dessert can be both delicious and somewhat redeeming.
Quick Facts ⚡
Here’s the quick scoop on this No-Bake Peanut Butter Pie.
- CourseDessert
- Prep Time10 minutes
- Cook Time0 minutes
- Total Time4 hours 10 minutes (includes chilling)
- Servings8 slices
- DifficultyEasy
Nutritional Peek
| Nutrient | Amount per serving |
|---|---|
| Calories | 485 |
| Protein | 9g |
| Carbohydrates | 42g |
| Fat | 32g |
| Fiber | 2g |
| Sugar | 30g |
What You’ll Need
You don’t need fancy equipment to make this creamy peanut butter pie. Just a few basic kitchen tools and you’re golden.
- Electric mixer (hand mixer or stand mixer)
- Large mixing bowl
- Rubber spatula
- Measuring cups and spoons
- 9-inch pie plate (if your graham cracker crust isn’t already in one)
Ingredients
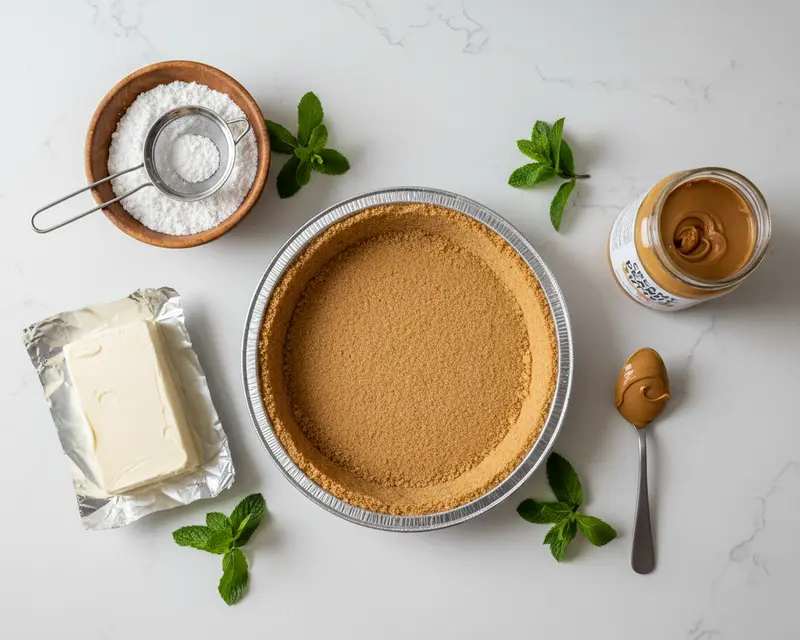
This easy peanut butter recipe relies on just a handful of pantry staples and refrigerated ingredients. The cream cheese creates a tangy base, the peanut butter brings nutty richness, and the whipped topping adds that dreamy, airy texture. Everything comes together in one bowl with minimal effort.
| Group | Ingredient | Amount | Notes |
|---|---|---|---|
| Crust | Graham cracker pie crust | 1 (9 inch) | Store-bought saves time, or make your own if you’re feeling fancy |
| Filling Base | Cream cheese | 8 ounces | Softened to room temperature—this is key for smooth blending |
| Filling Base | Confectioners’ sugar | 1 cup | Powdered sugar blends smoothly without grittiness |
| Filling Base | Creamy peanut butter | 1 cup | Use a no-stir variety for consistent texture |
| Topping | Frozen whipped topping | 8 ounces | Thawed completely—Cool Whip or similar works beautifully |
| Garnish | Chocolate syrup or chopped peanuts | Optional | For a pretty finishing touch |
Step-by-Step Instructions
Let’s make this happen. This No-Bake Peanut Butter Pie comes together faster than you can say “pass me a fork,” and the hardest part is waiting for it to chill.
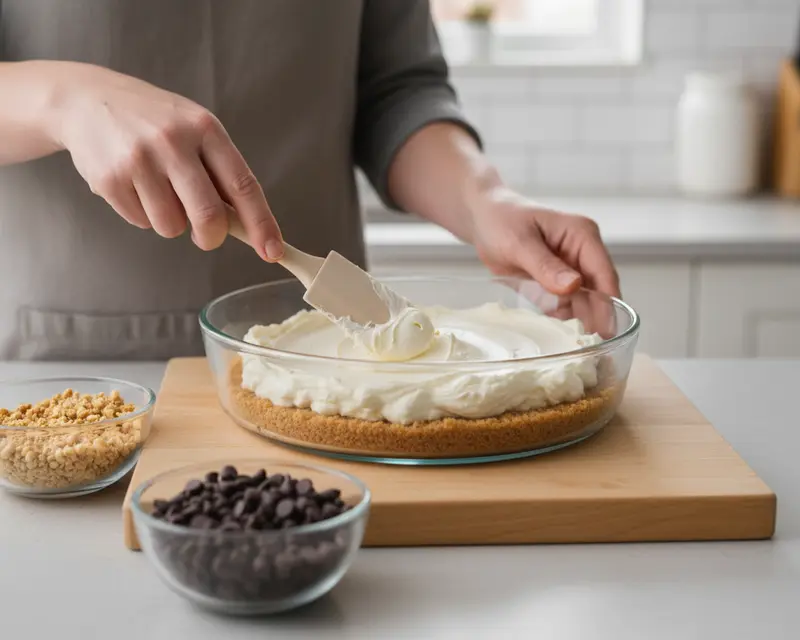
Step 1: Beat the Cream Cheese Base
In a large mixing bowl, combine the softened cream cheese and confectioners’ sugar. Beat with an electric mixer on medium speed for about 2 minutes until the mixture is completely smooth and creamy with no lumps. The cream cheese should be light and fluffy, almost like frosting.
Step 2: Add the Peanut Butter
Add the creamy peanut butter to the cream cheese mixture. Beat on medium speed for another minute or two until the peanut butter is fully incorporated and the filling is uniform in color. The mixture will be thick and rich at this stage.
Step 3: Fold in the Whipped Topping
Using a rubber spatula, gently fold the thawed whipped topping into the peanut butter mixture. Use a folding motion rather than stirring to keep the filling light and airy. Continue folding until no white streaks remain and the filling is uniformly pale tan.
Step 4: Fill the Crust
Pour the peanut butter filling into the graham cracker pie crust. Use your spatula to spread it evenly across the crust, smoothing the top into gentle swirls or a flat surface. Make sure the filling reaches all the way to the edges.
Step 5: Chill Until Set
Cover the pie loosely with plastic wrap and refrigerate for at least 4 hours, or until the filling is firm to the touch. Overnight chilling works even better if you have the time. The pie needs this time to set properly so it slices cleanly.
Step 6: Garnish and Serve
Just before serving, drizzle chocolate syrup over the top in decorative patterns, or sprinkle with chopped peanuts for crunch. Slice with a sharp knife, wiping the blade between cuts for clean slices.
Expert Tips
Easy peanut butter recipes like this one are forgiving, but a few pro tips can take your pie from good to “where has this been all my life?” The key is paying attention to temperature and texture.
Use a no-stir peanut butter for the most consistent results. Natural peanut butter with separated oils can make your filling grainy or oily. Brands like Jif or Skippy work perfectly and give you that classic creamy peanut butter pie texture.
Make sure your whipped topping is completely thawed before folding it in. Frozen or partially frozen whipped topping won’t incorporate smoothly and can leave icy chunks in your filling. Let it sit at room temperature for about 30 minutes before using.
For extra flavor depth, try adding a teaspoon of vanilla extract to the cream cheese mixture. It enhances the sweetness without making the pie taste vanilla-forward, just like a secret ingredient whisper.
If you want a chocolate twist, mix in a quarter cup of cocoa powder with the confectioners’ sugar before beating it into the cream cheese. According to food scientists, chocolate and peanut butter create flavor synergy that’s hard to resist.
Chill your pie for the full 4 hours minimum. Rushing this step results in a soft filling that won’t slice cleanly. If you’re making it ahead, overnight chilling actually improves the texture and lets the flavors meld beautifully.
Variations
This creamy peanut butter pie is wonderfully adaptable. Once you’ve mastered the basic version, these variations keep things interesting.
Chocolate Peanut Butter Pie
Swap the graham cracker crust for an Oreo cookie crust and drizzle melted chocolate over the top before chilling. You can also fold in a half cup of mini chocolate chips for extra texture, similar to what you’d find in a no-bake Oreo cheesecake.
Peanut Butter Banana Pie
Layer thin banana slices on the bottom of the crust before adding the peanut butter filling. The bananas add natural sweetness and moisture, creating a flavor combination that’s reminiscent of Elvis’s favorite sandwich.
Salted Caramel Peanut Butter Pie
Drizzle salted caramel sauce over the chilled pie and sprinkle with flaky sea salt. The sweet-salty combination elevates this simple dessert to something truly special.
Peanut Butter Cup Pie
Chop up your favorite peanut butter cups and fold half into the filling, then sprinkle the rest on top as garnish. It’s like a Reese’s lover’s dream come true.
Lighter Peanut Butter Pie
Use reduced-fat cream cheese and sugar-free whipped topping to cut calories without sacrificing too much creaminess. You can also reduce the confectioners’ sugar to three-quarters cup if you prefer less sweetness.
Troubleshooting
Even the easiest no-bake desserts can have their quirks. Here’s how to fix common issues so your pie turns out perfect every time.
Problem: Filling Is Too Soft and Won’t Set
This usually means the pie hasn’t chilled long enough or your cream cheese was too soft when you started. Make sure you chill for the full 4 hours minimum, and next time, use cream cheese that’s softened but still slightly cool to the touch, not warm.
Problem: Lumpy Filling
Lumps come from cream cheese that wasn’t softened enough before mixing. If you catch this early, you can press the mixture through a fine-mesh strainer to smooth it out. For future batches, let your cream cheese sit at room temperature for at least an hour before using.
Problem: Filling Is Grainy or Separated
This typically happens when natural peanut butter is used instead of regular creamy peanut butter. The separated oils don’t emulsify properly with the other ingredients. Stick with stabilized peanut butter brands, and make sure all ingredients are at similar temperatures before mixing.
Problem: Pie Is Too Sweet
If your pie tastes overly sweet, reduce the confectioners’ sugar to three-quarters cup next time. You can also balance the sweetness by adding a pinch of salt to the filling or using a chocolate graham cracker crust for deeper flavor.
Problem: Crust Is Soggy
A soggy crust usually means moisture from the filling seeped through. To prevent this, brush the inside of your graham cracker crust with a thin layer of melted chocolate and let it set in the fridge for 10 minutes before adding the filling. This creates a moisture barrier.
Storage & Reheating
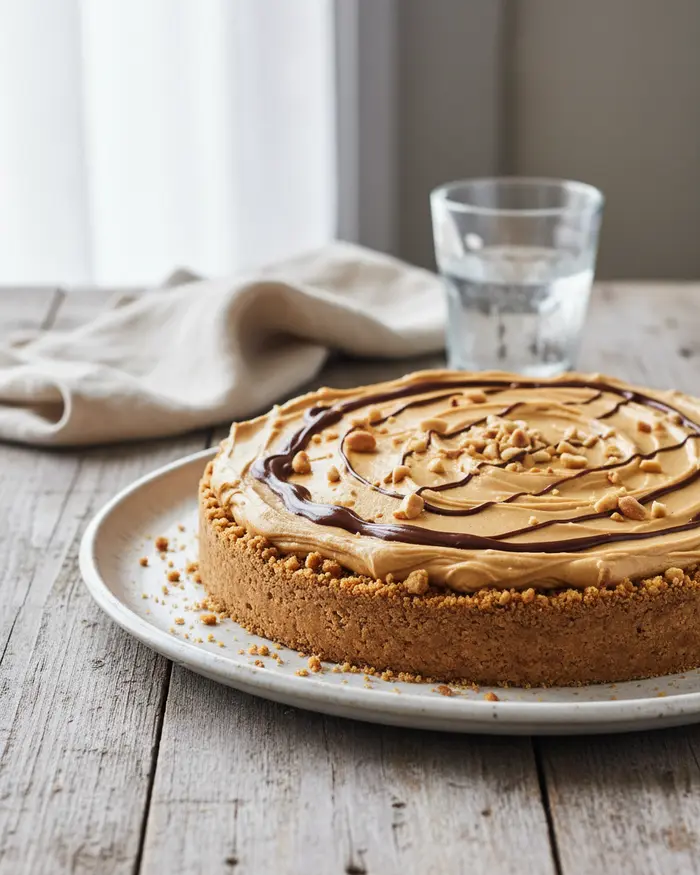
Easy peanut butter recipes like this one are perfect for making ahead since the pie actually improves with time in the refrigerator. The flavors meld and the texture becomes even more luxurious.
Serve this No-Bake Peanut Butter Pie chilled, straight from the refrigerator. Let it sit at room temperature for about 5 minutes before slicing for the cleanest cuts. Pair it with a dollop of extra whipped cream or a scoop of vanilla ice cream if you’re feeling extra indulgent.
Store any leftover pie covered tightly with plastic wrap or aluminum foil in the refrigerator for up to 5 days. The pie holds up beautifully and makes for an excellent midnight snack or next-day breakfast (I won’t tell).
This pie also freezes wonderfully for up to 2 months. Wrap individual slices in plastic wrap, then place them in a freezer-safe container. Thaw slices in the refrigerator overnight before serving, which gives you instant dessert whenever the craving strikes.
| Storage Method | Duration | Best Practices |
|---|---|---|
| Refrigerator | Up to 5 days | Cover tightly with plastic wrap to prevent drying and absorbing fridge odors |
| Freezer | Up to 2 months | Wrap individual slices in plastic wrap, then store in airtight container |
| Room Temperature | Not recommended | The cream cheese and whipped topping require refrigeration for food safety |
No-Waste Kitchen Ideas
Leftover ingredients from this pie can find new life in other sweet treats. Waste not, want not—especially when peanut butter is involved.
Extra cream cheese can be whipped into a quick frosting for cupcakes or spread on bagels with a drizzle of honey. It also works beautifully in savory dishes like stuffed chicken breasts or creamy pasta sauces.
Leftover whipped topping is perfect for topping hot chocolate, layering in parfaits with fresh fruit, or folding into instant pudding for a quick mousse. You can also freeze dollops of it on parchment paper for individual servings to top future desserts.
If you have extra peanut butter, try making energy balls with oats, honey, and chocolate chips, or swirl it into brownie batter before baking. It’s also delicious in smoothies or as a dip for apple slices.
Crumbled graham cracker crust scraps make an excellent topping for yogurt parfaits or ice cream sundaes. Mix them with melted butter and press into muffin tins for individual cheesecake bases, much like the technique used in key lime pie bars.
Variations
Turn your basic No-Bake Peanut Butter Pie into something entirely different with these fun twists that use the same simple technique.
Nutella Swirl Peanut Butter Pie
Warm a half cup of Nutella in the microwave for 20 seconds until it’s pourable. After spreading the peanut butter filling in the crust, dollop the Nutella on top and swirl it through with a butter knife for a gorgeous marbled effect.
Peanut Butter Pretzel Pie
Replace the graham cracker crust with a pretzel crust made from crushed pretzels, melted butter, and a touch of brown sugar. The salty-sweet combination is absolutely addictive, similar to the contrast you’ll find in icebox cake desserts.
Peanut Butter Marshmallow Pie
Fold in a cup of mini marshmallows with the whipped topping for extra sweetness and chewy texture. Top with chocolate shavings and a drizzle of chocolate syrup for a s’mores-inspired version.
Honey Roasted Peanut Butter Pie
Use honey roasted peanut butter instead of regular, and garnish the top with chopped honey roasted peanuts. Add a tablespoon of honey to the filling for extra depth.
Frequently Asked Questions
Here are answers to the most common questions about making this dreamy No-Bake Peanut Butter Pie perfectly every time.
How long does no-bake peanut butter pie need to chill before serving?
No-bake peanut butter pie typically needs to chill in the refrigerator for at least 4 hours, though overnight is ideal for the best texture and firmness. This allows the filling to set properly and makes it easier to slice.
Can I use natural peanut butter for no-bake peanut butter pie?
It is not recommended to use natural peanut butter for this pie. Regular commercial peanut butter works best because it has a thicker, more stable consistency. Natural peanut butter contains more oil and can make the filling too runny and prevent it from setting properly.
How should I store no-bake peanut butter pie?
Store no-bake peanut butter pie covered in the refrigerator for up to 5 days. You can cover it with plastic wrap or aluminum foil, or place it in an airtight container. The pie must be kept refrigerated because of the cream cheese and whipped cream in the filling.
Can I freeze no-bake peanut butter pie?
Yes, no-bake peanut butter pie freezes well. Wrap it tightly in plastic wrap and then aluminum foil, or place it in a freezer-safe container. It can be frozen for up to 2 months. Thaw it in the refrigerator for several hours or overnight before serving.
What type of crust works best for no-bake peanut butter pie?
A graham cracker crust is the most popular choice for no-bake peanut butter pie. However, you can also use an Oreo cookie crust, vanilla wafer crust, or pretzel crust. Any no-bake crust that complements the sweet and salty flavors of peanut butter will work well.
Final Dish
This No-Bake Peanut Butter Pie proves that the best desserts don’t always require an oven or complicated techniques. With just five main ingredients and ten minutes of hands-on time, you can create a creamy, dreamy dessert that tastes like you spent all day in the kitchen. It’s the perfect solution for busy weeknights, potlucks, or those moments when only peanut butter will do.
I’d love to see your beautiful pies! Snap a photo and share it in the comments below, or tag me on social media. Did you try one of the variations? Let me know which one became your favorite—I’m always looking for new ways to celebrate the magic of easy peanut butter recipes that bring joy without stress.
I’m Claire Whitmore — a dessert daydreamer from Asheville, NC. For me, baking isn’t about perfect pastries — it’s about the joy of sharing something sweet (and maybe sneaking an extra scoop of icing).
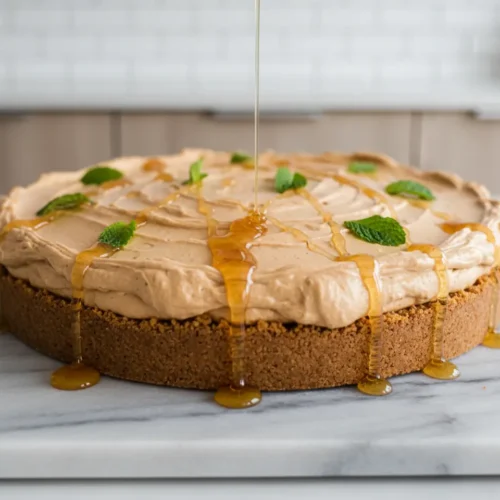
No-Bake Peanut Butter Pie
Ingredients
- 1 9 inch graham cracker pie crust
- 1 8 ounce package cream cheese, softened
- 1 cup confectioners’ sugar
- 1 cup creamy peanut butter
- 1 8 ounce container frozen whipped topping, thawed
- Chocolate syrup or chopped peanuts for garnish optional
Instructions
- In a large bowl, beat the cream cheese and confectioners’ sugar with an electric mixer until smooth and creamy.
- Add the peanut butter and beat until well combined.
- Gently fold in the thawed whipped topping until no streaks remain.
- Pour the mixture into the graham cracker pie crust and spread evenly.
- Refrigerate for at least 4 hours, or until firm.
- Garnish with chocolate syrup or chopped peanuts, if desired, before serving.