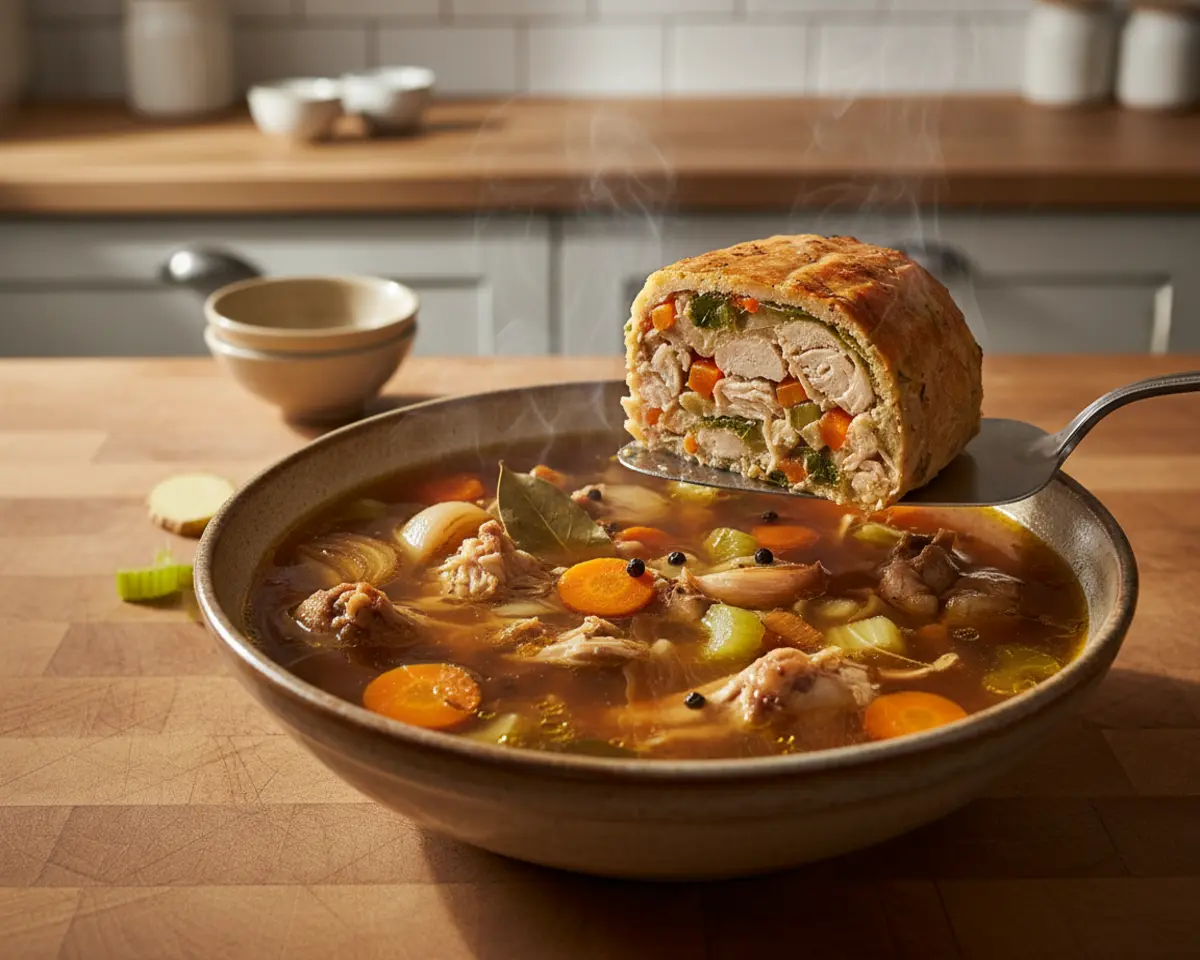
Chicken Carcass Ramen Broth: Liquid Gold
This Chicken Carcass Ramen Broth: Liquid Gold transforms leftover roasted bones into a deeply flavorful homemade ramen broth that’s rich, nourishing, and completely zero-waste. It’s the ultimate way to stretch every bit of goodness from your roast chicken.
I’m Linda Sandra, and I’m here to tell you that chicken carcass ramen broth is the kind of kitchen magic that makes you feel like a culinary genius with almost zero effort. You take something most folks toss in the trash and turn it into silky, golden, soul-warming liquid that tastes like comfort in a bowl.
The first time I made this rich chicken broth, I had just finished a Sunday roast and was about to toss the bones when my grandmother’s voice echoed in my head: “Waste not, want not, honey.” So I threw everything into my biggest pot, let it bubble away all afternoon, and by dinnertime my kitchen smelled like a five-star ramen shop in Tokyo.
Table of Contents
Quick Overview
This is just one of the many gems in our Classic Chicken Dinners series. Every recipe there has been tested and loved in real kitchens, and I promise there’s something for every craving. Go see for yourself.
Little Snapshot: What This Recipe Delivers
Chicken Carcass Ramen Broth: Liquid Gold is a deeply savory, collagen-rich homemade ramen broth made by simmering leftover chicken bones with aromatics for hours. It’s zero-waste, budget-friendly, and delivers restaurant-quality flavor with minimal active effort.
Why You’ll Love This Recipe 🌸
- This chicken carcass ramen broth takes less hands-on time than scrolling through your phone while dinner cooks itself.
- You’ll feel like a kitchen wizard turning trash into treasure — and your family will think you’ve been secretly training with a ramen master.
- It’s practically free since you’re using bones you already paid for, and it tastes better than any store-bought stock.
- According to Bon Appétit, homemade ramen broth is all about time and patience — and this recipe proves exactly why slow simmering creates the deepest, most luxurious flavor.
Quick Facts ⚡
Here’s the quick scoop on this Chicken Carcass Ramen Broth: Liquid Gold.
- CourseSoup Base / Broth
- Prep Time10 minutes
- Cook Time4-12 hours
- Total Time4-12 hours 10 minutes
- Servings8-10 cups
- DifficultyEasy
Nutritional Peek
| Nutrient | Amount per serving (1 cup) |
|---|---|
| Calories | 40-50 kcal |
| Protein | 6g |
| Carbohydrates | 2g |
| Fat | 1g |
| Fiber | 0g |
| Sugar | 1g |
What You’ll Need
This chicken stock ramen comes together with just a few simple tools you probably already have tucked in your cabinets. No fancy gadgets required — just good old-fashioned patience and a big pot.
- Large stockpot (at least 8-quart capacity)
- Fine-mesh sieve or colander
- Cheesecloth (optional, but makes straining easier)
- Large bowl or container for straining
- Ladle or large spoon for skimming
- Airtight containers for storage
Ingredients

This homemade ramen broth starts with the bones you’ve already roasted and a handful of aromatic vegetables that turn into pure umami magic. You’re building layers of flavor with every ingredient, from the sweet onion to the spicy ginger, and letting time do the heavy lifting.
| Group | Ingredient | Amount | Notes |
|---|---|---|---|
| Base | Roasted chicken carcasses | 1-2 whole | The star of the show — use bones with some meat still clinging on |
| Base | Cold water | 8-10 cups | Start with cold water for the clearest broth |
| Aromatics | Large onion | 1, quartered | No need to peel — the skin adds gorgeous color |
| Aromatics | Garlic cloves | 4-5, smashed | Smash them with the side of your knife for easy flavor release |
| Aromatics | Fresh ginger | 1 (2-inch) piece, sliced | Don’t skip this — it’s what makes it taste like real ramen |
| Vegetables | Carrots | 2, roughly chopped | Adds natural sweetness and body |
| Vegetables | Celery stalks | 2, roughly chopped | Classic broth backbone |
| Seasonings | Bay leaf | 1 | For subtle herbal depth |
| Seasonings | Black peppercorns | 1 teaspoon | Whole peppercorns, not ground |
Step-by-Step Instructions
Let’s make this happen. Chicken Carcass Ramen Broth: Liquid Gold is all about patience, and the process itself is ridiculously simple — you’re basically throwing everything into a pot and letting it do its thing.
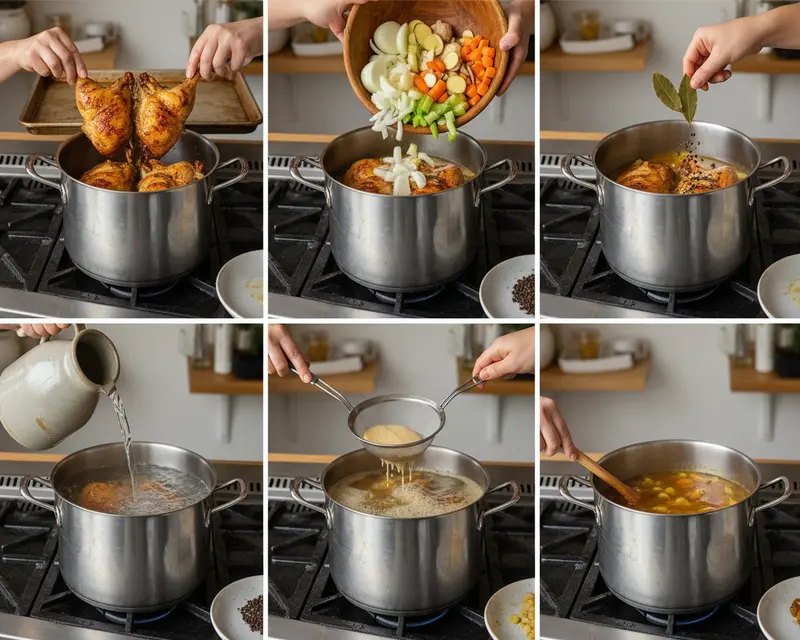
Step 1: Set Up Your Pot
Place your roasted chicken carcasses in the bottom of a large stockpot, breaking them up slightly if they’re too big to fit comfortably. The bones should have some bits of meat and crispy skin still attached — that’s flavor gold right there.
Step 2: Add the Aromatics and Vegetables
Toss in the quartered onion (skin and all), smashed garlic cloves, sliced ginger, roughly chopped carrots, and chopped celery. Nestle the bay leaf and black peppercorns in among the bones and veggies so everything mingles together beautifully.
Step 3: Cover with Cold Water
Pour in 8 to 10 cups of cold water, making sure the chicken carcasses and vegetables are fully submerged. If you need a little more water to cover everything, go ahead and add it — you want everything swimming comfortably.
Step 4: Bring to a Boil
Crank the heat up to high and bring the whole pot to a rolling, bubbling boil. You’ll start to see foam and little bits of protein rise to the surface — that’s totally normal and we’ll deal with it in the next step.
Step 5: Reduce and Simmer
As soon as the broth hits a full boil, immediately reduce the heat to low so it’s just barely bubbling — a gentle simmer, not a vigorous boil. This low-and-slow approach is what extracts all that collagen and keeps your broth clear and silky.
Step 6: Skim the Surface
Use a ladle or large spoon to skim off any foam, fat, or impurities that float to the top during the first 30 minutes of simmering. Don’t stress about getting every last bit — just get the big stuff and your broth will still be gorgeous.
Step 7: Let It Simmer for Hours
Let your homemade ramen broth simmer gently for at least 4 to 6 hours, or up to 8 to 12 hours if you want an even richer, more gelatinous broth. The longer it goes, the more collagen and flavor you’ll extract from those bones — and your kitchen will smell like heaven.
Step 8: Strain the Broth
Once your simmering time is up, carefully strain the broth through a fine-mesh sieve or a colander lined with cheesecloth into a large, clean bowl or container. Press gently on the solids to extract every last drop of that liquid gold.
Step 9: Discard the Solids
Toss out the chicken bones, vegetables, and aromatics — they’ve given you everything they have to offer and are now just spent soldiers. Thank them for their service and move on.
Step 10: Cool and Store
Allow the rich chicken broth to cool completely at room temperature, then transfer it to airtight containers. Store in the refrigerator for up to 4 to 5 days, or freeze in portions for several months of future ramen adventures.
Pro Tips & Gentle Guidance
Making this homemade ramen broth is wonderfully forgiving, but a few little tricks can take it from good to absolutely phenomenal. These are the tips I’ve gathered over years of simmering bones and chasing that perfect golden color.
Roast Your Bones First for Deeper Flavor
If you’re starting with raw bones instead of leftover roasted carcasses, pop them in a 400°F oven for 30 to 40 minutes until they’re golden and caramelized. This extra step adds a whole new layer of toasty, savory depth that you just can’t get from raw bones.
Don’t Let It Boil Hard
A gentle simmer is your best friend here — if the broth boils too hard, it’ll turn cloudy and can develop an off taste. Keep it at a lazy bubble, and you’ll end up with crystal-clear, restaurant-quality chicken stock ramen.
Add Acid at the Start
A splash of apple cider vinegar or lemon juice at the beginning helps draw minerals and collagen out of the bones, making your broth even more nourishing. You won’t taste the acid in the finished product, but you’ll feel the silky difference on your tongue.
Chill Before Defatting
If you want a leaner broth, refrigerate it overnight and the fat will solidify on top in a convenient layer you can just lift off. Or leave it in for extra richness — I’m a fan of a little fat for mouthfeel and flavor.
Freeze in Portions
Pour cooled broth into muffin tins, ice cube trays, or freezer-safe jars for easy portioning. According to Serious Eats, freezing broth in small portions means you can defrost exactly what you need without waste.
Variations & Adaptations
Spicy Miso Ramen Broth
Stir in a tablespoon or two of white or red miso paste after straining for a funkier, saltier, more complex flavor. Add a teaspoon of chili oil or a few slices of fresh chili pepper during the simmer for a spicy kick that warms you from the inside out.
Ginger-Forward Healing Broth
Double or even triple the fresh ginger for a broth that’s bright, zingy, and perfect for when you’re feeling under the weather. Ginger’s natural anti-inflammatory properties make this version a go-to for cold season in my house.
Umami Bomb with Shiitake Mushrooms
Toss in a handful of dried shiitake mushrooms along with the vegetables for an earthy, umami-rich twist. The mushrooms add a deep, almost meaty flavor that makes this broth taste like it came from a fancy ramen shop.
Herb-Infused Chicken Broth
Add a few sprigs of fresh thyme, rosemary, or parsley during the last hour of simmering for a more herbal, European-style broth. This version is especially lovely in risottos or as a base for chicken noodle soup.
Zero-Waste Veggie Scrap Boost
Save your onion peels, carrot tops, celery leaves, and parsley stems in a freezer bag and toss them into the pot for even more flavor and nutrition. Check out this zero-waste veggie broth guide for more scrap-saving ideas.
Quick Fixes for Chicken Carcass Ramen Broth: Liquid Gold
Broth Is Too Salty
If you added salt during the simmer and it’s too strong, dilute the broth with a bit of water or unsalted stock. Always season your finished dishes rather than the broth itself so you have full control over the final flavor.
Broth Is Cloudy
Cloudiness usually comes from boiling too hard or not skimming enough foam at the start. It won’t affect the flavor, but if clarity matters to you, strain through a coffee filter or several layers of cheesecloth for a crystal-clear result.
Broth Lacks Depth
If your broth tastes flat or weak, simmer it uncovered for another hour or two to concentrate the flavors. You can also add a splash of soy sauce, fish sauce, or a pinch of MSG to amp up the umami without starting over.
Broth Is Too Greasy
Skim the fat off the top while it’s hot, or refrigerate overnight and lift off the solidified fat layer. A little fat is good for flavor, but if it’s too much for your taste, this trick works like magic.
Not Enough Gelatin
If your cooled broth isn’t jiggly and gelatinous, it means you didn’t simmer long enough or didn’t use enough bones. Next time, add more bones, include some chicken feet or wings, and simmer for a full 8 to 12 hours for that luxurious, collagen-rich texture.
Storage & Reheating
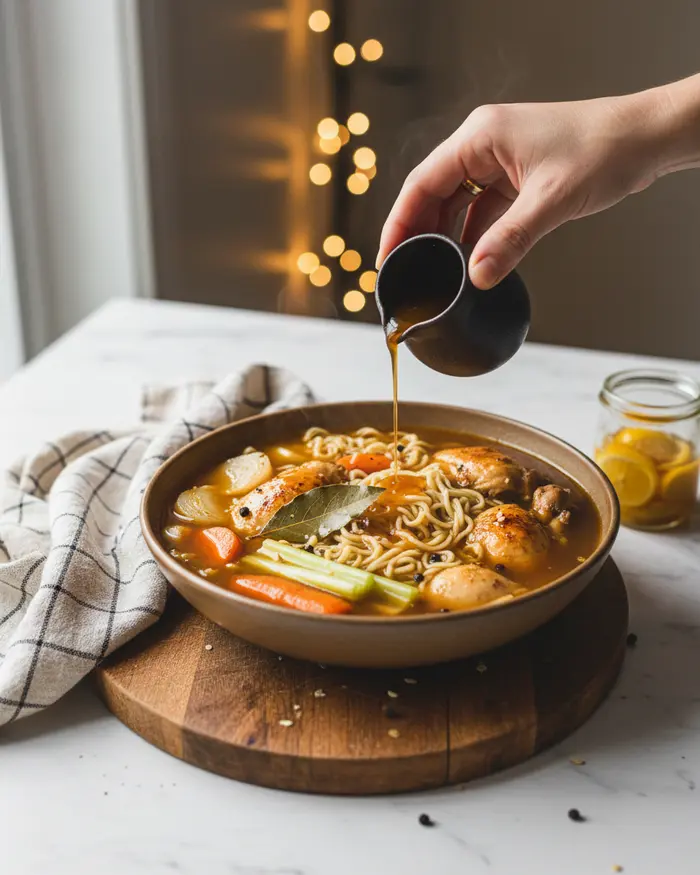
This rich chicken broth is incredibly versatile and keeps beautifully in the fridge or freezer, ready to transform into ramen, soups, or sauces whenever you need it. Proper storage ensures you get every last drop of that liquid gold without any waste.
Serving This Gorgeous Broth
Use your homemade ramen broth as the base for classic ramen bowls loaded with noodles, soft-boiled eggs, and fresh veggies. It’s also perfect for sipping straight from a mug, cooking grains like rice or quinoa, or as the foundation for any soup that needs a flavor boost.
Storing Your Broth
Transfer cooled broth to airtight containers and refrigerate for up to 4 to 5 days. For longer storage, freeze in portions using freezer-safe jars, silicone muffin cups, or heavy-duty freezer bags — it’ll keep for up to 6 months and taste just as good as the day you made it.
Reheating Like a Pro
Reheat refrigerated broth gently on the stovetop over medium heat until steaming, or microwave in a microwave-safe bowl in 1-minute intervals, stirring between. Frozen broth can be thawed overnight in the fridge or added directly to soups and stews as they cook.
| Storage Method | Duration | Best For |
|---|---|---|
| Refrigerator (airtight container) | 4-5 days | Immediate use in soups and ramen |
| Freezer (jars or bags) | Up to 6 months | Long-term storage and batch cooking |
| Ice cube trays | Up to 6 months | Small-portion flavor boosts |
| Pressure canning (processed) | Up to 1 year | Shelf-stable pantry storage |
No-Waste Kitchen Magic
Save Veggie Scraps for Future Batches
Keep a gallon freezer bag in your freezer and toss in onion peels, carrot tops, celery leaves, and herb stems as you cook throughout the week. When the bag is full, you’ve got the perfect veggie base for your next batch of broth — zero extra cost and zero waste.
Use Leftover Bones from Rotisserie Chickens
Don’t toss those rotisserie chicken carcasses from the grocery store — they’re already perfectly seasoned and roasted, and they make phenomenal broth. I always keep a bag in the freezer and add to it every time we finish a store-bought bird.
Turn Spent Broth Veggies into Compost
After you strain the broth, those cooked-down vegetables and bones are perfect for your compost bin. They’ve given all their nutrients to the broth, and now they can nourish your garden soil for next season’s veggies.
Make Broth Ice Cubes for Quick Meals
Freeze broth in ice cube trays, then pop them into a freezer bag for easy access. Drop a cube or two into stir-fries, sauces, or grain dishes for instant umami and richness without thawing a whole container.
Reduce Broth into Concentrated Demi-Glace
Simmer your finished broth down by half or more to create a super-concentrated paste you can freeze in small portions. A tiny spoonful adds incredible depth to gravies, pan sauces, and braises — it’s like homemade bouillon cubes but a thousand times better.
For more ideas on stretching one ingredient into multiple meals, check out this guide to getting five meals from one chicken — it’s a game-changer for busy weeks.
Frequently Asked Questions
Here are the questions I hear most often about making Chicken Carcass Ramen Broth: Liquid Gold at home.
What is chicken carcass ramen broth?
Chicken carcass ramen broth is a rich, flavorful stock made by simmering leftover chicken bones, meat scraps, and aromatic vegetables for several hours. The long cooking process extracts collagen, minerals, and deep umami flavors, creating a golden, nutrient-dense liquid that serves as the foundation for authentic ramen dishes.
How long does it take to make chicken carcass ramen broth?
Making chicken carcass ramen broth typically takes between 4 to 12 hours of simmering time. A basic broth requires at least 4 hours to extract flavors and nutrients, while a more concentrated, restaurant-style broth benefits from 8 to 12 hours of cooking to achieve maximum richness and golden color.
Can I freeze chicken carcass ramen broth?
Yes, chicken carcass ramen broth freezes excellently for up to 3 months. Allow the broth to cool completely, then store it in airtight containers or freezer bags, leaving some space for expansion. For convenience, freeze in smaller portions so you can thaw only what you need for individual meals.
What makes chicken carcass ramen broth liquid gold?
Chicken carcass ramen broth is called liquid gold due to its rich golden color, exceptional flavor, and high nutritional value. The broth contains collagen that turns to gelatin, amino acids, minerals, and concentrated umami compounds. It transforms leftover bones into a valuable, versatile cooking ingredient that enhances any dish.
What ingredients do I need besides chicken carcass for ramen broth?
Beyond chicken carcasses, you need aromatic vegetables like onions, garlic, and ginger, plus green onions and optional additions such as kombu seaweed, dried shiitake mushrooms, or chicken feet for extra body. Seasonings typically include salt, soy sauce, and sometimes sake or mirin to enhance the umami depth of the final broth.
Final Dish
Making Chicken Carcass Ramen Broth: Liquid Gold is one of the most satisfying kitchen projects you can take on — it’s low-effort, high-reward, and turns something you’d normally throw away into a treasure that elevates every meal it touches. Once you taste homemade ramen broth this rich and flavorful, you’ll never look at chicken bones the same way again.
I’d love to see your golden pots of broth bubbling away on the stove — tag me in your photos and tell me how you’re using your liquid gold! Did you make a classic ramen bowl, or did you sneak it into a risotto or soup? Drop a comment below and let’s swap stories about our favorite ways to stretch every bit of goodness from our kitchens.
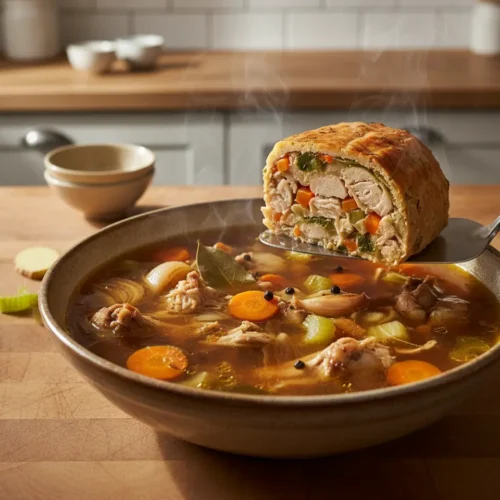
Chicken Carcass Ramen Broth: Liquid Gold
Ingredients
- 1-2 roasted chicken carcasses
- 1 large onion quartered
- 4-5 cloves garlic smashed
- 1 2-inch piece fresh ginger, sliced
- 2 carrots roughly chopped
- 2 celery stalks roughly chopped
- 1 bay leaf
- 1 teaspoon black peppercorns
- 8-10 cups cold water
Instructions
-
Place the roasted chicken carcasses in a large stockpot.
-
Add the quartered onion, smashed garlic cloves, sliced ginger, chopped carrots, and chopped celery to the pot.
-
Add the bay leaf and black peppercorns.
-
Pour in 8-10 cups of cold water, ensuring the chicken and vegetables are fully submerged. If not, add more water until covered.
-
Bring the mixture to a rolling boil over high heat, then immediately reduce the heat to low.
-
Skim off any foam or impurities that rise to the surface throughout the simmering process.
-
Let the broth simmer gently for at least 4-6 hours, or up to 8-12 hours for a richer flavor. The longer it simmers, the more flavorful and collagen-rich it will become.
-
Once simmering is complete, carefully strain the broth through a fine-mesh sieve or colander lined with cheesecloth into a clean bowl or container.
-
Discard the solids (chicken bones, vegetables, and aromatics).
-
Allow the broth to cool completely before transferring it to airtight containers for storage in the refrigerator for up to 4-5 days, or freeze for several months.
Notes