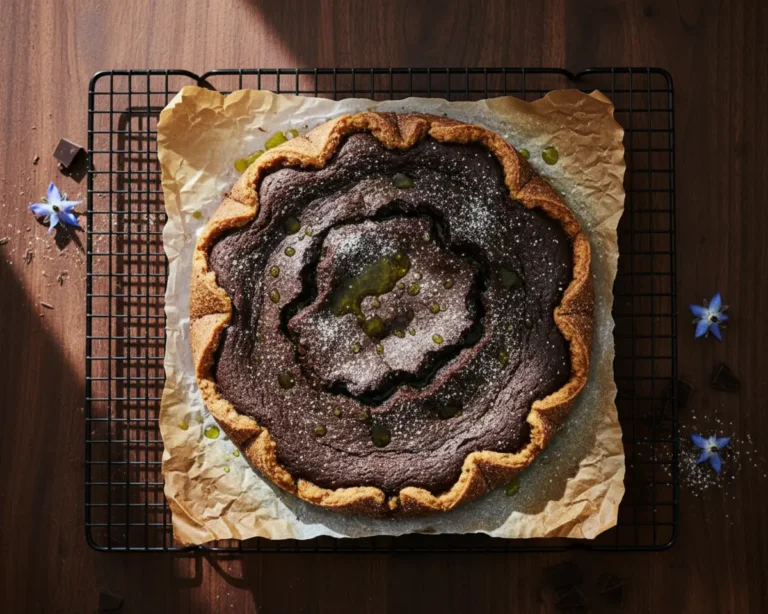
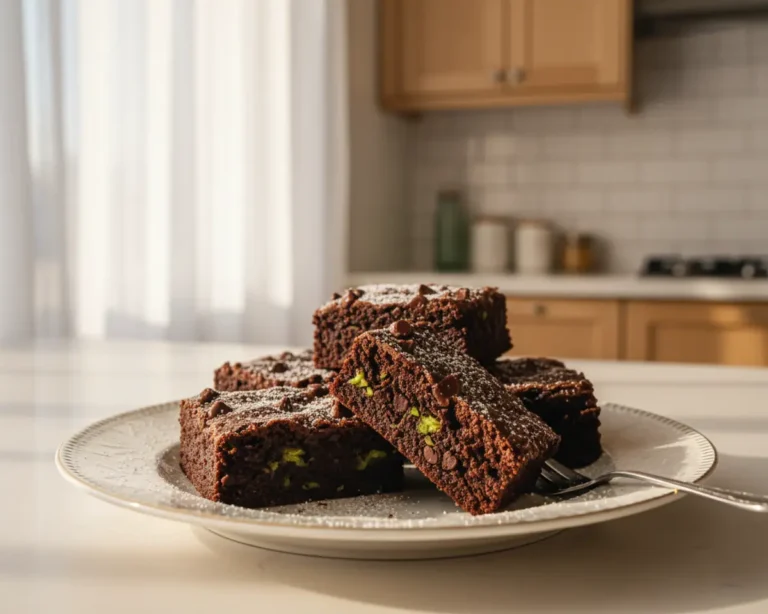
3-Ingredient Oreo Fudge
3-Ingredient Oreo Fudge is the kind of recipe that makes people think you spent way more time in the kitchen than you actually did. Hey there, I’m Claire Whitmore — a pastry whisperer in Asheville, NC, where butter totally counts as self-care.
This no-bake fudge brings together white chocolate, sweetened condensed milk, and Oreo sandwich cookies into a creamy, dreamy dessert that sets beautifully in the fridge. No oven, no fancy equipment, no stress.
I first made this on a rainy Tuesday when I needed something sweet and fast. One bowl, one microwave, and 8 hours of patience later — I had a pan of fudge that disappeared within the hour. It’s been a staple in my kitchen ever since.
Table of Contents
Little Snapshot: What This Recipe Delivers
This 3-Ingredient Oreo Fudge recipe uses white chocolate bark, sweetened condensed milk, and crushed Oreos to create a rich, no-bake fudge that sets firm in the fridge.
It takes just 10 minutes of prep, requires zero baking, and yields 24 generous squares. It’s the perfect easy dessert for parties, gifting, or when a chocolate craving hits hard and fast.
Why You’ll Love This Recipe
- This 3-Ingredient Oreo Fudge takes less time to prep than it does to scroll for a recipe — seriously, 10 minutes and you’re done.
- There’s no oven involved, which means it’s totally doable even in summer when turning on the heat feels like a crime against comfort.
- It makes 24 squares, so it’s perfect for potlucks, bake sales, or sneaking a piece straight from the fridge at midnight (we don’t judge here).
- According to King Arthur Baking’s guide to perfect chocolate fudge, the secret to smooth, creamy fudge is all in the ratio of chocolate to dairy — and this recipe nails it every single time.
Quick Facts
Here’s the quick scoop on this 3-Ingredient Oreo Fudge.
- Course: Dessert
- Prep Time: 10 minutes
- Cook Time: 5 minutes (microwave)
- Total Time: 8 hours 15 minutes (includes chilling)
- Servings: 24 squares
- Difficulty: Easy
Nutritional Peek
| Nutrient | Amount Per Serving |
|---|---|
| Calories | ~175 kcal |
| Total Fat | 8g |
| Saturated Fat | 4.5g |
| Carbohydrates | 24g |
| Sugar | 19g |
| Protein | 2g |
| Fiber | 0.5g |
If this recipe made your day, you’re in for a treat. The full Delicious Desserts guide is filled with tried-and-true favorites that real home cooks swear by. Trust me, you won’t be able to pick just one.
Ingredients for Oreo Fudge
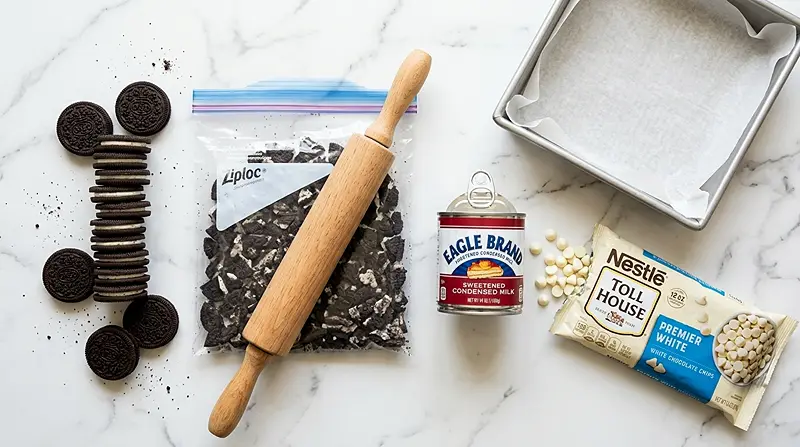
This oreo fudge recipe only needs three ingredients — but picking the right ones makes all the difference in texture and taste.
For the creamy base, you’ll want white chocolate bark or chips and full-fat sweetened condensed milk — both at room temperature for the smoothest melt. For the cookie layer, grab 28 Oreo sandwich cookies, which get crushed and folded right in for that signature cookies-and-cream bite.
| Amount | Ingredient |
|---|---|
| 14 oz | White chocolate bark or chips |
| 14 oz | Sweetened condensed milk (1 standard can) |
| 28 | Oreo sandwich cookies |
Tools You’ll Actually Use
- Medium microwave-safe bowl
- Rubber spatula or silicone spoon
- Ziplock bag (for crushing cookies)
- Rolling pin or heavy mug
- 8×8-inch square baking dish or similar rectangle pan
- Parchment paper
- Sharp knife for cutting squares
How to Make 3-Ingredient Oreo Fudge Step by Step
This 3-Ingredient Oreo Fudge comes together in just a few simple steps — here’s exactly how to do it.
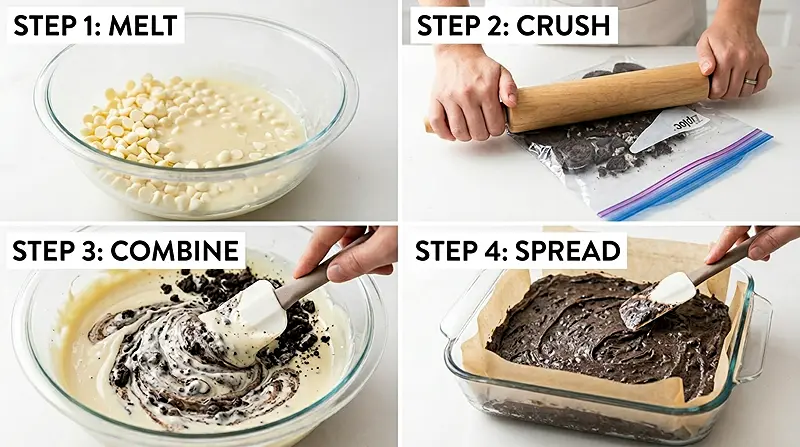
Step 1: Melt the chocolate base. Add 14 oz of white chocolate bark or chips and 14 oz of sweetened condensed milk to a medium microwave-safe bowl. Microwave for 1 full minute, then remove and stir — it’ll be partially melted and that’s totally fine.
Step 2: Finish melting in short bursts. Return the bowl to the microwave and heat in 15-second increments, stirring after each one. Keep going until the white chocolate and condensed milk are fully melted and silky smooth — this usually takes 2–3 more rounds.
Step 3: Crush the Oreos. Place all 28 Oreo sandwich cookies into a large ziplock bag and seal it. Use a rolling pin (or the bottom of a heavy mug) to gently smash them into chunky crumbles. You want a mix of bigger pieces and fine crumbs for the best texture.
Step 4: Fold in the cookies. Pour the crushed Oreo mixture into the melted white chocolate base and fold gently with a spatula until everything is well combined and the cookies are evenly distributed throughout.
Step 5: Pour and spread. Line your 8×8-inch baking dish (or similar rectangle pan) with parchment paper, leaving a little overhang for easy lifting later. Pour the fudge mixture in and spread it out evenly with your spatula so it reaches all the corners.
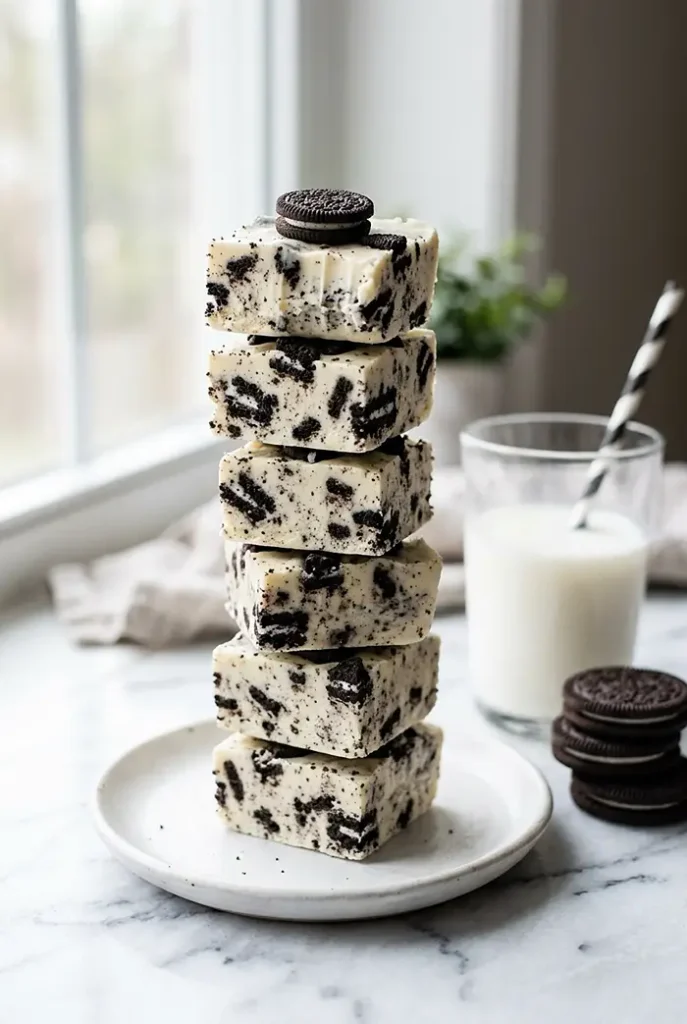
Step 6: Chill until firm. Place the dish in the fridge and let the fudge set for at least 8 hours — overnight works great. Once firm, lift it out using the parchment edges, place it on a cutting board, and slice into 24 squares. Serve and watch them disappear.
Claire’s Pro Tips for the Best No-Bake Fudge
No-bake fudge sounds foolproof — and it mostly is — but a couple of small things can take your batch from good to absolutely incredible.
The biggest tip I can offer is to be patient with the microwave melting. Rushing it by using high heat or long bursts can cause the white chocolate to seize up and turn grainy. Low and slow is your friend here.
Use bark over chips if you can. White chocolate baking bark melts more smoothly than chips, which sometimes contain stabilizers that make them tricky to melt. If chips are all you have, they’ll work — just watch the heat closely.
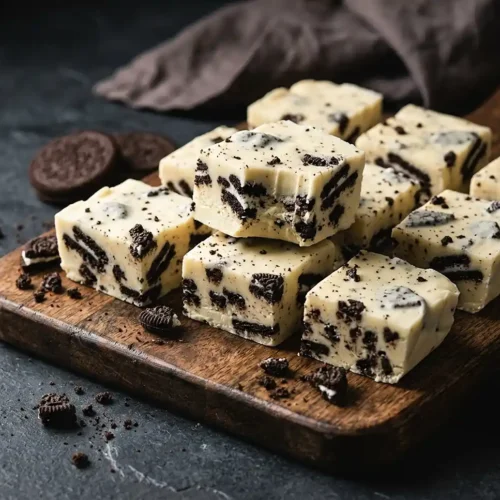
Don’t over-crush the cookies. A mix of chunky pieces and fine Oreo dust gives the fudge the best texture and the prettiest look when you slice into it. Aim for rustic, not powder.
Line that pan well. Let the parchment paper hang over the edges of your dish. This makes lifting the set fudge out so much easier and gives you clean, neat cuts.
Quick Fixes for 3-Ingredient Oreo Fudge
My white chocolate seized up and turned lumpy. This usually happens when the chocolate overheats or gets a tiny drop of water in it. Unfortunately, seized chocolate is hard to reverse. Start with a fresh batch and use shorter microwave bursts at 50% power this time.
My fudge isn’t setting after 8 hours. Double-check that you used full-fat sweetened condensed milk — not evaporated milk, which looks very similar on the shelf. Give it a couple more hours in the fridge, or pop it in the freezer for 30 minutes to help it along.
The fudge is too crumbly when I cut it. This often means the chocolate-to-condensed milk ratio was slightly off, or the fudge needed more time to set. Let it come to room temperature for 5 minutes before slicing, and use a sharp knife warmed under hot water (then dried) for the cleanest cuts.
My Oreos sank to the bottom. This can happen if the fudge mixture was too warm when you poured it. Let the melted chocolate cool for 3–4 minutes before folding in the cookies next time.
Variations and Fun Twists
This 3-ingredient dessert is a dream base for creativity — once you’ve nailed the classic, it’s so easy to riff on.
Try flavored Oreos. Birthday Cake, Mint, or Golden Oreos all work beautifully here and give the fudge a totally different personality. Mint Oreos + white chocolate is especially dreamy for the holidays.
Add a drizzle. Once the fudge is set, drizzle melted dark or milk chocolate over the top for a gorgeous contrast. It makes the whole thing look bakery-level fancy with almost no extra effort.
Make it festive. Sprinkle crushed candy canes on top for Christmas, pastel sprinkles for Easter, or orange and black sprinkles for Halloween. The white chocolate base is basically a blank canvas.
Go for a swirl. Reserve a few tablespoons of the plain melted chocolate before adding the cookies. Pour the cookie fudge in first, then drizzle the plain chocolate on top and swirl with a toothpick for a marbled effect.
Serving, Storage and Reheating

This oreo fudge is best served cold or at room temperature. Cut it into small squares — it’s rich, so a little goes a long way. It looks gorgeous arranged on a dessert platter alongside our soft and chewy healthy banana oatmeal cookies for a crowd-pleasing dessert spread.
Store leftovers (if there are any — seriously, good luck with that) in an airtight container in the fridge. They’ll stay fresh and firm for up to 10 days. Layer pieces with parchment paper so they don’t stick together.
No reheating needed here! The fudge is meant to be enjoyed cold or at room temperature. If it’s been in the fridge, just let it sit out for 5 minutes before serving so it softens slightly and the flavors really come through.
No-Waste Kitchen Magic
Got fudge that’s a day or two old and starting to dry at the edges? Crumble it over vanilla ice cream for an instant cookies-and-cream sundae. It’s honestly even better that way.
Leftover crushed Oreos from when you over-smashed the bag? Don’t toss them — sprinkle over yogurt, stir into whipped cream, or use as a crust base for a quick cheesecake. You can also fold them into our creamy healthy strawberry yogurt bites for a fun twist.
If you’re making this for gifting, portion the fudge into small cupcake liners and stack them in a gift box. Zero waste, maximum charm.
FAQs
Can I freeze this 3-Ingredient Oreo Fudge?
Yes, this Oreo fudge freezes really well! Cut it into squares first, then layer them between sheets of parchment paper in a freezer-safe container. It’ll keep beautifully for up to 3 months.
What’s the best way to store Oreo fudge?
Keep your fudge in an airtight container in the refrigerator, where it’ll stay fresh for up to 10 days. Make sure to layer pieces with parchment paper so they don’t stick together.
How do I know when the fudge is fully set?
The fudge is ready when it feels firm to the touch in the center — not just around the edges. After 8 hours in the fridge, gently press the middle with one finger. If it springs back and doesn’t dent, you’re good to slice.
Why should I use white chocolate bark instead of white chocolate chips?
White chocolate baking bark is formulated to melt cleanly and smoothly, which is exactly what you need for fudge. Chips often contain added stabilizers that can make them clump or resist melting evenly.
Will this no-bake fudge work with dark or milk chocolate instead?
The recipe is specifically built around white chocolate, which pairs so well with the Oreos for that classic cookies-and-cream flavor. That said, milk chocolate can work as a substitute — just know the flavor will be richer and the color much darker.
One Last Bite
This 3-Ingredient Oreo Fudge is proof that you don’t need a long ingredient list or hours in the kitchen to make something truly special.
Whether you’re whipping it up for a party, wrapping it as a homemade gift, or just treating yourself on a Tuesday — this recipe is always the right call. I’d love to see your spin on this 3-Ingredient Oreo Fudge!
Drop a comment below with your photos and how you made it your own. Did you try a fun Oreo flavor? Add a chocolate drizzle? This recipe is so versatile, I bet you’ve already got amazing ideas in mind!
I’m Claire Whitmore — a dessert daydreamer from Asheville, NC. For me, baking isn’t about perfect pastries — it’s about the joy of sharing something sweet (and maybe sneaking an extra square of fudge straight from the fridge).
3-Ingredient Oreo Fudge
Equipment
- Microwave-safe bowl
- Rubber spatula or silicone spoon
- Ziplock bag
- Rolling pin or heavy mug
- 8×8-inch baking dish
- Parchment paper
- Sharp knife
Ingredients
Main Ingredients
- 14 oz White chocolate bark or chips
- 14 oz Sweetened condensed milk 1 standard can, full-fat
- 28 Oreo sandwich cookies crushed
Instructions
- Add white chocolate and sweetened condensed milk to a microwave-safe bowl. Microwave for 1 minute, then stir.
- Continue microwaving in 15-second intervals, stirring after each, until the mixture is fully melted and smooth.
- Place Oreo cookies in a ziplock bag and crush into chunky pieces using a rolling pin or heavy mug.
- Fold the crushed Oreos into the melted chocolate mixture until evenly combined.
- Line a baking dish with parchment paper and pour in the mixture. Spread evenly to the edges.
- Refrigerate for at least 8 hours or until fully set. Lift out, slice into squares, and serve.