The Perfect Spicy Tuna Onigiri
Spicy Tuna Onigiri is honestly one of those recipes that makes me feel like I’ve got my life together — even when I’m eating it straight from my kitchen counter in pajamas.
I’m Linda Sandra, a Charleston home cook who believes comfort food comes in all shapes and sizes, and these little Japanese rice triangles have become my go-to when I want something that feels both fancy and totally doable.
Little Snapshot: What This Recipe Delivers
This Spicy Tuna Onigiri recipe transforms simple ingredients into perfectly portable Japanese comfort food that’s crispy outside, creamy inside, and packed with just the right amount of heat.
You’ll get four restaurant-quality rice balls that are way easier to make than they look and infinitely more satisfying than any store-bought snack.
Why You’ll Love This Recipe 🌸
- This Spicy Tuna Onigiri takes less time than scrolling through your phone and feels way more rewarding.
- You probably already have most ingredients hanging out in your pantry right now.
- They’re perfectly portable — no fork required, no mess, just pure handheld happiness.
- According to Just One Cookbook, onigiri has been Japan’s ultimate comfort food for centuries — and once you try these, you’ll totally understand why.
Quick Facts ⚡
Here’s the quick scoop on this Spicy Tuna Onigiri.
- Course: Snack/Light Meal
- Prep Time: 15 minutes
- Cook Time: 0 minutes
- Total Time: 15 minutes
- Servings: 4 onigiri
- Difficulty: Easy
Table of Contents
Nutritional Peek
| Nutrient | Amount per serving |
|---|---|
| Calories | 285 |
| Protein | 12g |
| Carbohydrates | 45g |
| Fat | 6g |
| Fiber | 1g |
| Sugar | 1g |
These little Japanese Sushi-inspired triangles pack more nutrition than you’d expect — plus they’re surprisingly filling!
Ingredients
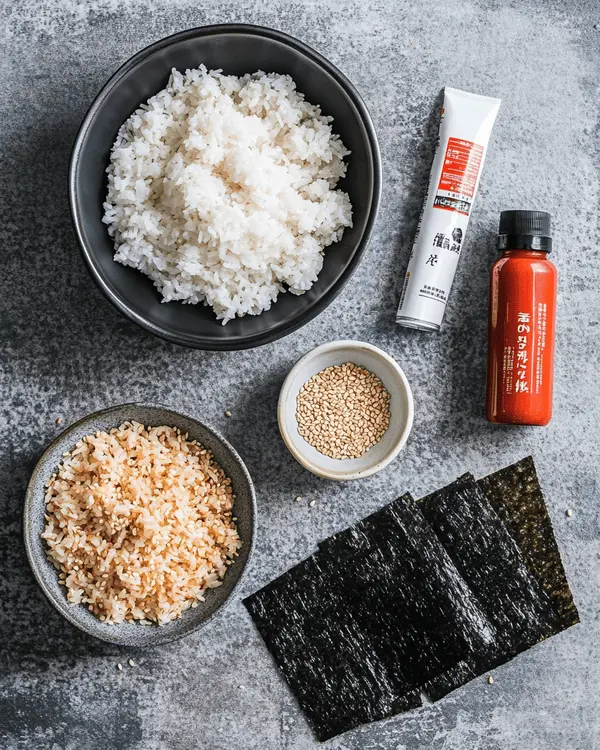
When you’re making Japanese Food Recipes Sushi-style at home, the secret is keeping things simple but quality. Here’s what you’ll need to grab:
| Amount | Ingredient |
|---|---|
| 3 cups | Cooked short grain rice (see notes for uncooked measurements) |
| ½ sheet | Nori seaweed (or use 2 sheets if you’re feeling generous) |
| ½ teaspoon | Salt |
| ½ teaspoon | Black sesame seeds (totally optional but so pretty) |
| As needed | Water for your rice paddle |
For the Spicy Tuna Filling:
| Amount | Ingredient |
|---|---|
| 5.29 oz | Canned tuna in oil (oil-packed is clutch here) |
| 2 tablespoons | Mayonnaise |
| 1 tablespoon | Sriracha sauce (or whatever hot sauce makes you happy) |
Can’t get enough of these flavors? You’re going to love what’s waiting in the Salmon & Fresh Catch Recipes lineup. Every single recipe is made to impress without the stress. Happy cooking, friend!
Tools You’ll Actually Use
- Large mixing bowl
- Rice paddle or silicone spatula
- Fine mesh sieve
- Small mixing bowl
- Clean kitchen scissors
- Plastic wrap (lots of it!)
- Large ceramic plate or clean countertop
Step-by-Step Instructions
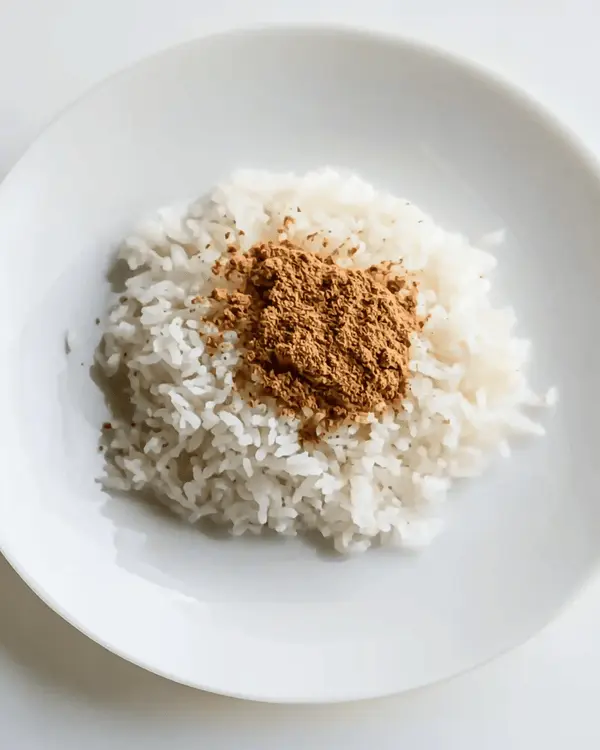
Making Spicy Tuna Onigiri is like edible origami — looks complicated but it’s actually pretty zen once you get the hang of it.
- Prep your rice foundation: Transfer your warm rice to a large bowl and season with salt. Mix it gently but thoroughly, then cover with a lid to keep it cozy. If you’re using day-old rice, just pop it in the microwave for 1-3 minutes until it’s warm and happy again.
- Make that spicy magic: Drain your canned tuna really well — I mean really well. Use a fine sieve and press out every drop with a fork. Nobody wants soggy onigiri! Mix the drained tuna with mayo and sriracha until it looks deliciously spicy.
- Set up your workspace: Lay out a big sheet of plastic wrap (about 15×15 inches) on a clean surface. Pro tip: tape the corners down if your countertop isn’t cooperating.
- Shape your first triangle: Wet your rice paddle and scoop ¾ cup of warm rice onto the plastic wrap. Spread it into a circle about ½-inch thick — think mini pizza base.
- Add the good stuff: Plop ¼ of your spicy tuna mixture right in the center of the rice circle.
- Work that plastic wrap magic: Lift and twist the corners of the plastic wrap to form a rice ball, gently pushing the filling toward the center. Flatten it until it’s about 1.75 inches thick, then use your thumb and pointer finger to shape it into a triangle. This part’s oddly satisfying!
- Wrap it up: Cut your nori sheet into strips (fold and cut, fold and cut until you have 4 strips). Unwrap your triangle and stick the rough side of the nori strip on the bottom, starting from the middle.
- Repeat the magic: Do this three more times because trust me, you’ll want more than one.
- Finish with flair: Sprinkle those sesame seeds on top and admire your handiwork!
Pro Tips & Gentle Guidance
The key to perfect Japanese Sushi Cooking Tips success? Don’t overthink it! Your first onigiri might look a little wonky, and that’s totally fine — they’ll still taste amazing.
Keep your hands slightly damp when working with rice, but not soaking wet. Think “dewy morning” level of moisture. If you’re new to working with sushi rice, Serious Eats has this fantastic guide on rice preparation that I reference all the time.
Quick Fixes for Spicy Tuna Onigiri
Rice falling apart? Your rice might be too dry or cold. Warm it up a bit and add a tiny sprinkle of water.
Can’t get the triangle shape? Don’t stress! Round onigiri are totally traditional too. Just focus on getting the filling sealed inside.
Nori getting soggy? Make sure your rice isn’t too hot when you add the seaweed, and eat these babies fresh!
Too spicy or not spicy enough? Adjust the sriracha to your taste — some like it hot, some like it mild. You do you!
Variations & Adaptations
This Onigiri Recipe is like a blank canvas for your creativity! Swap the spicy tuna for:
- Salmon and cream cheese (hello, sushi roll vibes)
- Pickled plum (umeboshi) for traditional flavor
- Teriyaki chicken for protein lovers
- Avocado and cucumber for veggie friends
- Japanese BBQ Chicken leftovers (because waste not, want not!)
Serving, Storage & Reheating
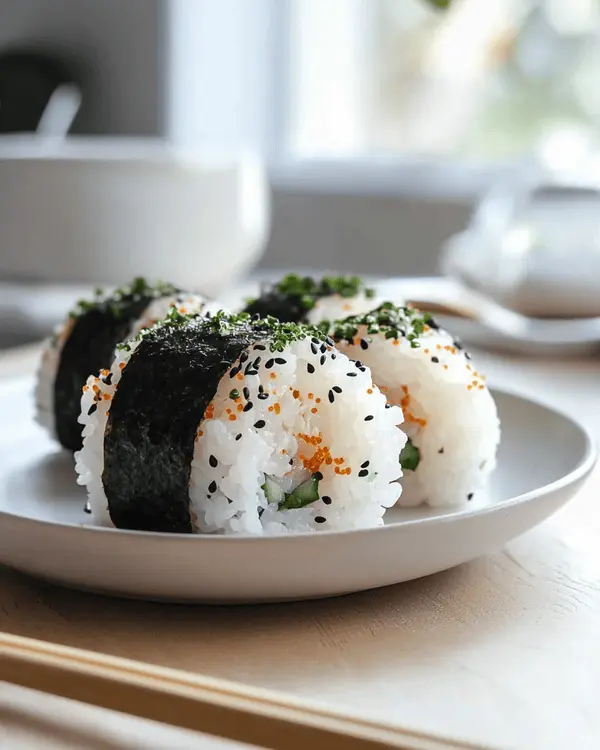
These Japanese Food Recipes Sushi treats are best enjoyed fresh and at room temperature. If you somehow manage not to devour them immediately, wrap each one individually in plastic wrap and store in the fridge for up to 2 days.
To refresh day-old onigiri, unwrap them and let them come to room temp for about 20 minutes. The rice will soften up beautifully. Don’t microwave them unless you want to turn your beautiful triangles into rice mush!
No-Waste Kitchen Magic
Got leftover cooked rice? This is literally the perfect recipe for it! Day-old rice actually works better than fresh because it’s less sticky and easier to handle.
Extra spicy tuna mixture? Spread it on crackers, stuff it in avocado halves, or mix it into a quick pasta salad. It’s basically a flavor bomb waiting to happen.
Those nori scraps? Crumble them over Japanese Ginger Salad for extra umami goodness.
Spicy Tuna Onigiri FAQs
Can I freeze these Spicy Tuna Onigiri?
You can, but honestly, they’re so much better fresh. If you must freeze them, wrap individually and freeze for up to a month. Thaw overnight in the fridge.
What if I can’t find short-grain rice?
Medium-grain rice works in a pinch, but avoid long-grain rice — it won’t stick together properly and you’ll end up with a rice explosion instead of neat triangles.
Can I make these ahead for meal prep?
Absolutely! Make the spicy tuna mixture the night before, then assemble in the morning. They’ll stay fresh for about 4-6 hours at room temp.
Is there a vegetarian version?
Try mashed avocado with a splash of soy sauce and sesame oil, or check out my Vegan Sesame Yaki Udon for more plant-based Japanese inspiration!
Wrapping It Up
So there you have it — Spicy Tuna Onigiri that’ll make your kitchen feel like the coziest little Japanese café. These little triangles of joy prove that the best comfort food doesn’t have to be complicated, just made with a little love and the right technique.
Whether you’re packing them for lunch, making them for a fun family cooking project, or just treating yourself to something special, these onigiri are about to become your new obsession.
Want more Japanese-inspired comfort? Try my Soul-Warming Japanese Pancakes or dive into The Softest Shokupan Recipe for your next baking adventure.
I’m Linda Sandra — a Charleston home chef and comfort-food daydreamer who believes the best meals happen when you’re not trying too hard. Around here, cooking’s about cozy vibes, creative twists, and food that feels like a warm hug.
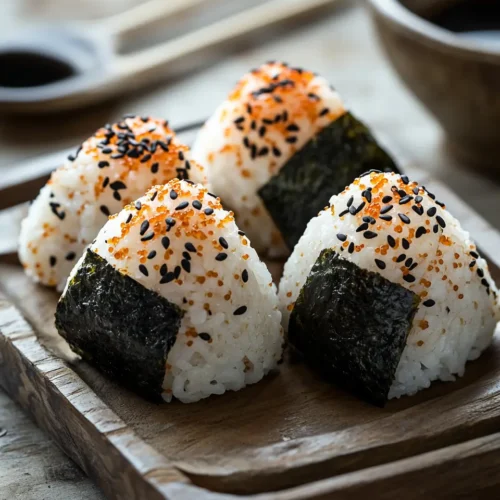
Spicy Tuna Onigiri
Equipment
- Large mixing bowl
- Rice paddle or silicone spatula
- Fine mesh sieve
- Small mixing bowl
- Clean kitchen scissors
- Plastic wrap
- Large ceramic plate
Ingredients
Main Ingredients
- 3 cups cooked short grain rice see notes for uncooked measurements
- ½ sheet nori seaweed or use 2 sheets if preferred
- ½ teaspoon salt
- ½ teaspoon black sesame seeds optional
- as needed water for rice paddle
Spicy Tuna Filling
- 5.29 oz canned tuna in oil
- 2 tablespoons mayonnaise
- 1 tablespoon sriracha sauce or any hot sauce
Instructions
- Transfer your warm rice to a large bowl and season with salt. Mix it gently but thoroughly, then cover with a lid to keep it cozy. If you’re using day-old rice, just pop it in the microwave for 1-3 minutes until it’s warm and happy again.
- Drain your canned tuna really well using a fine sieve and press out every drop with a fork. Mix the drained tuna with mayo and sriracha until it looks deliciously spicy.
- Lay out a big sheet of plastic wrap (about 15×15 inches) on a clean surface. Tape the corners down if your countertop isn’t cooperating.
- Wet your rice paddle and scoop ¾ cup of warm rice onto the plastic wrap. Spread it into a circle about ½-inch thick.
- Place ¼ of your spicy tuna mixture right in the center of the rice circle.
- Lift and twist the corners of the plastic wrap to form a rice ball, gently pushing the filling toward the center. Flatten it until it’s about 1.75 inches thick, then use your thumb and pointer finger to shape it into a triangle.
- Cut your nori sheet into strips by folding and cutting until you have 4 strips. Unwrap your triangle and stick the rough side of the nori strip on the bottom, starting from the middle.
- Repeat the process three more times. Sprinkle sesame seeds on top and serve fresh.