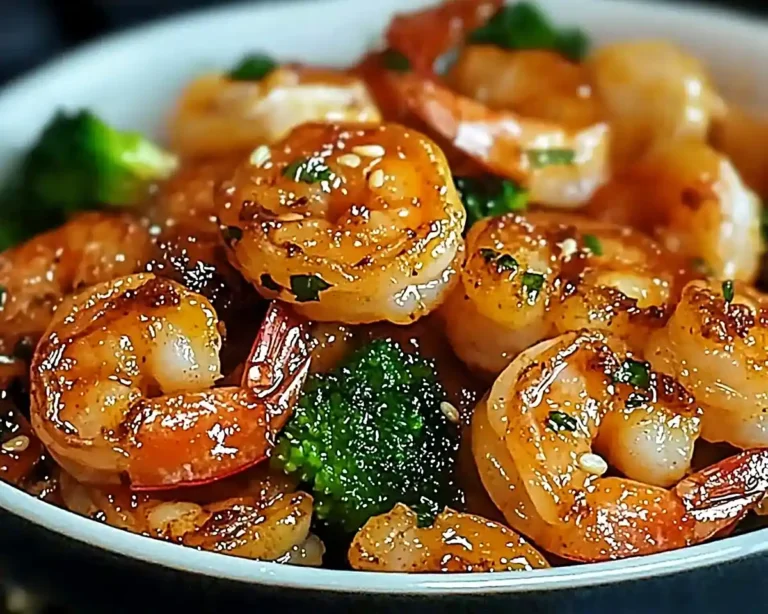
The Most Soul-Warming Japanese Pancakes
Japanese pancakes might just be the coziest comfort food discovery you never knew you needed.
I remember flipping The Most Soul-Warming Japanese Pancakes and watching the first one deflate before I got the hang of it—totally worth the practice. For more fluffy, feel-good treats, explore my guide to Japanese comfort food recipes.
I’m Linda Sandra — a Charleston home cook who believes every meal should feel like a hug,this Japanese pancakes recipe is one of my go-to ways to prove it.
There’s something magical about watching that batter transform into golden, crispy-edged perfection right in your skillet.
Little Snapshot: What This Recipe Delivers
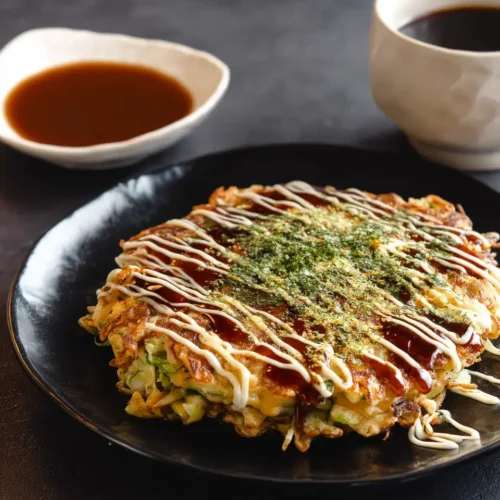
These aren’t your typical breakfast pancakes — we’re talking about savory Japanese pancakes (okonomiyaki) that are crispy on the outside, tender on the inside, and loaded with cabbage, green onions, and your choice of protein.
Think of them as the ultimate “whatever’s-in-your-fridge” comfort food that happens to look incredibly fancy.
Why You’ll Love This Recipe 🌸
- This Japanese pancakes recipe takes less time than folding a load of laundry and tastes about a million times better.
- It’s the perfect “clean out the fridge” meal that somehow makes you look like a culinary genius.
- One skillet, minimal cleanup, and maximum flavor — exactly what busy moms need on a Tuesday night.
- According to Just One Cookbook, okonomiyaki literally means “grilled as you like it” — and this recipe proves exactly why that flexibility is pure kitchen magic.
Quick Facts ⚡
Here’s the quick scoop on this Japanese pancakes recipe.
- Course: Main Dish
- Prep Time: 15 minutes
- Cook Time: 10 minutes
- Total Time: 25 minutes
- Servings: 4 servings
- Difficulty: Easy
Table of Contents
Nutritional Peek
| Nutrient | Amount per serving |
|---|---|
| Calories | 285 |
| Protein | 18g |
| Carbohydrates | 28g |
| Total Fat | 12g |
| Fiber | 3g |
| Sugar | 6g |
Ingredients
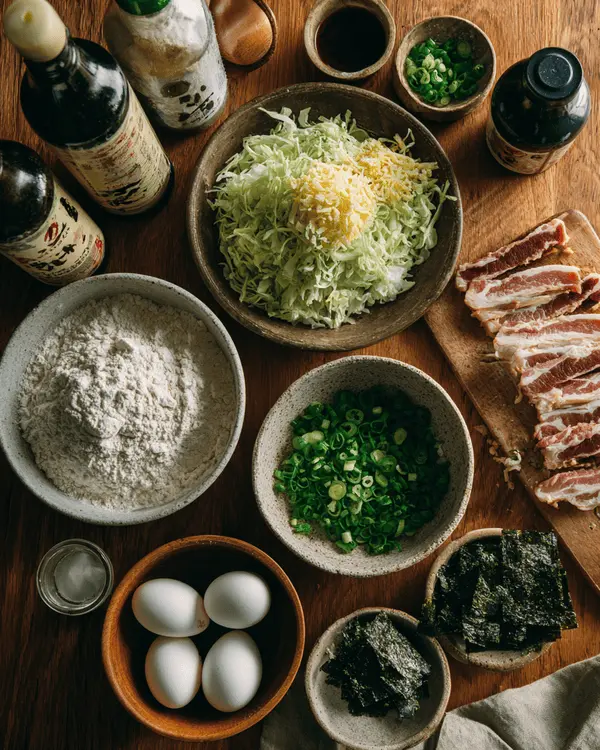
Let’s talk okonomiyaki ingredients — and honey, you probably have most of these hanging out in your kitchen right now. The beauty of this recipe is in its simplicity and flexibility.
For the Batter:
| Amount | Ingredient |
|---|---|
| 1 cup | all-purpose flour |
| 2/3 cup | water or dashi stock |
| 2 large | eggs |
| 4 cups | finely shredded cabbage (grab the pre-shredded bag if you’re feeling lazy — no judgment here!) |
| 1/2 cup | chopped green onions |
| 1/2 cup | tempura scraps (tenkasu) – optional but so worth it |
For the Filling:
| Amount | Ingredient |
|---|---|
| 8-10 slices | thinly sliced pork belly or bacon |
| Optional | seafood like shrimp or squid |
For the Toppings:
| Amount | Ingredient |
|---|---|
| As needed | Okonomiyaki sauce (store-bought saves the day) |
| As needed | Japanese mayonnaise (Kewpie is the gold standard) |
| As needed | Aonori (seaweed flakes) |
| As needed | Katsuobushi (bonito flakes that dance!) |
| As needed | Chopped green onions |
| As needed | Pickled ginger (beni shoga) |
Tools You’ll Actually Use
- Large mixing bowl
- Non-stick skillet or griddle (at least 10-inch)
- Spatula (preferably wide and thin)
- Measuring cups and spoons
- Kitchen scale (optional but helpful for consistent results)
There’s a whole world of morning classics waiting for you over at the Morning Classics collection. Each one is made with the same love and attention, and they’re all absolutely worth trying. Happy cooking!
Step-by-Step Instructions
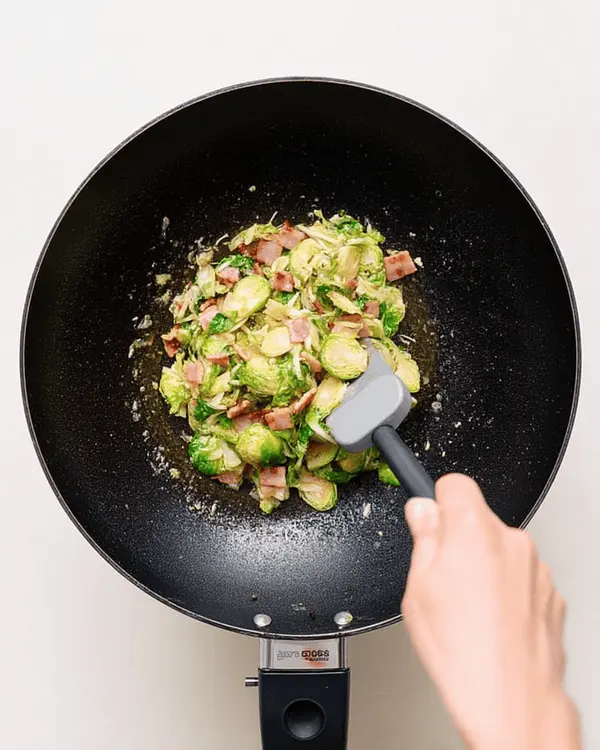
Making Japanese pancakes is honestly one of the most therapeutic cooking experiences you’ll have. There’s something so satisfying about watching all those simple ingredients come together into something spectacular.
Step 1: Start by making your batter magic happen. In a large bowl, whisk together the flour, water (or dashi if you’re feeling fancy), and eggs until everything’s smooth and happy. No lumps allowed in this kitchen!
Step 2: Here’s where things get fun — fold in that beautiful shredded cabbage and green onions. If you’ve got tempura scraps, toss those in too. Mix everything until it looks like a colorful, chunky pancake dream.
Step 3: Heat your non-stick skillet over medium heat and give it a light coating of oil. Not too hot — we want these beauties to cook evenly, not race to the finish line.
Step 4: Pour about a quarter of your batter mixture onto the skillet, spreading it into a nice round pancake about half an inch thick. Now lay those pork belly or bacon slices right on top like you’re tucking them into bed.
Step 5: Let that first side cook for about 4-5 minutes until it’s golden brown and gorgeous. Then comes the flip — be brave and confident with your spatula! Cook the other side for another 4-5 minutes until everything’s cooked through and smelling like heaven.
Step 6: Transfer your masterpiece to a plate and go wild with the toppings. Drizzle that okonomiyaki sauce and mayo in those classic crosshatch patterns (or just squiggle away — this is your moment to shine).
Sprinkle on the aonori, watch those bonito flakes dance, and finish with green onions and pickled ginger.
Pro Tips & Gentle Guidance
When you’re diving into okonomiyaki territory, remember that this dish is all about embracing the beautifully imperfect. Don’t stress if your first pancake isn’t Instagram-perfect — it’ll taste amazing regardless.
The key to crispy edges is patience with your heat level. Medium heat lets the inside cook through while giving you those golden, crispy edges we’re all after.
And here’s a little secret — if you’re new to Japanese cooking techniques, Serious Eats has some fantastic guidance on getting that perfect texture every time.
Quick Fixes for Japanese Pancakes
Pancake falling apart when you flip? Your batter might be too wet. Add a tablespoon of flour next time, and make sure you’re giving that first side enough time to set up properly.
Bottom burning while inside stays raw? Turn that heat down, lovely. These pancakes need gentle, steady cooking to get that perfect crispy-outside, tender-inside magic.
Toppings sliding off? Let your pancake cool for just a minute before adding toppings — it’ll help everything stick better and look more gorgeous.
Variations & Adaptations
The beauty of Japanese pancakes lies in their “cook it how you like it” philosophy. Swap out the pork for leftover cooked chicken, or go vegetarian with mushrooms and extra green onions.
For my gluten-free friends, try swapping the all-purpose flour for a 1:1 gluten-free blend — just add an extra egg for binding power. And if you’re dairy-free, most okonomiyaki sauces and toppings are naturally dairy-free anyway (just double-check your mayo).
Want to get creative? Try adding corn kernels, shredded carrots, or even leftover cooked rice to your batter. This recipe is basically your blank canvas for deliciousness.
Serving, Storage & Reheating
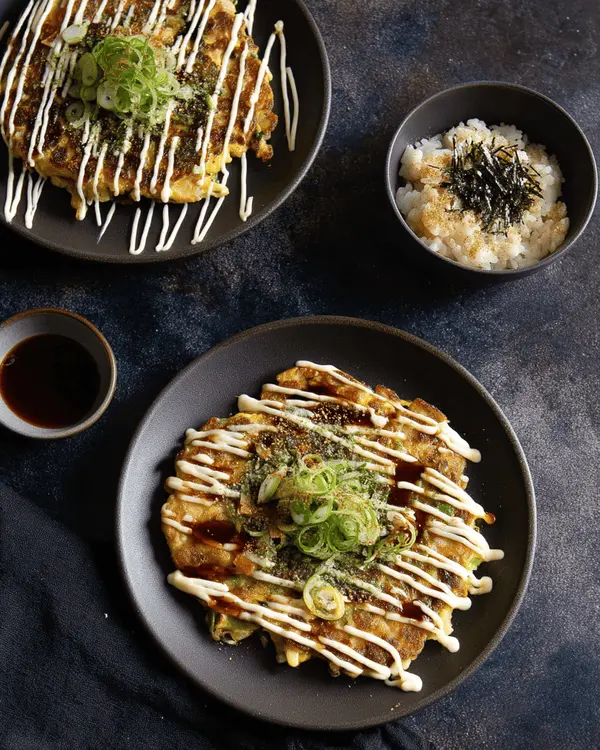
Fresh okonomiyaki is absolutely divine, but if you somehow manage not to devour these immediately (impressive self-control!), they’ll keep in the fridge for about 2 days.
To reheat, pop them back in a skillet over medium-low heat for a few minutes on each side. The microwave works in a pinch, but you’ll lose some of that lovely crispy texture. For serving, cut them into wedges like pizza — it makes sharing so much easier and feels wonderfully casual.
No-Waste Kitchen Magic
Got leftover cabbage from making these? It’s perfect for my Japanese Cucumber Salad or tossed into some Vegan Sesame Yaki Udon Noodles.
Day-old okonomiyaki can be chopped up and turned into fried rice — just toss it into a hot pan with some soy sauce and scrambled eggs. Waste not, want not, right?
Japanese Pancakes FAQs
Can I freeze Japanese pancakes batter?
Absolutely! The batter freezes beautifully for up to a month. Just thaw it overnight in the fridge and give it a good stir before cooking.
What if I can’t find okonomiyaki sauce?
No worries — you can make a quick substitute by mixing 3 parts ketchup, 1 part soy sauce, and 1 part Worcestershire sauce. It’s not exactly the same, but it’s pretty darn delicious.
Can I make these ahead for meal prep?
These are definitely best fresh, but you can prep all your ingredients the night before. Just mix the batter right before cooking for the best texture.
Are Japanese pancakes the same as tamagoyaki?
Nope! While both are Japanese favorites, tamagoyaki recipe is a sweet rolled omelet, while okonomiyaki is these savory cabbage pancakes we’re making today.
Wrapping Up
So there you go — Japanese pancakes that feel fancy but are secretly easy enough for a weeknight dinner. There’s something so satisfying about mastering a dish that seems exotic but uses ingredients you probably already have on hand.
I love how this recipe brings a little adventure to the dinner table without requiring a culinary degree or hours of prep work. Plus, watching those bonito flakes dance on top never gets old — it’s like dinner and a show!
Give this recipe a try and let me know how it goes in the comments below. Tag me on social media @edenplate — I absolutely love seeing your kitchen creations and celebrating your cooking wins, big and small.
If you loved these Japanese pancakes, you might also enjoy my Japanese BBQ Chicken Fried Rice or the incredibly soft Shokupan bread recipe that’ll make your kitchen smell like a Tokyo bakery.
I’m Linda Sandra — a Charleston home chef and comfort-food daydreamer. Around here, cooking’s not about perfection — it’s about cozy vibes, creative twists, and food that feels like love.
Japanese Pancakes (Okonomiyaki)
Equipment
- Large mixing bowl
- Non-stick skillet or griddle (at least 10-inch)
- Spatula (preferably wide and thin)
- Measuring cups and spoons
- Kitchen scale (optional but helpful for consistent results)
Ingredients
For the Batter
- 1 cup all-purpose flour
- ⅔ cup water or dashi stock
- 2 large eggs
- 4 cups finely shredded cabbage grab the pre-shredded bag if you’re feeling lazy — no judgment here!
- ½ cup chopped green onions
- ½ cup tempura scraps (tenkasu) optional but so worth it
For the Filling
- 8-10 slices thinly sliced pork belly or bacon
- Optional seafood like shrimp or squid
For the Toppings
- As needed Okonomiyaki sauce store-bought saves the day
- As needed Japanese mayonnaise Kewpie is the gold standard
- As needed Aonori (seaweed flakes)
- As needed Katsuobushi (bonito flakes) bonito flakes that dance!
- As needed chopped green onions
- As needed pickled ginger (beni shoga)
Instructions
- Start by making your batter magic happen. In a large bowl, whisk together the flour, water (or dashi if you’re feeling fancy), and eggs until everything’s smooth and happy. No lumps allowed in this kitchen!
- Here’s where things get fun — fold in that beautiful shredded cabbage and green onions. If you’ve got tempura scraps, toss those in too. Mix everything until it looks like a colorful, chunky pancake dream.
- Heat your non-stick skillet over medium heat and give it a light coating of oil. Not too hot — we want these beauties to cook evenly, not race to the finish line.
- Pour about a quarter of your batter mixture onto the skillet, spreading it into a nice round pancake about half an inch thick. Now lay those pork belly or bacon slices right on top like you’re tucking them into bed.
- Let that first side cook for about 4-5 minutes until it’s golden brown and gorgeous. Then comes the flip — be brave and confident with your spatula! Cook the other side for another 4-5 minutes until everything’s cooked through and smelling like heaven.
- Transfer your masterpiece to a plate and go wild with the toppings. Drizzle that okonomiyaki sauce and mayo in those classic crosshatch patterns (or just squiggle away — this is your moment to shine). Sprinkle on the aonori, watch those bonito flakes dance, and finish with green onions and pickled ginger.