The Crispiest Japanese Fried Chicken
Japanese fried chicken has been my absolute obsession lately, and honestly? Once you make this at home, you’ll wonder why you ever ordered it anywhere else.
I tried The Crispiest Japanese Fried Chicken on a Sunday and ended up frying two batches because the first disappeared so fast. For more crunchy, comforting classics, don’t miss my guide to Japanese comfort dishes.
I’m Linda Sandra — a Charleston home cook who believes every meal should feel like a hug, and this Japanese fried chicken recipe is one of my go-to ways to prove that comfort food doesn’t have to be complicated.
Little Snapshot: What This Recipe Delivers
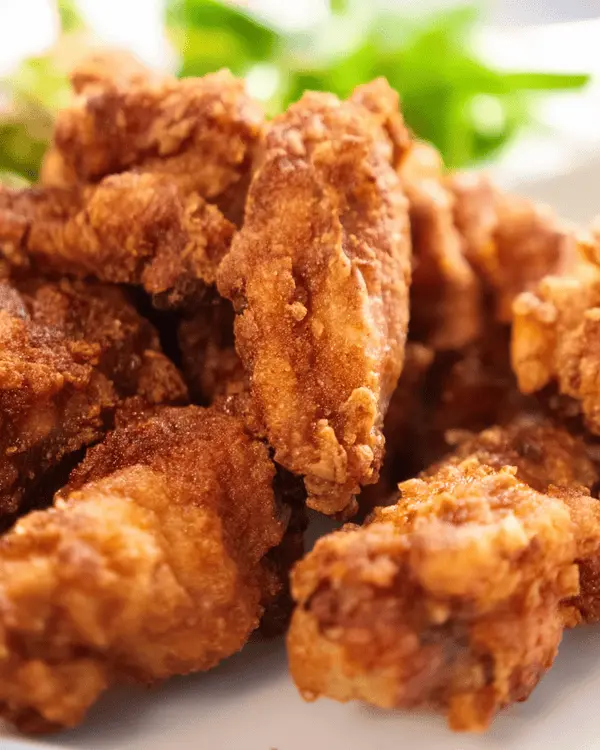
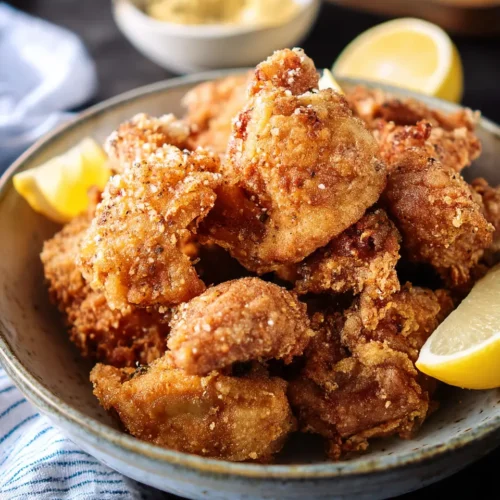
This Japanese fried chicken (karaage) delivers incredibly crispy, juicy chicken pieces with a light, airy coating that stays crunchy for hours. The secret? A quick marinade that infuses every bite with umami flavors, plus potato starch that creates the most amazing texture you’ve ever experienced.
Why You’ll Love This Recipe 🌸
- This Japanese fried chicken takes less time than scrolling through your favorite food videos.
- The marinade does all the heavy lifting while you prep everything else — perfect for busy weeknight dinners.
- It stays crispy for hours, so you can actually enjoy eating it instead of rushing to finish before it gets soggy.
- According to Serious Eats, potato starch creates superior crispiness compared to regular flour — and this recipe proves exactly why.
Quick Facts ⚡
Here’s the quick scoop on this Japanese fried chicken.
- Course: Main Dish/Appetizer
- Prep Time: 20 minutes
- Cook Time: 15 minutes
- Total Time: 35 minutes
- Servings: 4 servings
- Difficulty: Easy
Table of Contents
Nutritional Peek
| Nutrient | Amount per serving |
|---|---|
| Calories | 380 |
| Protein | 28g |
| Carbohydrates | 22g |
| Fat | 20g |
| Fiber | 1g |
| Sugar | 2g |
Ingredients
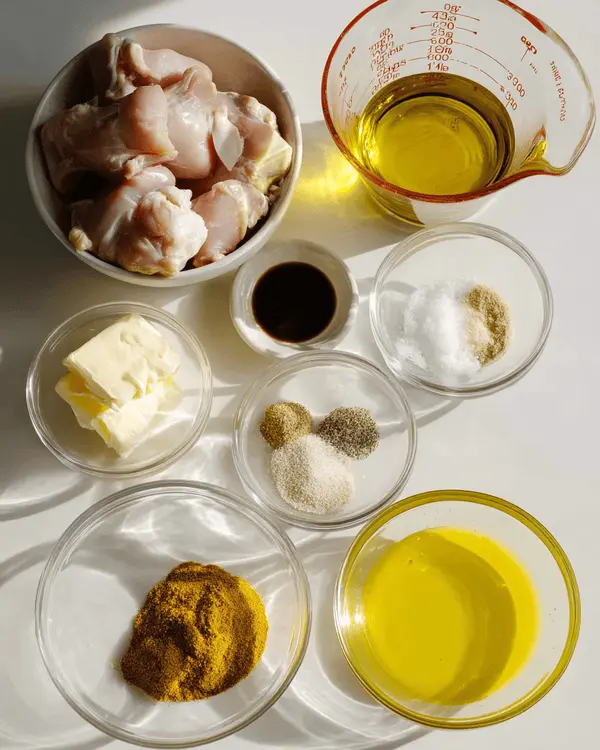
This karaage recipe uses simple ingredients that pack a serious flavor punch. Grab some chicken thighs — trust me on this one, they stay so much juicier than breasts. And if you can find skin-on boneless thighs? Even better! The skin gets incredibly crispy and adds that extra layer of texture we’re all here for.
| Amount | Ingredient |
|---|---|
| 1 lb | skinless boneless chicken thighs (or skin-on boneless thighs) |
| 2 cups | vegetable oil or any neutral oil |
| 1 cup | potato starch (or cornstarch/rice flour/tapioca starch) |
| 1 | lemon for serving |
Marinade:
| Amount | Ingredient |
|---|---|
| 1 tablespoon | sake (or dry sherry wine or rice vinegar) |
| 1 teaspoon | white granulated sugar |
| 1 tablespoon | mirin |
| 2 tablespoons | regular soy sauce (not dark soy sauce) |
| 1 tablespoon | grated ginger |
| 1 teaspoon | grated garlic |
| ¼ teaspoon | black pepper |
Tools You’ll Actually Use
- Large mixing bowls (you’ll need at least 2)
- Heavy-bottomed pot or deep fryer
- Instant-read thermometer (or wooden chopsticks for testing)
- Slotted spoon
- Wire rack or paper towel-lined baking sheet
- Large plate or parchment-lined baking sheet
Step-by-Step Instructions
Making Japanese fried chicken at home is way easier than you think, and the results are absolutely worth it. Here’s how we’re gonna make magic happen:
- Prep the chicken: Dice your chicken thighs into bite-sized pieces, about 1.5 inches wide. If you’ve got skin-on thighs, leave that beautiful skin right where it is! Transfer all those gorgeous pieces to a large bowl.
- Make it flavorful: Add all your marinade ingredients to the bowl with the chicken. Now comes the fun part — massage that marinade into the meat with your hands until everything’s well combined. Let this marinate for at least 15 minutes (though if you’ve got time, 30 minutes is even better).
- Coat for crispiness: In a separate large bowl, add your potato starch. Working with a few pieces at a time, dredge the marinated chicken in the starch until each piece is completely coated. Transfer the coated pieces to a large plate or parchment-lined baking sheet.
- Heat the oil: In your heavy-bottomed pot, heat the oil to 350°F on medium-high heat. No thermometer? No problem! Stick a wooden chopstick into the oil — if you see steady bubbles forming around it, you’re ready to fry.
- Fry in batches: This is crucial — don’t overcrowd the pot! Fry the chicken in small batches, spreading the pieces apart so they have room to get golden and crispy. Fry for 3-4 minutes total, flipping them halfway through.
- Drain and serve: Remove the fried chicken with a slotted spoon and transfer to a wire rack or paper towel-lined baking sheet to drain excess oil.
- The finishing touch: Serve immediately with a generous squeeze of fresh lemon juice over the top. Trust me, that bright citrus makes everything pop!
Pro Tips & Gentle Guidance
Here’s the thing about karaage — it’s super forgiving, but these little tricks will make yours absolutely perfect:
- Temperature matters: Keep that oil at 350°F. Too hot and the outside burns before the inside cooks; too cool and you’ll get greasy, soggy chicken.
- Don’t skip the marinade time: Those 15 minutes aren’t just a suggestion — they’re what transforms regular chicken into something special.
- Potato starch is magic: If you can find it, use it! It creates this incredibly light, crispy coating that regular flour just can’t match. According to Japanese Cooking 101, potato starch is the secret to authentic karaage texture.
- Fresh ginger and garlic: Please don’t use the jarred stuff for this. Fresh makes such a difference in the marinade.
Quick Fixes for Japanese Fried Chicken
Chicken came out greasy: Your oil wasn’t hot enough or you overcrowded the pan. Make sure you’re hitting 350°F and give those pieces some space to breathe.
Coating fell off: The chicken wasn’t dry enough before coating, or you didn’t let the marinade do its thing. Pat the chicken dry after marinating and make sure each piece is well-coated.
Not crispy enough: Try double-coating — dredge in starch, let sit for 2 minutes, then dredge again before frying.
Too salty: Next time, use less soy sauce in the marinade or rinse the chicken lightly after marinating and pat dry.
Variations & Adaptations
This Japanese fried chicken recipe is basically a blank canvas for your creativity:
Spicy karaage: Add a teaspoon of gochujang or sriracha to the marinade for some heat.
Gluten-free option: Use potato starch, rice flour, or cornstarch instead of any wheat-based flour.
Air fryer version: Cook at 400°F for 12-15 minutes, shaking the basket halfway through.
Different proteins: This marinade works beautifully with chicken wings, pork, or even cauliflower for a veggie version.
Serving, Storage & Reheating
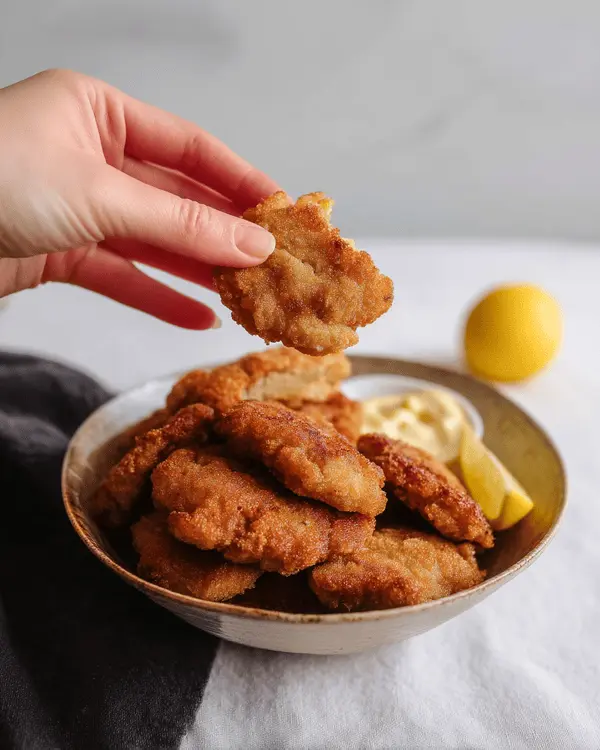
Karaage chicken is best served immediately while it’s hot and crispy, but I get it — sometimes life happens. If you need to store leftovers (though I doubt there will be any!), keep them in the fridge for up to 3 days.
Reheating: Skip the microwave and use your oven at 400°F for 5-7 minutes to bring back some of that crispiness. An air fryer works great too — just 3-4 minutes at 375°F.
Serving suggestions: This pairs beautifully with Japanese cucumber salad and steamed rice. Or try it over chili oil udon noodles for a fusion twist that’ll blow your mind.
No-Waste Kitchen Magic
Got leftover karaage (unlikely, but let’s be prepared)? Here are some delicious ways to use every last piece:
- Chop it up and add to Japanese BBQ chicken fried rice
- Make karaage sandwiches with soft shokupan bread
- Add to salads with Japanese ginger dressing
- Toss with vegan sesame yaki udon for extra protein
Japanese Fried Chicken FAQs
Can I freeze this Japanese fried chicken?
Yep! Freeze the cooked karaage for up to 3 months. Reheat straight from frozen in a 400°F oven for 10-12 minutes.
What if I don’t have sake or mirin?
No worries! Use dry white wine instead of sake, and for mirin, mix 1 tablespoon rice vinegar with 1 teaspoon sugar.
Can I make karaage chicken ahead of time?
You can marinate the chicken up to 24 hours ahead, and even coat it in starch a few hours before frying. Just keep the coated pieces in the fridge until ready to cook.
Why is my coating not sticking?
Make sure your chicken isn’t too wet from the marinade. Pat it lightly with paper towels before coating, and really press that starch into each piece.
Closing
So there you go — Japanese fried chicken that tastes like it came from your favorite restaurant but was made in your own kitchen with love. The crispy coating, the juicy interior, that perfect balance of flavors… it’s everything you want in comfort food and more.
I’d love to see your karaage creations! Tag me on social or drop a comment below with how yours turned out. Did you try any fun variations? I’m always here for your kitchen adventures!
I’m Linda Sandra — a Charleston home chef and comfort-food daydreamer. Around here, cooking’s not about perfection — it’s about cozy vibes, creative twists, and food that feels like love.
Japanese Fried Chicken (Karaage)
Equipment
- Large mixing bowls
- Heavy-bottomed pot or deep fryer
- Instant-read thermometer
- Slotted spoon
- Wire rack
- Large plate
- Parchment paper
Ingredients
Main Ingredients
- 1 lb skinless boneless chicken thighs or skin-on boneless thighs
- 2 cups vegetable oil or any neutral oil
- 1 cup potato starch or cornstarch/rice flour/tapioca starch
- 1 lemon for serving
Marinade
- 1 tablespoon sake or dry sherry wine or rice vinegar
- 1 teaspoon white granulated sugar
- 1 tablespoon mirin
- 2 tablespoons regular soy sauce not dark soy sauce
- 1 tablespoon grated ginger
- 1 teaspoon grated garlic
- ¼ teaspoon black pepper
Instructions
- Dice your chicken thighs into bite-sized pieces, about 1.5 inches wide. If you’ve got skin-on thighs, leave that beautiful skin right where it is! Transfer all those gorgeous pieces to a large bowl.
- Add all your marinade ingredients to the bowl with the chicken. Now comes the fun part — massage that marinade into the meat with your hands until everything’s well combined. Let this marinate for at least 15 minutes (though if you’ve got time, 30 minutes is even better).
- In a separate large bowl, add your potato starch. Working with a few pieces at a time, dredge the marinated chicken in the starch until each piece is completely coated. Transfer the coated pieces to a large plate or parchment-lined baking sheet.
- In your heavy-bottomed pot, heat the oil to 350°F on medium-high heat. No thermometer? No problem! Stick a wooden chopstick into the oil — if you see steady bubbles forming around it, you’re ready to fry.
- This is crucial — don’t overcrowd the pot! Fry the chicken in small batches, spreading the pieces apart so they have room to get golden and crispy. Fry for 3-4 minutes total, flipping them halfway through.
- Remove the fried chicken with a slotted spoon and transfer to a wire rack or paper towel-lined baking sheet to drain excess oil.
- Serve immediately with a generous squeeze of fresh lemon juice over the top. Trust me, that bright citrus makes everything pop!