Milton Hershey Historical Caramel Recipe
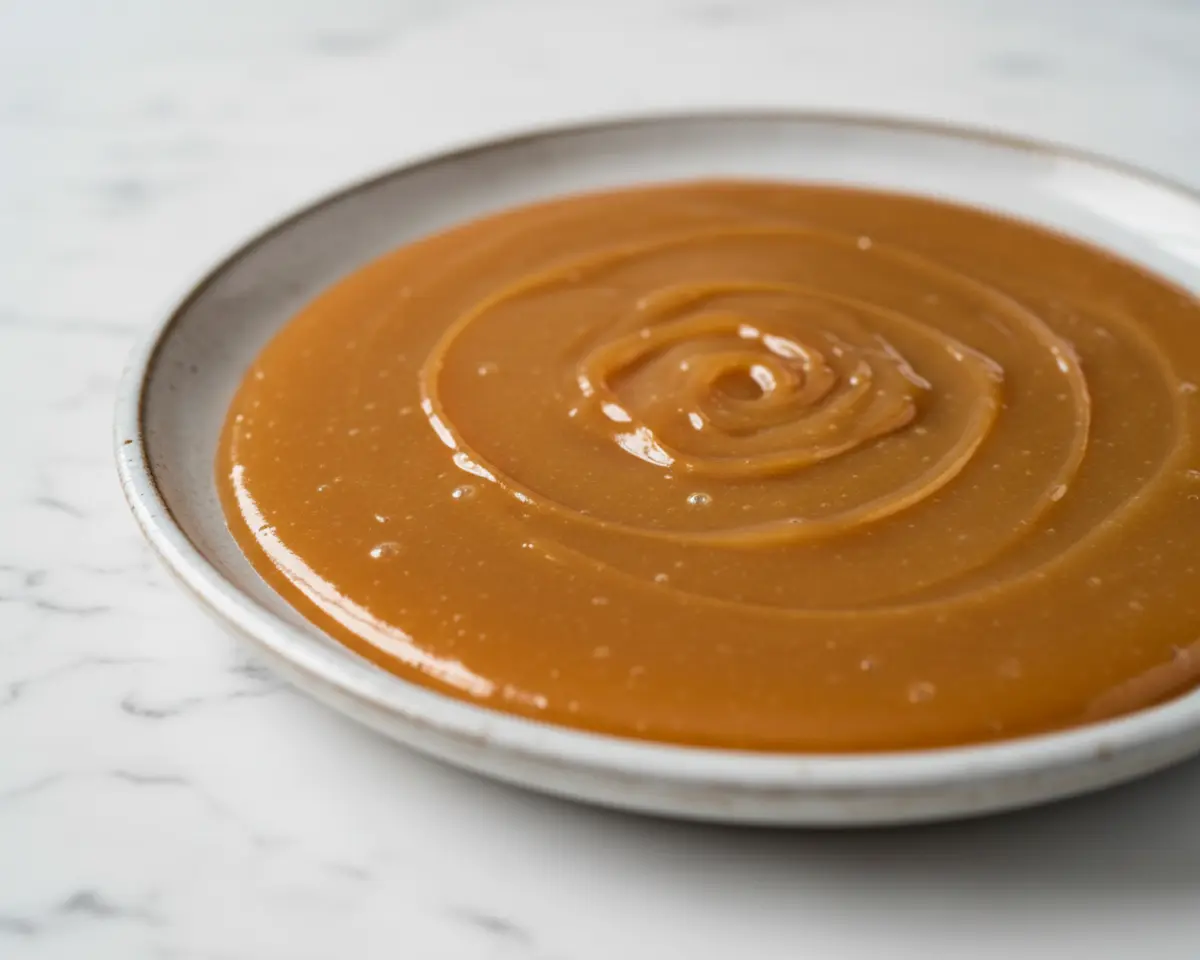
The moment you catch the buttery-sweet scent of this Milton Hershey Historical Caramel Recipe bubbling on the stove, you’ll understand why Milton S. Hershey himself built a candy empire around it — and honestly, it still smells like pure magic every single time.
I’m Linda Sandra, a Charleston home cook who’s been chasing vintage candy recipes for years, and this one’s the real deal: simple, timeless, and wrapped in history.
This classic caramel candy traces back to Hershey’s earliest confectionery days, long before chocolate bars took center stage. You’re working with granulated sugar, brown sugar, corn syrup, heavy cream, and butter — no fancy equipment, just a candy thermometer and a little patience.
I first tried this recipe on a rainy afternoon when I wanted something comforting and a little nostalgic. The caramels came out smooth, chewy, and impossibly buttery — exactly like the ones Milton Hershey sold from his Pennsylvania candy shop in the 1880s.
Table of Contents
The Short Answer
This Milton Hershey Historical Caramel Recipe is a vintage candy classic that uses seven simple ingredients — two sugars, corn syrup, cream, butter, vanilla, and salt — to create smooth, chewy caramels in about 30 minutes of active cooking.
It’s beginner-friendly if you have a candy thermometer, and the result is bakery-quality caramel that tastes like stepping into a turn-of-the-century confectionery shop.
Reasons This Recipe Wins Hearts 💕
- These Hershey caramels use only seven pantry-friendly ingredients — no corn starch, no gelatin, just pure buttery goodness.
- The vintage caramel recipe is surprisingly forgiving once you’ve got your thermometer in place — it practically takes care of itself.
- You’ll end up with soft, chewy squares that taste miles better than anything wrapped in cellophane at the store.
- The Smithsonian’s deep dive into Milton Hershey’s candy innovation explains how his early caramel success funded the chocolate factory we all know today — which is exactly the magic happening in this Milton Hershey Historical Caramel Recipe.
At a Glance ✨
Everything you need to know about this Milton Hershey Historical Caramel Recipe, in one quick look.
- CourseDessert
- Prep Time10 minutes
- Cook Time25 minutes
- Total Time2 hours 35 minutes (includes cooling)
- YieldAbout 60 caramels
- Skill LevelIntermediate
What You’ll Need (Ingredients)
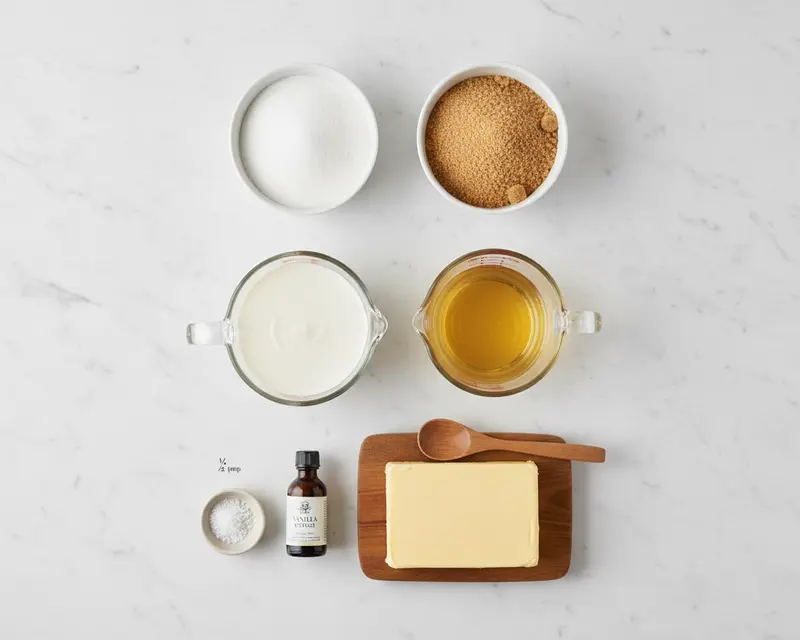
This old-fashioned caramel recipe starts with two kinds of sugar — granulated and brown — working together to build depth and chew. The corn syrup keeps things smooth and prevents crystallization, while the heavy cream and butter deliver that melt-in-your-mouth richness Milton Hershey was famous for. Vanilla and salt round out the flavor, bringing warmth and balance to every bite.
| Ingredient | Amount | Quick Note |
|---|---|---|
| Granulated sugar | 1 cup | Standard white sugar — no substitutions here. |
| Light brown sugar | 1 cup, packed | Adds molasses depth and chewiness. |
| Light corn syrup | 1 cup | Keeps the caramel smooth and prevents graininess. |
| Heavy cream | 1 cup | Full-fat only — the richness matters. |
| Unsalted butter | 1 cup, cut into pieces | Room temp cuts easier, but cold works too. |
| Vanilla extract | 1 teaspoon | Pure vanilla, please — it’s worth the splurge. |
| Salt | 1/2 teaspoon | Balances the sweetness beautifully. |
Kitchen Gear Checklist
Must-haves:
- Heavy-bottomed saucepan (at least 3-quart capacity)
- Candy thermometer that clips to the side
- 9×13 inch baking pan
- Wooden spoon or silicone spatula
- Wax paper or cellophane for wrapping
Nice-to-haves:
- Pastry brush for wiping down sugar crystals
- Sharp knife or pizza cutter for clean cuts
- Parchment paper for lining the pan
Let’s Make It (Step-by-Step Instructions)
Here’s how this Milton Hershey Historical Caramel Recipe comes together, one easy step at a time. The key is patience and a reliable thermometer — once you’ve got those, you’re golden.
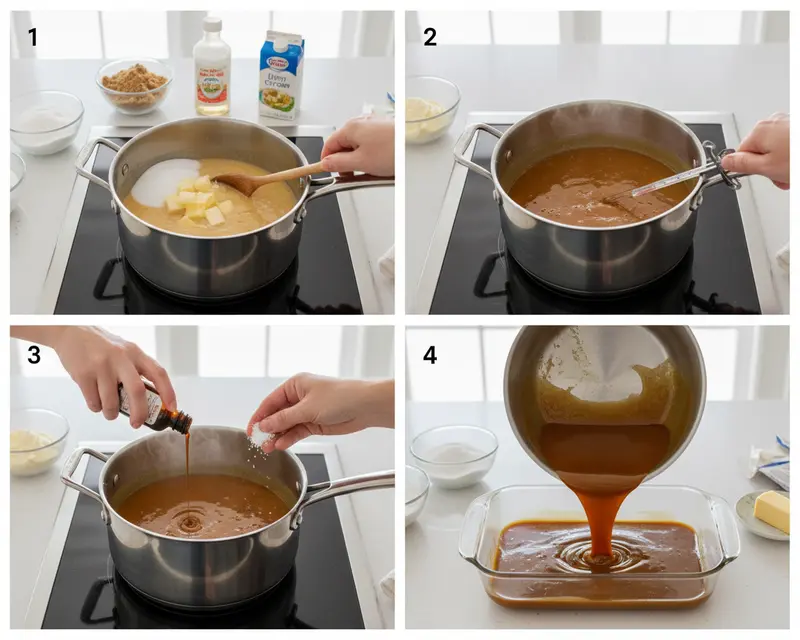
- Combine the base ingredients: Add the granulated sugar, packed light brown sugar, light corn syrup, heavy cream, and butter pieces to a heavy-bottomed saucepan. Place over medium heat and stir constantly with a wooden spoon until the sugars dissolve completely and the butter melts into a smooth, golden mixture.
- Bring to a boil: Once everything is melted and blended, let the mixture come to a full rolling boil. You’ll see big bubbles rising to the surface and hear a low, steady simmer — that’s your cue to clip your candy thermometer to the side of the pan.
- Cook to firm ball stage: Reduce the heat to medium-low and stop stirring. Let the caramel cook undisturbed, watching the thermometer slowly climb, until it reaches exactly 245°F (118°C). This takes about 15–20 minutes, and you’ll notice the color deepening to a rich amber.
- Stir in the finishing touches: Remove the pan from the heat immediately and stir in the vanilla extract and salt. The mixture will bubble up a bit — that’s normal — just keep stirring until it calms down and the vanilla is fully incorporated.
- Pour and cool: Pour the hot caramel into a buttered 9×13 inch pan, spreading it gently if needed. Let it cool completely at room temperature for about 2 hours, or pop it in the fridge for 30–45 minutes if you’re in a hurry.
- Cut and wrap: Once the caramel is firm to the touch, turn it out onto a cutting board. Use a sharp knife or pizza cutter to cut it into squares or rectangles, then wrap each piece individually in wax paper or cellophane to keep them from sticking together.
Nutrition Snapshot
| Nutrient | Per Caramel (1 piece) |
|---|---|
| Calories | 75 |
| Protein | 0g |
| Carbohydrates | 10g |
| Total Fat | 4g |
| Fiber | 0g |
| Sugar | 9g |
| Sodium | 35mg |
These values are estimates based on standard ingredient brands and a yield of about 60 caramels.
Little Secrets for Success (Pro Tips)
This vintage caramel recipe is straightforward, but a few small tricks make all the difference between good caramels and absolutely unforgettable ones.
Butter your pan generously. A thin coating isn’t enough — you want every corner slick so the caramel releases cleanly once it’s set. If you’re nervous, line the pan with parchment and butter that, too.
Don’t stir once you hit the boil. Stirring after the mixture starts bubbling can cause sugar crystals to form along the sides of the pan, making your caramels grainy. Just let the thermometer do its job and resist the urge to fiddle.
Watch the color, not just the temp. A deep amber hue means you’re right on track — if it’s still pale blonde at 245°F, your thermometer might be off. For a deeper dive into candy temperature and doneness cues, the Exploratorium’s guide to sugar stages is my go-to — it’s clear, practical, and totally beginner-friendly.
Cool completely before cutting. Warm caramel is sticky and impossible to slice cleanly. If you’re in a rush, the fridge speeds things up, but room-temperature cooling gives you the best texture.
Oops, Fixed It! (Troubleshooting for Milton Hershey Historical Caramel Recipe)
Why is my caramel too soft and sticky? You probably didn’t quite reach 245°F, or your thermometer read high. Next time, cook it a degree or two higher, and make sure your thermometer is calibrated in boiling water first.
Why did my caramel turn grainy or crystallize? Sugar crystals formed on the side of the pan and got stirred back in. Use a wet pastry brush to wipe down the sides during cooking, and avoid stirring once the mixture boils.
Can I save caramel that’s too hard? If it’s rock-solid, you overcooked it past 250°F. You can’t soften it back, but you can chop it into chunks and stir it into ice cream or melt it down with a splash of cream for a sauce.
Why does my caramel taste burnt? The heat was too high, or it cooked too long at temperature. Keep it at medium-low once it boils, and pull it off the heat the second it hits 245°F.
Make It Your Own (Variations)
One of the best things about this classic caramel candy is how easily it bends to your mood, the season, or whatever you’ve got tucked in the pantry.
Sea salt caramel: Sprinkle flaky sea salt over the top of the caramel right after you pour it into the pan. It adds a gorgeous savory contrast and looks bakery-fancy. You can check out more ways to use it in this salted caramel chocolate cupcake recipe.
Chocolate-dipped caramels: Once your squares are cut and cooled, dip each one halfway into melted dark or milk chocolate. Let them set on parchment for an elegant two-tone candy.
Dairy-free caramel: Swap the heavy cream for full-fat coconut cream and use vegan butter. The flavor shifts slightly tropical, but the texture stays beautifully chewy.
Espresso caramel: Stir in a teaspoon of instant espresso powder along with the vanilla. It deepens the flavor and adds a subtle coffee note that’s absolutely addictive.
Apple cider caramel: Replace half the cream with boiled-down apple cider (reduce 1 cup cider to 1/2 cup). It’s perfect for fall and pairs beautifully with this easy caramel apple dip.
Serve, Store & Reheat
These Hershey caramels are perfect tucked into gift tins, piled on a dessert tray, or sneaked straight from the counter when no one’s looking. They’re also a killer topping for ice cream, brownies, or stirred into hot cocoa — trust me on that last one.
Storage
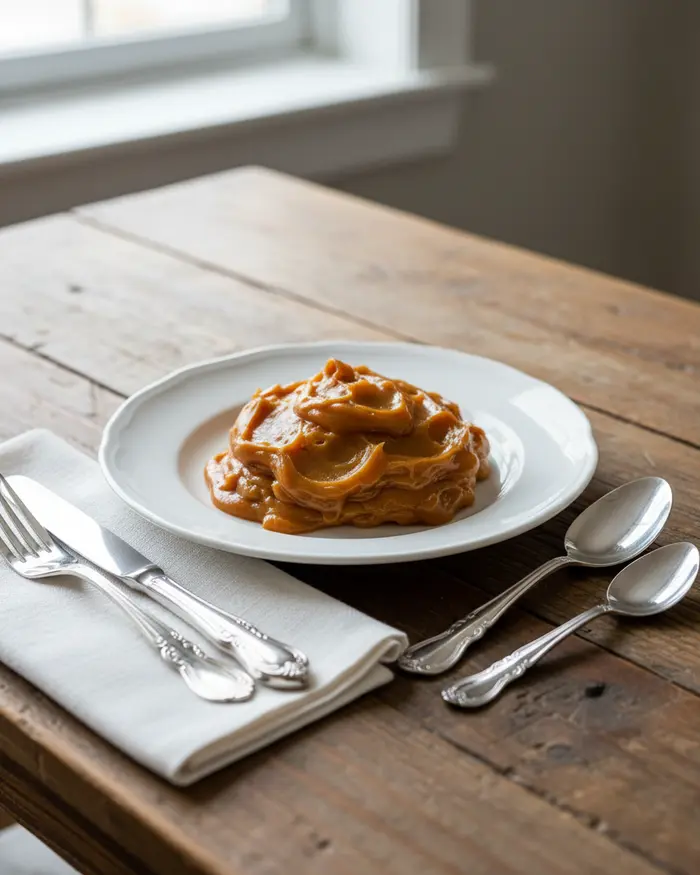
Store wrapped caramels in an airtight container at room temperature for up to two weeks, or in the fridge for up to a month. The wax paper or cellophane keeps them from welding into one giant candy brick.
You can freeze them for up to three months — just make sure they’re wrapped individually and sealed in a freezer-safe bag. Thaw at room temperature for about 20 minutes before unwrapping, and they’ll taste just-made.
If your caramels soften in warm weather, pop them in the fridge for 10 minutes to firm back up. Assuming there are leftovers, which is a big assumption around here.
Love Your Leftovers (Waste-Free Ideas)
Caramel sauce rescue: If a batch turns out too soft to cut, don’t toss it — warm it gently with a splash of cream and use it as a pourable caramel sauce over ice cream, waffles, or this caramel apple cider float.
Caramel crumbles: Chop any misshapen or broken pieces into tiny chunks and fold them into cookie dough, brownie batter, or sprinkle over cheesecake.
Caramel apple topping: Melt a few caramels with a tablespoon of cream in the microwave, then drizzle over sliced apples or stir into this caramel apple cheesecake bars recipe.
Gift tin fillers: Wrap odd-sized pieces in cellophane, tie them with twine, and tuck them into holiday gift baskets alongside homemade cookies or cocoa mix.
Your Questions, Answered (FAQs)
Here are the questions I hear most often about this old-fashioned caramel recipe, answered in the simplest way I know how.
What was Milton Hershey’s original caramel recipe?
Milton Hershey’s original caramel recipe was developed in the 1880s and used fresh milk instead of paraffin, which was commonly used by other candy makers at the time. This gave his caramels a distinctive creamy texture and rich flavor that set them apart from competitors.
When did Milton Hershey start making caramels?
Milton Hershey founded the Lancaster Caramel Company in 1886 after perfecting his caramel recipe. He had experienced several business failures before finding success with his caramel business, which became highly profitable and laid the foundation for his later chocolate empire.
Why did Milton Hershey stop making caramels?
Milton Hershey sold his Lancaster Caramel Company in 1900 for one million dollars to focus entirely on chocolate manufacturing. He believed chocolate was the future of confectionery and wanted to dedicate all his resources to developing affordable milk chocolate for the masses.
What made Milton Hershey’s caramels so successful?
The success of Hershey’s caramels was due to the use of fresh milk which created a superior taste and texture compared to competitors. His caramels were marketed under the brand name Crystal A Caramels and became popular throughout the United States and were even exported internationally.
Can you still buy Milton Hershey’s original caramels today?
While the exact original Lancaster Caramel Company recipe is no longer in production, the Hershey Company does make caramel products. However, these modern caramels are different formulations from the historical recipe that Milton Hershey created in the 1880s.
Before You Go
If you give this Milton Hershey Historical Caramel Recipe a try, I’d genuinely love to hear how it went! Leave a comment with your tweaks, or snap a photo and tag me — your vintage candy creations make my whole week.
There’s something incredibly satisfying about making candy the way Milton Hershey did over a century ago — no shortcuts, no mystery ingredients, just butter, sugar, and a little patience. Proof that a little effort can taste like a whole lot of love.
Save this recipe, share it with a friend who loves old-fashioned sweets, or pin it for your next holiday candy-making marathon. Happy cooking!
I’m Linda Sandra — a Charleston home cook and comfort-food daydreamer. Around here, cooking’s not about perfection — it’s about cozy vibes, creative twists, and food that feels like love.
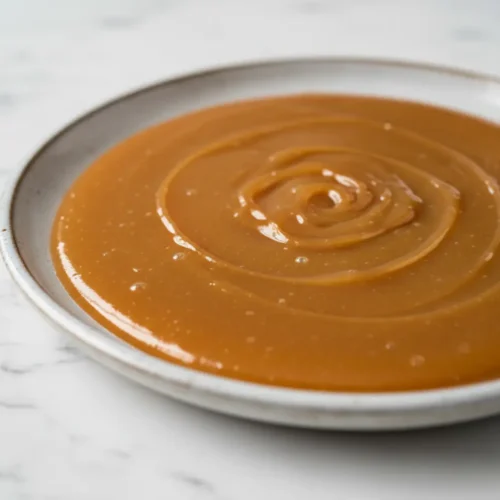
Milton Hershey Historical Caramel Recipe
Ingredients
- 1 cup granulated sugar
- 1 cup packed light brown sugar
- 1 cup light corn syrup
- 1 cup heavy cream
- 1 cup unsalted butter cut into pieces
- 1 teaspoon vanilla extract
- ½ teaspoon salt
Instructions
- Combine granulated sugar, brown sugar, corn syrup, heavy cream, and butter in a heavy-bottomed saucepan over medium heat. Stir constantly until the sugars dissolve and the butter melts.
- Once the mixture comes to a boil, reduce heat to medium-low and continue to cook without stirring. Use a candy thermometer and cook until the mixture reaches 245°F (118°C), or firm ball stage.
- Remove from heat and stir in the vanilla extract and salt.
- Pour the caramel into a buttered 9×13 inch pan. Allow to cool completely at room temperature, or refrigerate for faster setting.
- Once firm, cut the caramel into desired shapes and wrap individually in wax paper or cellophane.