Homemade Non-alcoholic Limoncello Recipe
This homemade non-alcoholic limoncello recipe uses just 4 simple ingredients to create the most vibrant, refreshing Italian-inspired lemon syrup. Perfect for gifting or mixing into mocktails!
Hey there, I’m Claire Whitmore — a pastry whisperer in Asheville, NC, where butter totally counts as self-care. This homemade limoncello recipe is my love letter to lazy Italian summers, even when I’m just hanging out on my North Carolina porch.
We’re talking bright, zesty, impossibly flavorful lemon syrup that tastes like bottled sunshine and works beautifully in everything from sparkling water to drizzled over desserts.
Table of Contents
Little Snapshot: What This Recipe Delivers
This easy limoncello making guide walks you through creating a smooth, vibrant Italian lemon syrup at home using organic lemons, water, and sugar.
With just 20 minutes of active prep and 1-2 weeks of steeping time, you’ll have about 6 cups of concentrated, citrusy limoncello syrup perfect for mixing into sparkling water, drizzling over desserts, or gifting in pretty bottles.
Why You’ll Love This Recipe 🌸
- This delicious homemade limoncello recipe is completely alcohol-free, making it perfect for the whole family to enjoy.
- You’ll create a versatile lemon syrup that works in everything from mocktails to pancake toppings — way more useful than you’d expect.
- It makes the most impressive handmade gift — people will think you’re basically a domestic goddess when you show up with a bottle of this sunshine.
- According to Serious Eats in their comprehensive guide to homemade syrups, the key to exceptional flavor is using the freshest organic citrus and proper infusion time — and this recipe nails both.
Quick Facts ⚡
Here’s the quick scoop on this homemade limoncello recipe.
- CourseBeverage Syrup/Concentrate
- Prep Time20 minutes
- Steeping Time1-2 weeks
- Total Time1-2 weeks + 20 minutes
- YieldAbout 6 cups
- DifficultyEasy
Nutritional Peek
Here’s a rough breakdown per 2-tablespoon serving of the concentrated syrup — though remember, you’ll typically dilute this with water or sparkling water!
| Nutrient | Amount per Serving (2 tbsp) |
|---|---|
| Calories | 45-50 |
| Protein | 0g |
| Carbohydrates | 12-13g |
| Sugar | 11-12g |
| Fat | 0g |
| Fiber | 0g |
| Sodium | 0mg |
Note: Nutritional values are approximate and based on the concentrated syrup before dilution.
This recipe is just the beginning. Over in the Classic Comfort Foods collection, you’ll find even more dishes that are just as easy and packed with flavor. Go take a peek — your next favorite is waiting.
Ingredients
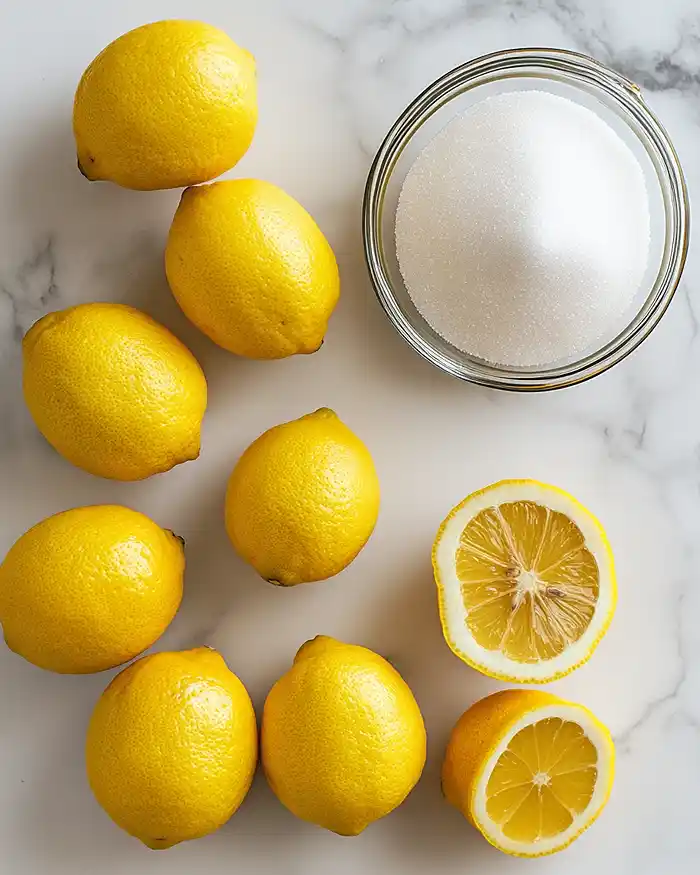
This easy limoncello making guide starts with the simplest ingredient list you’ve ever seen for something that tastes this fancy.
Before we dive into measurements, let’s talk about what’s going into your bottle. For the citrus component — those bright, fragrant lemon peels — you’ll want organic lemons since we’re using just the zest and you definitely don’t want pesticides steeping in your syrup.
For the base liquid, we’ll use water infused with those gorgeous lemon oils. The simple syrup comes together with just granulated sugar and water, creating that perfectly balanced sweetness that makes this syrup so dangerously versatile and delicious.
| Amount | Ingredient |
|---|---|
| 10 | Lemons, preferably organic (you need those gorgeous peels!) |
| 4 cups | Water, divided (3 cups for infusion, 1 cup for simple syrup) |
| 2 cups | Granulated sugar (yes, the regular stuff) |
| 1 teaspoon | Pure vanilla extract (optional, but adds lovely depth) |
Tools You’ll Actually Use
- Vegetable peeler or sharp paring knife
- Large glass jar or container with airtight lid (at least 2-quart capacity)
- Medium saucepan
- Fine mesh strainer or cheesecloth
- Funnel
- Clean bottles for storage (I love swing-top bottles for gifting!)
- Patience (the hardest ingredient, honestly)
Step-by-Step Instructions
Ready to make your own homemade limoncello recipe? Let’s do this — it’s easier than you think.
Step 1: Peel those lemons with love Wash your 10 organic lemons really well, then use a vegetable peeler or sharp paring knife to remove just the bright yellow zest in long strips.
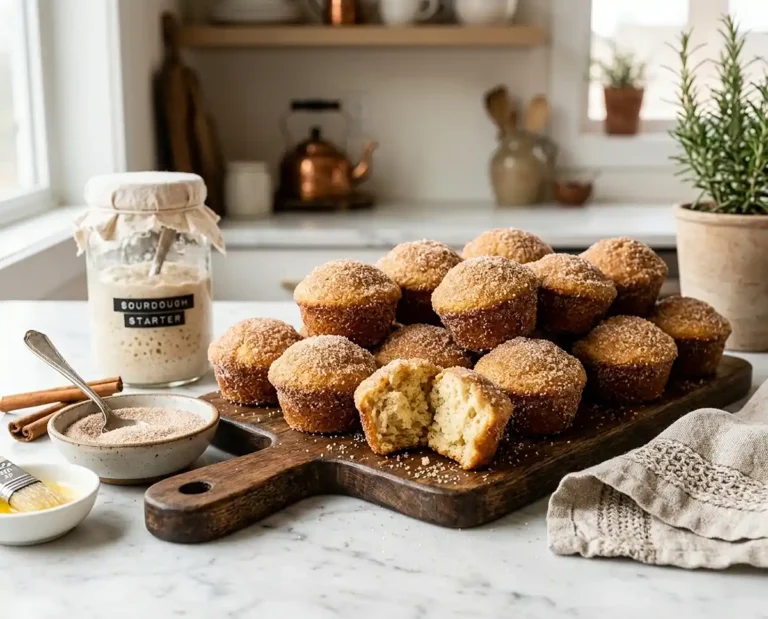
Here’s the crucial part: avoid getting any of that white pith underneath, because it’s bitter and will make your syrup taste like sadness. Just the sunny yellow part! Save the naked lemons for lemonade, salad dressings, or my sourdough lemon muffins — waste not, want not.
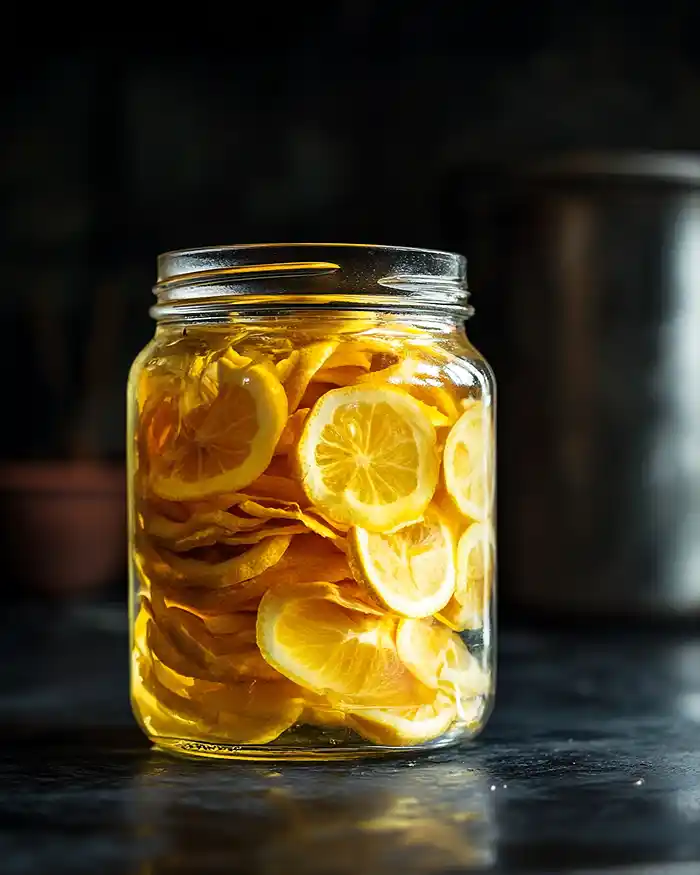
Step 2: Start the magic steep Drop all those beautiful lemon peels into your large glass jar or airtight container, then pour in 3 cups of water until the peels are completely submerged. Seal it up tight and store it somewhere cool and dark — like a cupboard or pantry shelf.
Now comes the patience part: let this mixture steep for 1-2 weeks, giving it a gentle shake every few days. The longer you steep, the more intense and vibrant the lemon flavor becomes (I usually go for 10-12 days because I love that punchy citrus hit).
Step 3: Whip up your concentrated simple syrup When your steeping time is almost up, combine the remaining 1 cup of water and 2 cups of granulated sugar in a medium saucepan over medium heat.
Bring the mixture to a gentle simmer, stirring occasionally, until the sugar has completely dissolved and the liquid looks clear — this takes about 5-7 minutes. Remove from heat and let the simple syrup cool completely to room temperature before moving on. Patience again! You want everything at the same temperature.
Step 4: Bring it all together Once your simple syrup is totally cool, fish out all those lemon peels from your water infusion using a fine mesh strainer or cheesecloth — they’ve done their job and can be composted now.
Pour the lemon-infused water into a large pitcher or bowl, then add your cooled simple syrup and stir gently to combine. If you’re using vanilla extract, add it now and give everything a good stir. The mixture should be beautifully golden and smell absolutely incredible.
Step 5: Bottle your sunshine Using a funnel, carefully transfer your finished limoncello syrup into clean bottles — swing-top bottles look super cute for gifting, or just use whatever clean bottles you have on hand.
Store in the refrigerator where your delicious homemade limoncello will keep for up to 3 months. To serve, mix 1-2 tablespoons of the concentrated syrup with 6-8 ounces of sparkling water over ice, or get creative with your own mocktail creations!
Claire’s Pro Tips & Gentle Guidance
Here’s where I share the little secrets that took me a few batches to figure out with this easy limoncello making guide.
Go organic with those lemons if you possibly can. Since you’re steeping the peels for weeks, any pesticides or wax coatings on conventional lemons will end up in your syrup, and that’s not the vibe we’re going for here.
The white pith is your enemy in this recipe. I learned this the hard way when my first batch tasted weirdly bitter — turns out I’d been too aggressive with my peeler and gotten tons of pith. Take your time and just get that sunny yellow layer.
Steeping time is flexible based on your taste preferences. One week gives you a lighter, more delicate lemon flavor that’s perfect for subtle drinks. Two weeks creates an intensely lemony, almost candied citrus flavor that’s incredible in everything. I usually taste-test at the 10-day mark and decide from there.
Don’t skip the cooling step with your simple syrup. I know waiting is annoying when you’re so close to the finish line, but you want everything at similar temperatures for the best flavor integration and shelf life.
For more detailed guidance on creating homemade syrups and infusions, check out this expert resource on flavor extractions — the same principles apply, and patience always pays off.
Quick Fixes for Homemade Limoncello
Problem: My limoncello syrup turned out too sweet No worries — this is totally fixable! Add a bit more water (start with 1/4 cup at a time) and taste as you go until you hit your preferred sweetness level. Remember, this is a concentrate meant to be diluted, so a little goes a long way.
Problem: It tastes bitter or harsh This usually means some white pith snuck into your mixture during the peeling process. Next time, be more careful with your peeler and take just the yellow zest. For this batch, letting it steep a bit longer can sometimes mellow the bitterness, or you can add a tiny bit more simple syrup to balance it out.
Problem: The color is pale or the lemon flavor is weak Your steeping time was probably too short, or your lemons weren’t super fresh and vibrant. Let it steep for another few days — patience is truly your friend here. Also, make sure you’re storing it in a dark place during steeping; light can actually break down those beautiful lemon oils.
Problem: My syrup developed cloudiness or sediment A little natural sediment is completely normal and just means you’ve got real lemon oils in there! You can strain it through a coffee filter if you want crystal-clear syrup, but I honestly think a little cloudiness just proves it’s homemade and authentic.
Variations & Fun Twists
Ready to experiment with your delicious homemade limoncello recipe? Here are some fun ways to make it your own.
Sparkling Limoncello: Mix 2 tablespoons of your syrup with 8 ounces of sparkling water and ice for the most refreshing mocktail ever. Add fresh mint or basil for an herby twist.
Orange-cello Syrup: Swap those lemons for oranges (blood oranges are stunning!) and follow the exact same process. You might want to add an extra few days of steeping time since orange oils are a bit more subtle.
Herby Version: During the steeping process, add a few sprigs of fresh basil, mint, rosemary, or even lavender for an unexpected aromatic layer that makes your syrup super unique.
Dessert Drizzle: Use your limoncello syrup undiluted as a gorgeous glaze for cakes, pound bread, or drizzled over vanilla ice cream. It’s absolutely heavenly and looks so professional.
Serving, Storage & Reheating
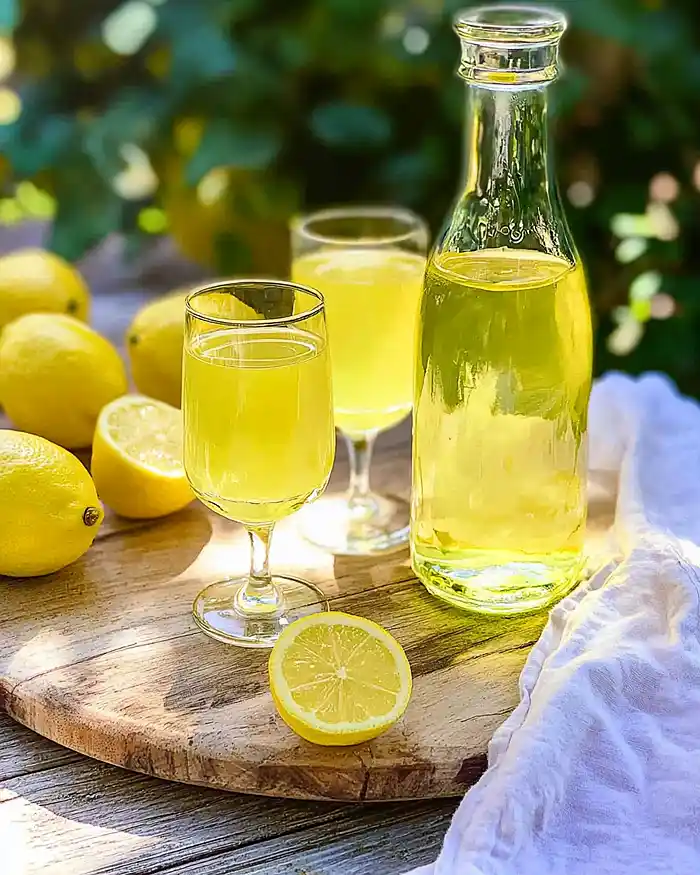
Your homemade limoncello recipe deserves to be treated right, so here’s how to serve and store it like a pro.
Serve your limoncello syrup mixed with sparkling water (1-2 tablespoons syrup per 8 ounces water) over ice for a refreshing Italian soda. It’s perfect as a non-alcoholic aperitif, an after-dinner refresher, or just a special treat any time of day. I also love using it in iced tea, drizzling it over fruit salads, or mixing it into homemade lemonade for extra zing.
Store your finished limoncello syrup in the refrigerator in sealed bottles for up to 3 months. The high sugar content acts as a natural preservative, but since there’s no alcohol, refrigeration is essential. Always use a clean spoon when scooping it out to prevent contamination.
There’s no reheating involved here — this is meant to be enjoyed cold! If you do use it in baking or cooking, just measure out what you need and add it directly to your recipe. Those naked lemons from the peeling process can be juiced and frozen in ice cube trays for future cooking adventures.
No-Waste Kitchen Magic
Let’s talk about using every bit of your easy limoncello making guide ingredients, because I’m all about that sustainable kitchen life.
Those 10 juiced lemons after peeling are pure liquid gold! Squeeze them and freeze the juice in ice cube trays, then pop the cubes into a freezer bag. You’ll have fresh lemon juice ready for salad dressings, marinades, baking, or my sourdough cheesy breadsticks whenever you need it.
After you’ve strained out the lemon peels post-steeping, they still have some life left. Toss them in your garbage disposal with some ice and water to freshen it up, or add them to your compost bin where they’ll break down beautifully. Some people even dry them and use them for DIY potpourri or natural cleaning solutions.
If you end up with extra simple syrup (maybe you made too much), store it in a jar in the fridge for up to a month and use it to sweeten iced coffee, other mocktails, or homemade lemonade. Nothing goes to waste around here!
Homemade Non-alcoholic Limoncello Recipe FAQs
Can I freeze homemade limoncello?
You definitely can — in fact, storing it in the freezer is ideal! The high alcohol content means it won’t freeze solid, just get thick and syrupy, which is exactly how it should be served. Keep it in sealed bottles and it’ll last up to a year in there.
What’s the best way to store homemade limoncello long-term?
The freezer is your best friend for long-term storage (up to a year), but you can also store sealed bottles in a cool, dark cabinet at room temperature for about 6 months. Just make sure your bottles are completely airtight to prevent oxidation and flavor loss.
How do I know when my limoncello is done steeping?
Taste-test starting at the 2-week mark — if the lemon flavor is bright and punchy enough for your liking, it’s ready! If you want more intensity, let it go another week or two. The liquid should have a vibrant yellow color and smell intensely of fresh lemons.
Will my homemade limoncello get better with age?
Unlike wine, limoncello doesn’t really improve with age once it’s bottled. It’ll stay delicious for up to a year in the freezer, but the bright lemon flavor is actually at its peak right after you make it. That said, it definitely won’t go bad quickly, the sugar content act as preservatives.
Cozy Closing
I’d love to see your spin on this homemade limoncello recipe! Drop a comment below with your limoncello photos — I’d love to see how you made it your own. This delicious homemade limoncello is so versatile; I bet you’ve got amazing variations already in mind!
Whether you’re making it for yourself or planning to give bottles as gifts (which, by the way, makes you officially the most thoughtful person ever), this recipe is all about bringing a little Italian sunshine into your everyday life. Cheers to you for taking the time to make something special with your own two hands!
I’m Claire Whitmore — a dessert daydreamer from Asheville, NC. For me, baking isn’t about perfect pastries — it’s about the joy of sharing something sweet (and maybe sneaking an extra scoop of icing). Or in this case, sharing something citrusy and spirit-filled that tastes like summer in a bottle!
Homemade Limoncello Recipe
Equipment
- Vegetable peeler or sharp paring knife
- Large glass jar or container with airtight lid (at least 2-quart capacity)
- Medium saucepan
- Fine-mesh strainer or cheesecloth
- Funnel
- Clean bottles for storage
Ingredients
- 10 Lemons preferably organic
- 1 bottle (750ml) Vodka mid-range quality
- 3 cups Water for the simple syrup
- 1.5 cups Granulated sugar
Instructions
- Wash your 10 organic lemons really well, then use a vegetable peeler or sharp paring knife to remove just the bright yellow zest in long strips. Avoid getting any of that white pith underneath, because it’s bitter and will make your limoncello taste bad. Just the sunny yellow part! Save the naked lemons for lemonade, salad dressings, or other recipes.
- Drop all those beautiful lemon peels into your large glass jar or airtight container, then pour in the entire 750ml bottle of vodka until the peels are completely submerged. Seal it up tight and store it somewhere cool and dark — like a cupboard or pantry shelf. Let this mixture steep for 2-4 weeks, giving it a gentle shake every few days. The longer you steep, the more intense and vibrant the lemon flavor becomes.
- When your steeping time is almost up, combine the 3 cups of water and 1.5 cups of granulated sugar in a medium saucepan over medium heat. Bring the mixture to a gentle simmer, stirring occasionally, until the sugar has completely dissolved and the liquid looks clear — this takes about 5 minutes. Remove from heat and let the simple syrup cool completely to room temperature before moving on.
- Once your simple syrup is totally cool, fish out all those lemon peels from your vodka mixture using a fine mesh strainer or cheesecloth. Pour the lemon-infused vodka into a large pitcher or bowl, then add your cooled simple syrup and stir gently to combine. The mixture will turn slightly cloudy at first, which is totally normal.
- Using a funnel, carefully transfer your finished limoncello into clean bottles. Pop them in the freezer for at least 4 hours before serving. Your homemade limoncello will keep in the freezer for up to a year.