Healthy Protein Balls
I’m Linda Sandra — a Charleston home cook who believes every meal should feel like a hug, and these Healthy Protein Balls are basically edible hugs you can grab straight from the fridge. No oven required, no fancy equipment, just real ingredients and five minutes of your time.
These chocolate peanut butter protein balls pack real nutrition without tasting like cardboard. They’re made with wholesome oats, creamy peanut butter, quality chocolate protein powder, mini chocolate chips, and just enough honey to make them taste like a treat instead of a chore.
I started making these when I realized my afternoon snack situation had devolved into staring blankly into the pantry hoping something healthy would magically appear. Now I keep a batch in the fridge at all times, and my kids think they’re getting away with something when they snack on them after school.
Table of Contents
Little Snapshot: What This Recipe Delivers
These Healthy Protein Balls combine rolled oats, peanut butter, chocolate protein powder, and mini chocolate chips into no-bake energy bites that take 5 minutes to mix and 20 minutes to chill. They’re perfect for busy mornings, post-workout fuel, or when you need something sweet that won’t wreck your day.
Why You’ll Love This Recipe 🌸
- These Healthy Protein Balls take less time than scrolling through your feed — seriously, five minutes and you’re done.
- They taste like dessert but actually fuel your body with protein, fiber, and the good stuff your afternoon needs.
- No oven means no heating up your kitchen, and no baking means no waiting around watching the clock.
- According to King Arthur Baking’s guide to no-bake energy bites, the best snacks balance protein, healthy fats, and just enough sweetness — and these chocolate peanut butter protein balls nail that combo every single time.
Quick Facts ⚡
Here’s the quick scoop on these Healthy Protein Balls.
- CourseSnack
- Prep Time5 minutes
- Chill Time20 minutes
- Total Time25 minutes
- Servings16 protein balls
- DifficultyEasy
Nutritional Peek
Here’s what you’re getting in each protein ball — real fuel without the guilt.
| Nutrient | Amount per Serving |
|---|---|
| Calories | 95 |
| Protein | 5g |
| Carbohydrates | 11g |
| Fat | 4g |
| Fiber | 1g |
| Sugar | 5g |
Ingredients
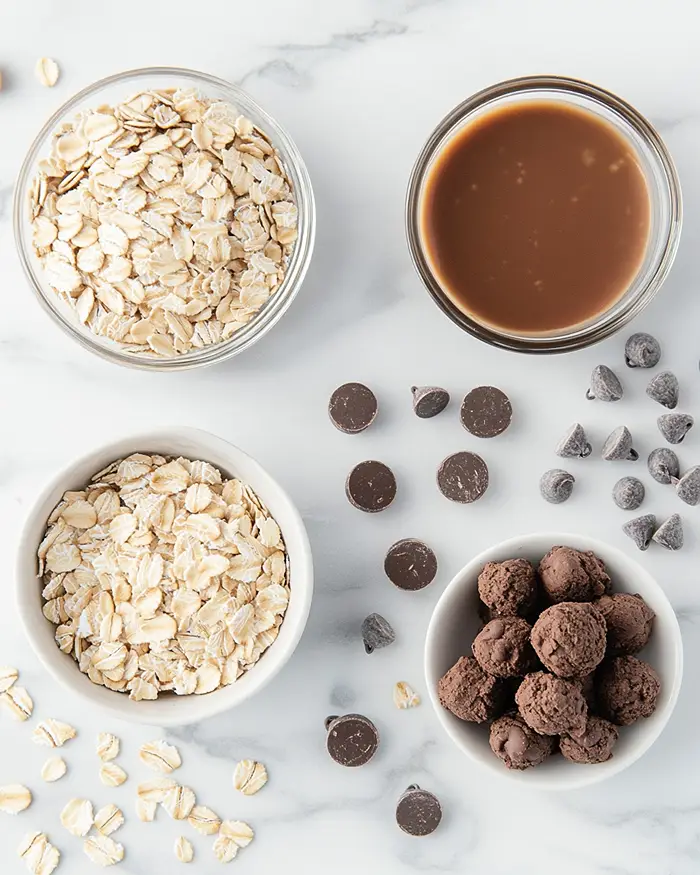
These easy high protein peanut butter balls start with pantry staples you probably already have hiding in your cupboard. The base is old-fashioned rolled oats and creamy peanut butter — they create that perfect chewy texture and keep you full way longer than regular snacks.
The chocolate protein powder and mini chocolate chips bring the flavor, while honey acts as the natural binder that holds everything together.
| Amount | Ingredient |
|---|---|
| 1 cup | old fashioned rolled oats |
| ¼ cup | mini chocolate chips |
| ⅓ cup | chocolate protein powder |
| ½ cup | peanut butter (I like to do a heaping ½ cup) |
| 3 tablespoons | honey |
| 3 teaspoons | water |
Tools You’ll Actually Use
- Medium mixing bowl
- Wooden spoon, large spoon, or spatula
- Small baking sheet or large plate
- Wax paper or parchment paper
- Airtight container for storage
Step-by-Step Instructions
Making these Healthy Protein Balls is honestly easier than deciding what to watch on Netflix.
Step 1: Add all of the ingredients — the 1 cup old-fashioned rolled oats, ¼ cup mini chocolate chips, ⅓ cup chocolate protein powder, heaping ½ cup peanut butter, 3 tablespoons honey, and 3 teaspoons water — to a medium-sized bowl.
Use a wooden spoon, large spoon, or sturdy spatula to mix everything together until it forms a thick, sticky dough. If the mixture feels too dry and crumbly, add an additional teaspoon or two of water until it holds together when you pinch it.
Step 2: Scoop out about a tablespoon of the protein ball mixture and roll it between your palms into 1 to 1½ inch balls. They don’t need to be perfect — rustic is the vibe here. Repeat until you’ve used all the dough, which should give you about 16 protein balls.
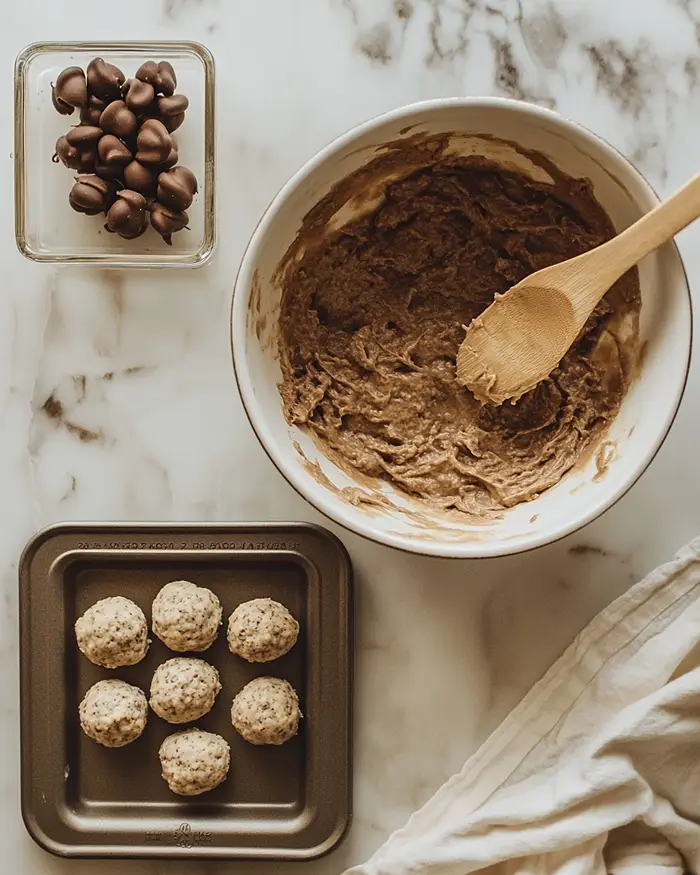
Step 3: Place the rolled balls on a small baking sheet or large plate lined with wax paper, making sure they’re not touching each other. Pop the plate in the refrigerator and let them chill for 20 minutes so they firm up and hold their shape.
Step 4: Transfer the chilled protein balls to an airtight container and store them in the fridge for up to two weeks, or toss them in the freezer for up to three months. Grab one (or three) whenever you need a quick energy boost.
Pro Tips & Gentle Guidance
These chocolate peanut butter protein balls are pretty forgiving, but a few little tricks make them even better.
Use natural peanut butter if you want a less sweet version, or stick with regular creamy peanut butter for a more traditional taste. Just avoid the super-oily natural kinds that separate like crazy — they can make the dough too wet.
If your protein powder is really fine and dry, you might need that extra teaspoon or two of water. Every brand absorbs liquid differently, so trust your hands — the dough should feel like Play-Doh, not sand.
Chill the mixture for 10 minutes before rolling if it’s too sticky to handle. Cold dough is way easier to work with, and you won’t end up wearing half your snack.
If you’re new to protein powders and want to know which ones work best in no-bake recipes, Bodybuilding.com‘s detailed baking guide breaks down how different protein types behave when mixed with other ingredients — super helpful for getting the texture just right.
Quick Fixes for Healthy Protein Balls
Problem: The mixture is too dry and won’t stick together. Add water one teaspoon at a time and mix thoroughly between additions. You want the dough to hold together when squeezed, but not feel wet or greasy.
Problem: The balls are falling apart after chilling. You probably needed more moisture in the original mix. Next time, add an extra tablespoon of peanut butter or another teaspoon of honey to help bind everything.
Problem: They’re too sticky to roll. Pop the bowl in the fridge for 10 minutes, or lightly dampen your hands with water before rolling. Cold dough is your friend here.
Problem: The chocolate chips keep falling out. Press them gently into the surface of each ball after rolling, or chop them smaller so they distribute more evenly throughout the mixture.
Variations & Adaptations
These protein balls healthy are basically a blank canvas for whatever you’re craving.
Swap the chocolate protein powder for vanilla and add dried cranberries and white chocolate chips for a totally different vibe. Or go full peanut butter mode by using vanilla protein powder and adding an extra tablespoon of peanut butter.
Make them nut-free by using sunflower seed butter instead of peanut butter — works perfectly and tastes amazing. Add a tablespoon of chia seeds or ground flaxseed for extra fiber and omega-3s.
Try almond butter with vanilla protein powder, unsweetened coconut flakes, and dark chocolate chips for a tropical twist. Or go savory-sweet with tahini, a pinch of sea salt, and cacao nibs.
If this recipe made your day, you’re in for a treat. The full Finger Foods & Bites guide is filled with tried-and-true favorites that real home cooks swear by. Trust me, you won’t be able to pick just one.
Serving, Storage & Reheating
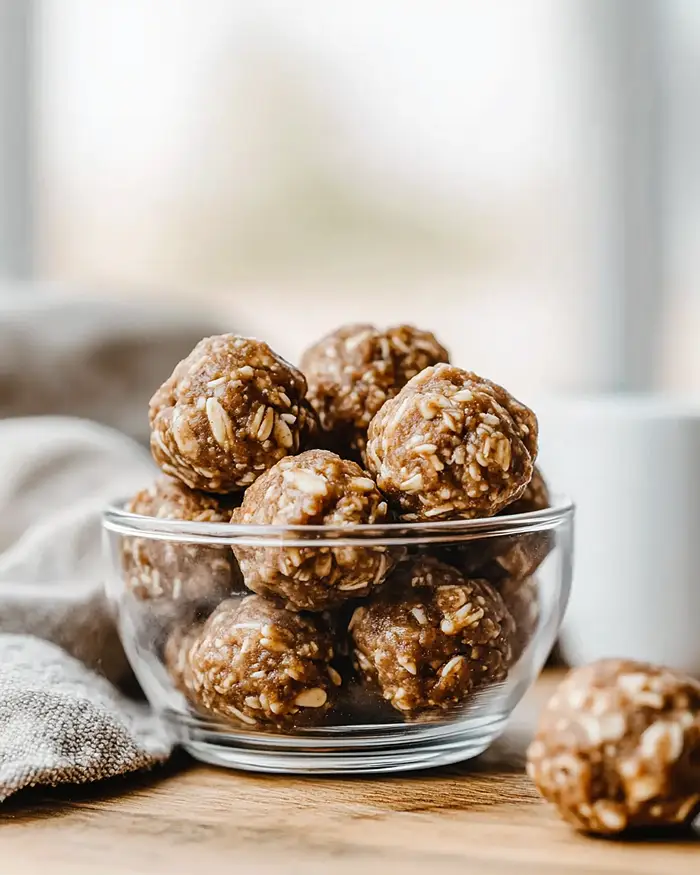
Grab these protein balls straight from the fridge when you need a quick snack, or pack a couple in your bag for on-the-go fuel. They’re perfect alongside your morning coffee, after a workout, or when you’re trying to avoid the vending machine at 3 p.m.
Store them in an airtight container in the refrigerator for up to two weeks. Layer them between sheets of wax paper if you’re stacking them, so they don’t stick together.
For longer storage, freeze the protein balls in a freezer-safe container or bag for up to three months. They thaw in about 10 minutes at room temperature, or you can eat them straight from the freezer if you like a firmer texture.
No-Waste Kitchen Magic
If your protein balls are getting a little dry after a week in the fridge, crumble them over yogurt or oatmeal instead of eating them whole. They add amazing texture and a protein boost to your breakfast.
Day-old protein balls that lost their shape? Smoosh them back together with a teaspoon of peanut butter, re-roll, and chill again. No one will ever know.
Got leftover oats from this recipe? Use them in my Sour Cream Beef Noodle Casserole as a crunchy topping, or save them for your next batch of protein balls.
Extra peanut butter? It’s perfect in my 10 Minute Taco Soup for a creamy, unexpected twist that makes the broth incredible.
Healthy Protein Balls FAQs
Can I freeze these Healthy Protein Balls?
Yep, absolutely. Freeze them in a single layer on a baking sheet first, then transfer to a freezer bag once solid. They’ll keep for three months and taste perfect straight from the freezer or after a quick thaw.
What’s the best way to store protein balls healthy so they stay fresh?
An airtight container in the fridge is your best bet. They’ll stay fresh and chewy for up to two weeks. Just make sure the container is truly airtight or they’ll dry out.
How do I know if I’ve added enough water to the mixture?
Press a small amount between your fingers — if it holds together without crumbling, you’re good. If it’s crumbly and dry, add another teaspoon of water and mix again.
Could I use a different nut butter instead of peanut butter?
For sure. Almond butter, cashew butter, or even sunflower seed butter work great. Just make sure it’s the creamy kind, not the super-oily natural version that separates, or you’ll end up with a wet mess.
Can’t get enough of these flavors? You’re going to love what’s waiting in the Candy & Small Bites lineup. Every single recipe is made to impress without the stress. Happy cooking, friend!
Closing
So there you go — Healthy Protein Balls that actually taste good and take practically no effort to make. They’re the perfect answer to “I need something quick but actually nutritious,” and they’ve saved me from way too many disappointing snack choices.
I’d love to see your spin on these chocolate peanut butter protein balls! Drop a comment below with your variations — I’d love to know if you went the almond butter route, loaded them up with extra chocolate, or found some genius flavor combo I haven’t tried yet.
These protein balls healthy are so versatile; I bet you’ve already got amazing ideas brewing.
Thanks for hanging out in my cozy corner of the internet. Make these, enjoy them, and remember that good-for-you snacks don’t have to taste like punishment.
I’m Linda Sandra — a Charleston home chef and comfort-food daydreamer. Around here, cooking’s not about perfection — it’s about cozy vibes, creative twists, and food that feels like love.
Healthy Protein Balls
Equipment
- Medium mixing bowl
- Wooden spoon
- Large spoon
- Spatula
- Small baking sheet
- Large plate
- Wax paper
- Parchment paper
- Airtight container
Ingredients
- 1 cup old fashioned rolled oats
- ¼ cup mini chocolate chips
- ⅓ cup chocolate protein powder
- ½ cup peanut butter heaping, creamy
- 3 tablespoons honey
- 3 teaspoons water plus more if needed
Instructions
- Add all of the ingredients — the 1 cup old-fashioned rolled oats, ¼ cup mini chocolate chips, ⅓ cup chocolate protein powder, heaping ½ cup peanut butter, 3 tablespoons honey, and 3 teaspoons water — to a medium-sized bowl. Use a wooden spoon, large spoon, or sturdy spatula to mix everything together until it forms a thick, sticky dough. If the mixture feels too dry and crumbly, add an additional teaspoon or two of water until it holds together when you pinch it.
- Scoop out about a tablespoon of the protein ball mixture and roll it between your palms into 1 to 1½ inch balls. They don’t need to be perfect — rustic is the vibe here. Repeat until you’ve used all the dough, which should give you about 16 protein balls.
- Place the rolled balls on a small baking sheet or large plate lined with wax paper, making sure they’re not touching each other. Pop the plate in the refrigerator and let them chill for 20 minutes so they firm up and hold their shape.
- Transfer the chilled protein balls to an airtight container and store them in the fridge for up to two weeks, or toss them in the freezer for up to three months. Grab one (or three) whenever you need a quick energy boost.