Chocolate Fudge Recipe in 10 Minutes
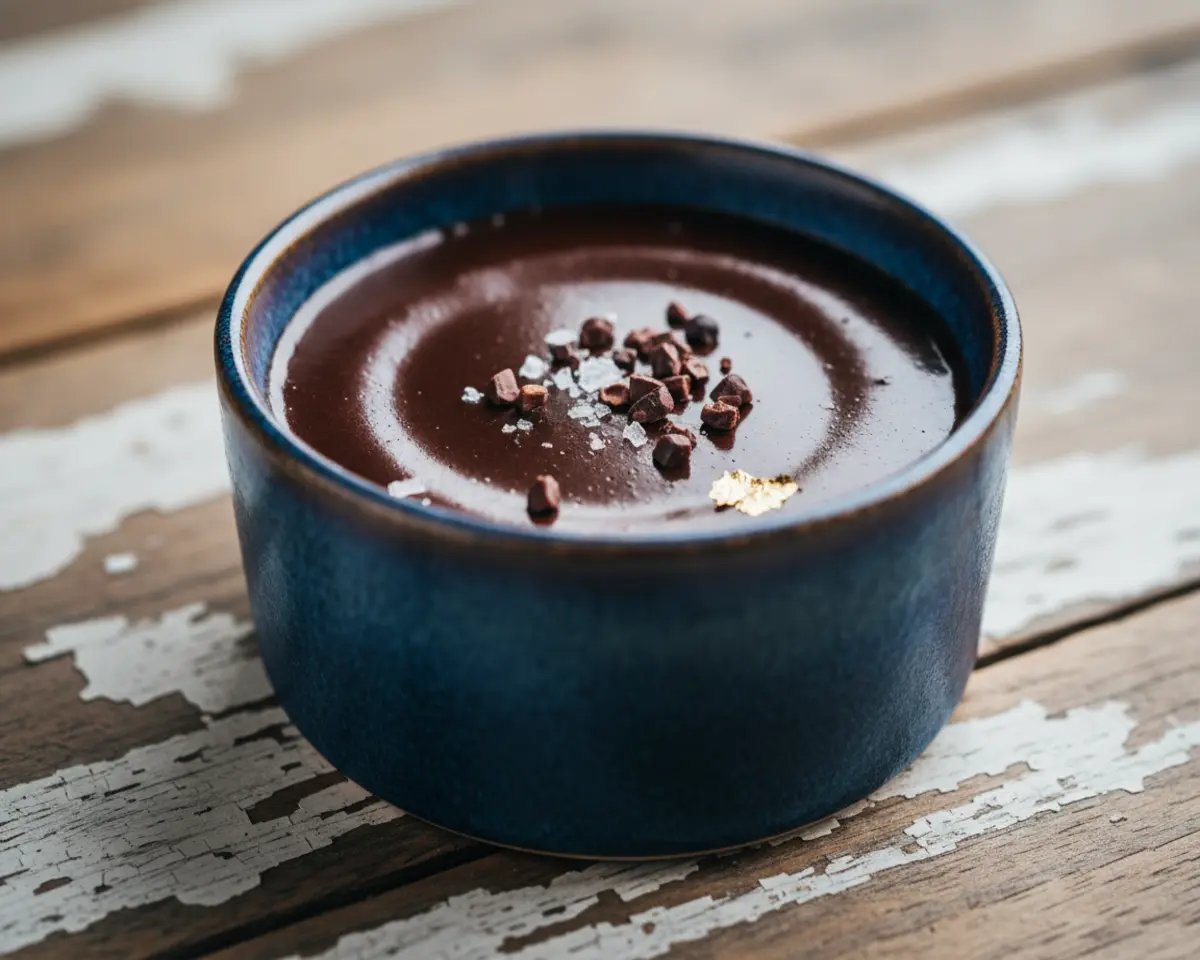
This easy chocolate fudge recipe delivers rich, creamy squares of homemade fudge perfection in under 30 minutes with just six simple ingredients and no candy thermometer required.
I’m Claire Whitmore, and if you’re looking for classic chocolate fudge that tastes like childhood memories wrapped in butter and marshmallow creme, you’ve found your recipe. This fudgy dessert is the kind of treat that makes baking feel less like a project and more like self-care with a whisk.
Last December, I made six batches of this fudge for holiday gift boxes and accidentally left one pan cooling on the counter overnight. My neighbor knocked on the door at 7 a.m., asking if I’d opened a chocolate shop because the smell had drifted through her kitchen window and woke her up craving something sweet.
Table of Contents
Quick Overview
Little Snapshot: What This Recipe Delivers
This chocolate fudge recipe creates 48 creamy squares using a simple stovetop method with no candy thermometer. You’ll boil sugar, butter, and evaporated milk for exactly five minutes, then stir in chocolate chips and marshmallow creme until smooth.
Why You’ll Love This Recipe 🌸
- This easy chocolate fudge takes less time than folding a load of laundry and tastes like you spent all day in the kitchen.
- No candy thermometer means no guessing, no stress, and no fancy equipment cluttering your drawers.
- You can make this with ingredients you probably already have stashed in your pantry right now.
- According to Exploratorium’s guide to candy making, controlling sugar crystallization is the secret to smooth fudge — and this recipe proves exactly why.
Quick Facts ⚡
Here’s the quick scoop on this chocolate fudge.
- CourseDessert
- Prep Time10 minutes
- Cook Time10 minutes
- Total Time2 hours 20 minutes (includes cooling)
- Servings48 squares
- DifficultyEasy
Nutritional Peek
| Nutrient | Amount per serving |
|---|---|
| Calories | 110 kcal |
| Protein | 1 g |
| Carbohydrates | 17 g |
| Fat | 5 g |
| Fiber | 0.5 g |
| Sugar | 15 g |
What You’ll Need
You don’t need a pastry kitchen to make perfect homemade fudge. Just a few trusty tools and a little counter space will get you there.
- 9×13 inch baking pan
- Parchment paper
- Large heavy-bottomed saucepan (at least 4 quarts)
- Wooden spoon or heat-resistant silicone spatula
- Measuring cups and spoons
- Sharp knife for cutting squares
Ingredients
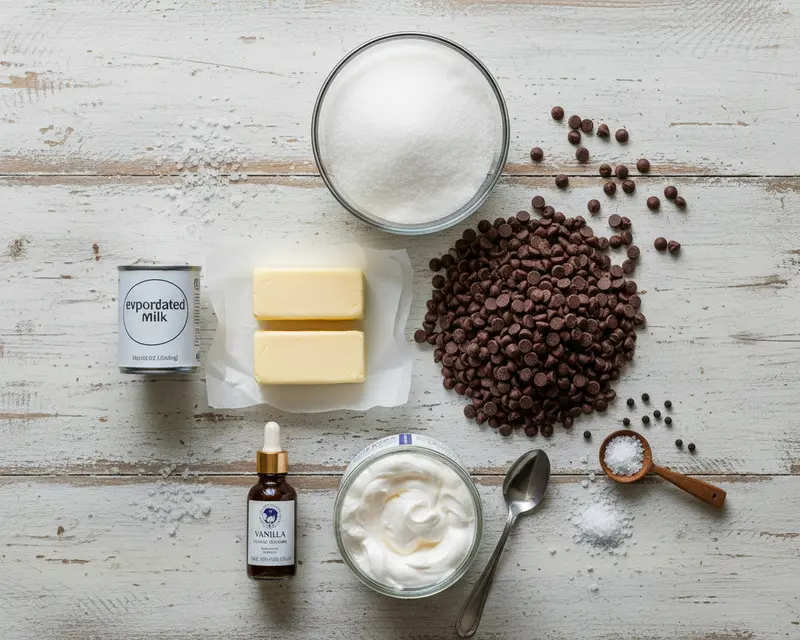
Easy chocolate fudge starts with pantry staples and a little patience. We’re building layers of sweetness with granulated sugar, richness from unsalted butter, creaminess from evaporated milk, and that signature fudgy texture from semi-sweet chocolate chips and marshmallow creme.
| Group | Ingredient | Amount | Notes |
|---|---|---|---|
| Base | Granulated sugar | 3 cups | The sweet foundation |
| Base | Unsalted butter | 1 cup (2 sticks) | Room temp works best |
| Base | Evaporated milk | 5 ounces (one small can) | Not sweetened condensed! |
| Chocolate | Semi-sweet chocolate chips | 12 ounces | Ghirardelli or Guittard are my favorites |
| Fluff & Flavor | Marshmallow creme | 7 ounces (one jar) | Jet-Puffed or Fluff brand |
| Fluff & Flavor | Vanilla extract | 1 teaspoon | Pure is worth it |
| Fluff & Flavor | Salt | Pinch | Balances the sweetness beautifully |
Step-by-Step Instructions
Let’s make this happen. Chocolate fudge is all about timing and a little arm muscle for stirring, but I promise it’s easier than parallel parking.
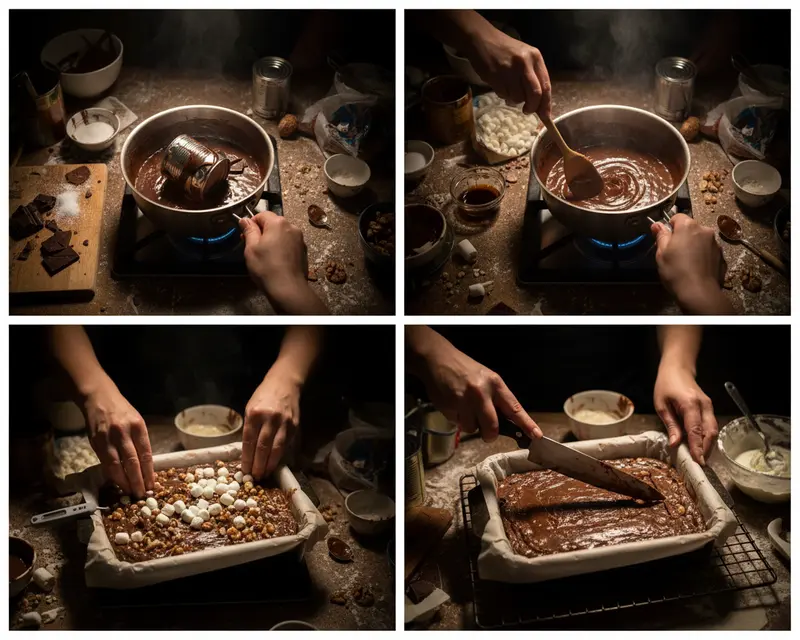
Step 1: Prep Your Pan
Line your 9×13 inch baking pan with parchment paper, letting it hang over the sides like little handles. Lightly butter the parchment so your fudge releases easily later.
Step 2: Boil the Sugar Mixture
In a large heavy-bottomed saucepan, combine the granulated sugar, unsalted butter, and evaporated milk. Set the heat to medium and stir constantly until the mixture reaches a rolling boil, then keep boiling and stirring for exactly 5 minutes without stopping.
Step 3: Add the Chocolate and Marshmallow
Pull the saucepan off the heat immediately after your timer goes off. Stir in the semi-sweet chocolate chips, marshmallow creme, vanilla extract, and a pinch of salt, beating vigorously until everything melts into a glossy, smooth mixture.
Step 4: Spread and Cool
Pour the hot fudge mixture into your prepared baking pan and spread it evenly with a spatula. Let it cool completely at room temperature for about 2 hours, or speed things up in the refrigerator for 1 hour until firm.
Step 5: Cut and Serve
Once your classic chocolate fudge is firm, lift it out of the pan using the parchment paper overhang. Cut into 48 small squares with a sharp knife, wiping the blade between cuts for clean edges.
Expert Tips
Easy chocolate fudge rewards a few small tricks that turn good batches into gift-worthy perfection. These tweaks come from years of holiday baking marathons and a few batches that taught me what not to do.
Use a Heavy-Bottomed Pan
Thin pans create hot spots that scorch your sugar mixture before it fully dissolves. A heavy saucepan distributes heat evenly and gives you way more control during that crucial 5-minute boil.
Stir Constantly During the Boil
Set a timer and keep that wooden spoon moving in smooth circles, scraping the bottom and sides. According to Serious Eats’ fudge troubleshooting guide, constant stirring prevents crystallization and keeps your fudge creamy instead of grainy.
Don’t Skip the Parchment Overhang
Those parchment paper handles make lifting out the fudge block effortless and save you from wrestling with a spatula and accidentally gouging your beautiful squares. Trust me on this one.
Let It Cool Completely
Cutting into warm fudge creates messy edges and smushed squares. Patience here pays off with clean, professional-looking pieces that stack beautifully in gift boxes.
Variations
This homemade fudge recipe is your blank canvas for flavor adventures. Here are my favorite ways to dress it up without losing that classic fudgy texture.
Peppermint Bark Fudge
Stir in 1/2 teaspoon peppermint extract along with the vanilla, then sprinkle crushed candy canes on top before the fudge sets. It tastes like the holidays wrapped in chocolate.
Peanut Butter Swirl
Drop spoonfuls of creamy peanut butter on top of the poured fudge and swirl with a knife for gorgeous marbled squares. The salty-sweet combo is dangerously good.
Espresso Fudge
Dissolve 2 tablespoons instant espresso powder in the evaporated milk before adding it to the sugar mixture. You’ll get rich mocha flavor without any bitterness.
Rocky Road Style
Fold in 1 cup mini marshmallows and 3/4 cup chopped walnuts right before pouring into the pan. It’s like a candy bar in fudge form.
White Chocolate Raspberry
Swap the semi-sweet chocolate chips for white chocolate chips and gently fold in 1/2 cup freeze-dried raspberries. The tartness balances the sweetness perfectly.
Troubleshooting
Even the best bakers hit speed bumps. Here’s how to fix the most common fudge frustrations without starting over.
Problem: Fudge Is Grainy Instead of Smooth
This usually means sugar crystals formed during the boil. Make sure you stir constantly and don’t let the mixture boil longer than 5 minutes, which can cause crystallization.
Problem: Fudge Won’t Set
You probably didn’t boil the sugar mixture long enough or your heat was too low. Next time, use a timer and make sure you see a true rolling boil that doesn’t stop when you stir.
Problem: Fudge Is Too Hard
Overboiling causes this. Stick to exactly 5 minutes of boiling time and remove from heat immediately to keep your fudge soft and creamy.
Problem: Chocolate Chips Didn’t Melt Completely
Your sugar mixture may have cooled too much before adding the chips. Make sure you add them immediately after removing from heat and stir vigorously for at least 2 minutes.
Storage & Reheating
Classic chocolate fudge keeps beautifully when stored properly, making it perfect for gift-giving or stashing away for midnight snack emergencies. Here’s how to keep it fresh and fudgy.
Serving Suggestions
Serve these squares on a pretty platter alongside chocolate dipped cherries and flourless chocolate brownie bites for a dessert board that looks like it came from a fancy bakery. Room temperature brings out the best flavor and texture.
Refrigerator Storage
Layer fudge squares between sheets of parchment paper in an airtight container and refrigerate for up to 2 weeks. Let them sit at room temperature for 10 minutes before serving so they soften slightly.
Freezer Storage
Wrap individual squares tightly in plastic wrap, then store in a freezer-safe container for up to 3 months. Thaw overnight in the refrigerator or at room temperature for 30 minutes.
| Storage Method | Duration | Best Practices |
|---|---|---|
| Room Temperature | 3-5 days | Store in airtight container in cool, dry place |
| Refrigerator | 2 weeks | Layer with parchment paper between squares |
| Freezer | 3 months | Wrap individually in plastic wrap first |
No-Waste Kitchen Ideas
Every ingredient in this easy chocolate fudge recipe pulls its weight, but here’s how to use up extras and avoid tossing perfectly good stuff.
Extra Marshmallow Creme
Swirl leftover marshmallow creme into brownie batter dip for extra fluffiness, or spread it between graham crackers for homemade moon pies. It also makes an incredible frosting base when whipped with softened butter.
Leftover Evaporated Milk
Use the rest of your opened can in coffee for creamy richness, whisk it into scrambled eggs for extra fluffiness, or freeze it in ice cube trays for future baking projects.
Chocolate Chip Odds and Ends
Toss spare chocolate chips into pancake batter, melt them for drizzling over ice cream, or mix them into your morning oatmeal for a dessert-for-breakfast vibe.
Fudge Scraps and Uneven Edges
Chop up imperfect edge pieces and fold them into vanilla ice cream, sprinkle them over brownies before baking, or layer them in parfait glasses with whipped cream and berries.
Frequently Asked Questions
Here are answers to the questions I hear most often about making this homemade fudge recipe perfectly every single time.
What is chocolate fudge made of?
Chocolate fudge is typically made from sugar, butter, milk or cream, cocoa powder or chocolate, and vanilla extract. These ingredients are cooked together to a specific temperature and then beaten to create a smooth, creamy texture.
How long does homemade chocolate fudge last?
Homemade chocolate fudge can last up to 2 weeks when stored in an airtight container at room temperature. If refrigerated, it can last up to 3-4 weeks. For longer storage, fudge can be frozen for up to 3 months.
Why did my chocolate fudge turn out grainy?
Chocolate fudge becomes grainy when sugar crystals form during cooking or cooling. This usually happens if the mixture is stirred too much while cooking, if the temperature gets too high, or if sugar crystals on the side of the pan fall back into the mixture. Using a candy thermometer and following the recipe precisely helps prevent this.
Can I make chocolate fudge without a candy thermometer?
Yes, you can make chocolate fudge without a candy thermometer by using the cold water test. Drop a small amount of the fudge mixture into cold water. If it forms a soft ball that flattens when removed, it has reached the correct temperature of around 234-240 degrees Fahrenheit.
What is the difference between chocolate fudge and chocolate ganache?
Chocolate fudge is made by cooking sugar, butter, and milk to a specific temperature and then beating it to create a firm, creamy candy. Chocolate ganache is simply chocolate melted with cream, resulting in a smoother, more pourable consistency used for glazing or filling rather than as a standalone confection.
Final Dish
This chocolate fudge recipe is the kind of dessert that makes you feel like a baking wizard even on your messiest, most chaotic days. It’s proof that you don’t need fancy equipment or pastry school training to create something that tastes like pure love wrapped in chocolate.
Whether you’re making a batch for holiday gifts, sneaking squares straight from the fridge at midnight, or sharing them with neighbors who deserve something sweet, this easy chocolate fudge delivers every single time. I’d love to see your creamy squares and hear which variation you tried first, so drop a comment below or tag your photos so I can cheer you on.
I’m Claire Whitmore — a dessert daydreamer from Asheville, NC. For me, baking isn’t about perfect pastries — it’s about the joy of sharing something sweet (and maybe sneaking an extra scoop of icing).
Chocolate Fudge
Ingredients
- 3 cups granulated sugar
- 1 cup 2 sticks unsalted butter
- 5 ounces evaporated milk or one 5 ounce can
- 12 ounces semi-sweet chocolate chips
- 7 ounces marshmallow creme one jar
- 1 teaspoon vanilla extract
- Pinch of salt
Instructions
- Line a 9×13 inch baking pan with parchment paper, leaving an overhang on the sides. Lightly butter the parchment paper. Set aside.
- In a large heavy-bottomed saucepan, combine the granulated sugar, butter, and evaporated milk. Bring to a rolling boil over medium heat, stirring constantly to prevent scorching. Boil for 5 minutes, stirring continuously.
- Remove the saucepan from the heat. Immediately stir in the chocolate chips, marshmallow creme, vanilla extract, and a pinch of salt. Stir vigorously until all ingredients are melted and smooth.
- Pour the fudge mixture into the prepared baking pan. Spread evenly. Let it cool completely at room temperature or in the refrigerator until firm.
- Once firm, use the parchment paper overhang to lift the fudge from the pan. Cut into squares and serve.