Garlic Butter Bread Rolls Rcipe
There’s something about Garlic Butter Bread Rolls that just hits different, you know? I’m Linda Sandra — a Charleston home cook who believes every meal should feel like a hug, and these fluffy, garlicky rolls are basically edible comfort in bread form.
They’re the kind of thing you pull out of the oven and suddenly everyone’s in the kitchen asking what smells so good.
Little Snapshot: What This Recipe Delivers
These homemade Garlic Butter Bread Rolls are soft, pillowy dinner rolls infused with garlic and parsley, then brushed with a golden garlic butter glaze right out of the oven.
They’re perfect for soaking up gravy, serving alongside soup, or honestly just eating straight from the pan because you have zero chill (no judgment here).
Why You’ll Love This Recipe 🌸
- These Garlic Butter Bread Rolls taste like they came from a fancy bakery, but they take less time than folding a week’s worth of laundry.
- They’re insanely soft and buttery — the kind of rolls that make your family actually excited about dinner.
- You can prep the dough ahead and let it rise while you’re doing literally anything else (hello, multitasking queen).
- According to King Arthur Baking, homemade bread doesn’t have to be intimidating — and this recipe proves exactly why.
Quick Facts ⚡
Here’s the quick scoop on this Garlic Butter Bread Rolls recipe.
- CourseSide Dish
- Prep Time20 minutes
- Cook Time25 minutes
- Total Time2 hours 45 minutes (includes rising time)
- Servings12 rolls
- DifficultyEasy
Table of Contents
Nutritional Peek
Here’s what you’re working with per roll — because knowledge is power, and also butter is delicious.
| Nutrient | Amount per Serving |
|---|---|
| Calories | 185 kcal |
| Protein | 5g |
| Carbohydrates | 28g |
| Fat | 6g |
| Fiber | 1g |
| Sugar | 2g |
Garlic Butter Bread Rolls Ingredients
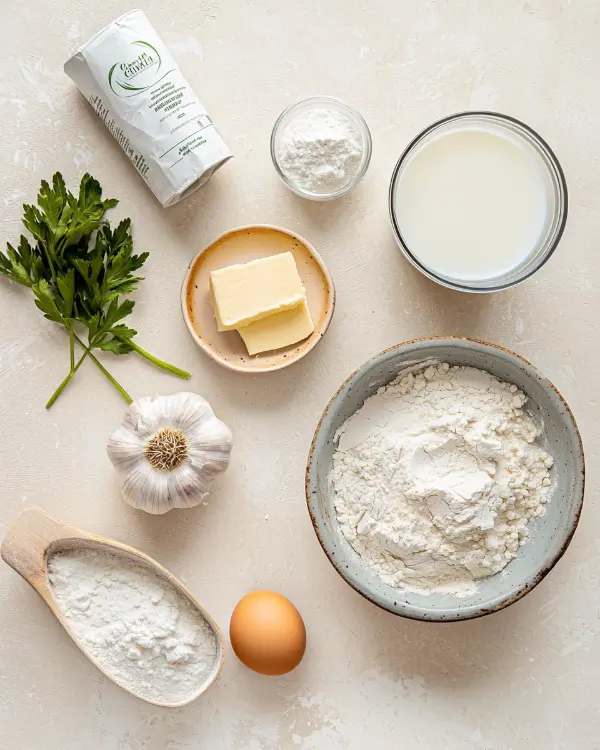
Okay, let’s talk about what you’ll need to make this Easy Garlic Butter magic happen. Nothing fancy here — just good, honest ingredients that come together like they were meant to be.
| Amount | Ingredient |
|---|---|
| 4 1/2 tablespoons | unsalted butter |
| 2 tablespoons | minced garlic |
| 3 1/2 cups + 1 tablespoon | all-purpose flour (see notes for measuring) |
| 3 tablespoons | chopped fresh parsley |
| 1 tablespoon | granulated sugar |
| 2 1/4 teaspoons | instant yeast |
| 1 teaspoon | fine sea salt |
| 1 cup | whole or 2% milk, warmed to 110°F |
| 1 | large egg, room temperature |
| 1 | beaten egg, for brushing the tops |
For the Garlic Butter (because double garlic is always the answer):
| Amount | Ingredient |
|---|---|
| 2 tablespoons | unsalted butter |
| 1 tablespoon | minced garlic |
| 1 tablespoon | chopped fresh parsley |
| pinch | flaky sea salt, for finishing |
Grab real butter here, not margarine — because we’re making something special, not sad toast.
Tools You’ll Actually Use
You don’t need a fancy kitchen to pull this off. Here’s what’ll make your life easier:
- 9×13 inch baking pan
- Stand mixer with dough hook (or a big bowl and some arm strength)
- Small pot for melting butter
- Kitchen scale (optional but helpful for portioning)
- Pastry brush
- Clean kitchen towel or plastic wrap
- Measuring cups and spoons
Step-by-Step Instructions
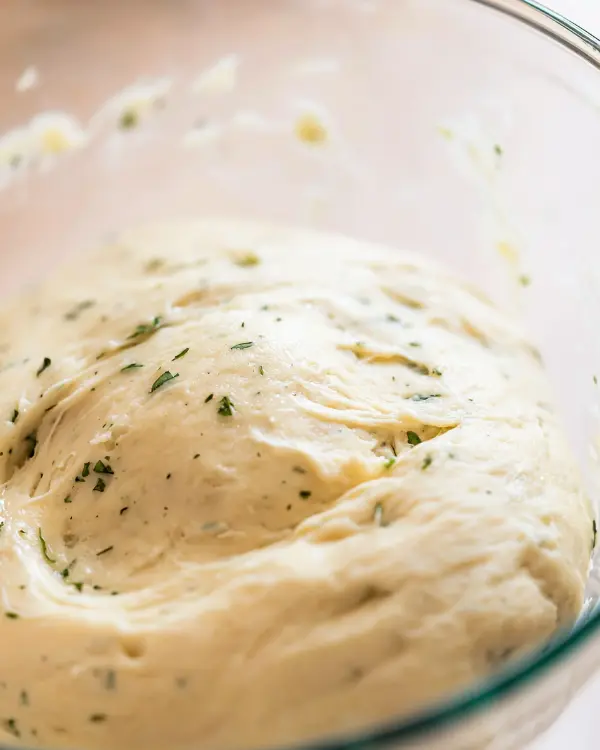
Alright, let’s bake some Garlic Butter Bread Rolls that’ll make your house smell like an Italian restaurant.
Step 1: Prep Your Pan Lightly butter the bottom and sides of your 9×13 pan. Don’t skip this — nobody wants rolls that stick.
Step 2: Make the Garlic Butter Base In a small pot, melt those 4 1/2 tablespoons of butter over medium heat. Toss in the minced garlic and let it cook for about 1-2 minutes until it smells absolutely heavenly. Take it off the heat and let it cool while you get everything else ready.
Step 3: Mix the Dough In your stand mixer bowl, combine the flour, parsley, sugar, yeast, and salt. Add the warmed milk (make sure it’s not too hot or you’ll kill the yeast), the egg, and that cooled garlic butter you just made.
Attach your dough hook and let it knead on low speed for about 10-12 minutes. You’re looking for smooth, soft, and just slightly tacky. If it’s sticking to everything like it’s auditioning for a glue commercial, add a tablespoon of flour at a time until it behaves.
Step 4: Shape Those Beauties Cut your dough into 12 equal pieces — this is where a kitchen scale comes in handy (about 67 grams each if you’re being precise). Roll each piece into a smooth ball by cupping your hand over it and moving in a circular motion. Pinch the bottom seam tight so it holds its shape, then place all 12 balls into your buttered pan.
Step 5: Let ‘Em Rise Cover the pan with plastic wrap or a clean kitchen towel and put it somewhere warm. Let those rolls rise until they’ve doubled in size — usually about 1-2 hours. Go fold that laundry now, or don’t. I won’t tell.
Step 6: Bake to Golden Perfection Preheat your oven to 350°F. Brush the tops of your risen rolls with beaten egg (this gives them that gorgeous golden shine). Bake for 20-30 minutes, or until the tops are golden brown and your kitchen smells like pure joy.
Step 7: The Final Touch While the rolls are baking, make your finishing garlic butter. Melt 2 tablespoons of butter in a pot, add the garlic, and cook for 1-2 minutes. Stir in the parsley.
The second those rolls come out of the oven, brush them generously with this garlic butter and sprinkle with flaky sea salt. Serve them warm and watch them disappear.
Pro Tips & Gentle Guidance
Want to nail your DIY Garlic Butter For Bread every single time? Here are a few things I’ve learned:
- Temperature matters: Your milk should be warm (around 110°F) but not hot. Too hot and you’ll kill the yeast. Too cold and the yeast won’t wake up. Think baby bottle temperature.
- Don’t skip the kneading: Those 10-12 minutes develop the gluten, which is what makes these rolls so soft and fluffy. Your stand mixer does the work, so just let it do its thing.
- Use fresh garlic: Pre-minced garlic in a jar is convenient, but fresh garlic has so much more flavor. It’s worth the extra minute of chopping.
- Rising time varies: Depending on how warm your kitchen is, rising time can change. In winter, I sometimes turn my oven on for a minute, turn it off, and let the dough rise in there.
- If you’re new to garlic butter bread rolls baking and want to geek out on technique, King Arthur Baking’s guide to yeast is super helpful and takes the mystery out of the whole process.
Quick Fixes for Garlic Butter Bread Rolls
Even the best bakers run into issues sometimes. Here’s how to troubleshoot:
Rolls are dense and heavy: Your yeast might’ve been old or the liquid was too hot. Always check the expiration date on your yeast and use a thermometer for your milk.
Dough won’t rise: Your kitchen might be too cold. Try the warm oven trick I mentioned, or place the covered bowl near (not on) a heating vent.
Rolls are dry: Overbaking is usually the culprit. Check them at 20 minutes — they should be golden but still soft when you press the top gently.
Too much garlic flavor (is that even possible?): If you’re sensitive to garlic, cut the amount in half for both the dough and the topping. They’ll still be delicious, just a little more mild.
Bottoms are burning: Your oven might run hot. Try placing the pan on a middle rack and check a few minutes early.
Variations & Adaptations
The beautiful thing about these Garlic Butter Bread Rolls is how easy they are to customize:
Cheese Lover’s Dream: Add 1/2 cup of shredded parmesan or asiago cheese to the dough for extra richness.
Herb Garden Twist: Swap the parsley for fresh rosemary, thyme, or a mix of Italian herbs.
Make It Sweeter: These also work as slightly sweet rolls if you bump the sugar up to 3 tablespoons and skip the garlic in the dough (keep it in the butter topping though).
Dairy-Free Version: Use plant-based butter and your favorite non-dairy milk. Just make sure the milk is unsweetened and unflavored.
Gluten-Free Option: You can try a 1:1 gluten-free flour blend, though I’ll be honest — the texture won’t be quite as pillowy. Add an extra egg for structure.
Serving, Storage & Reheating
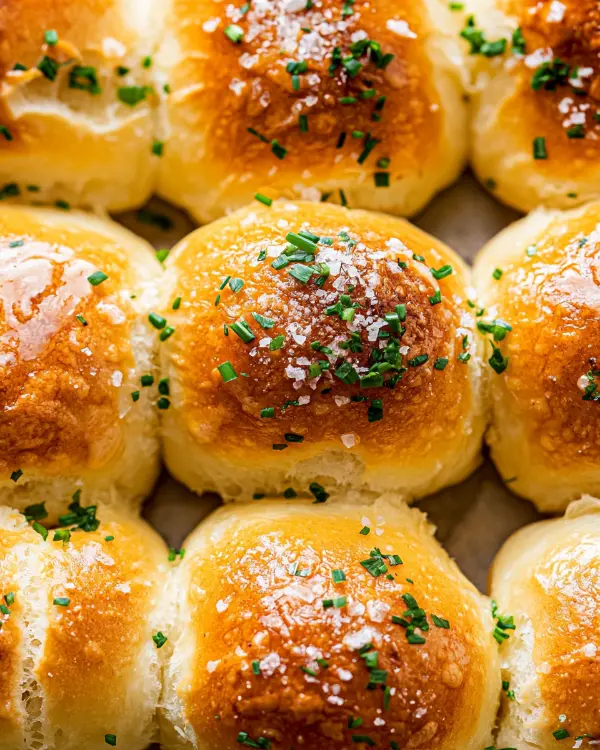
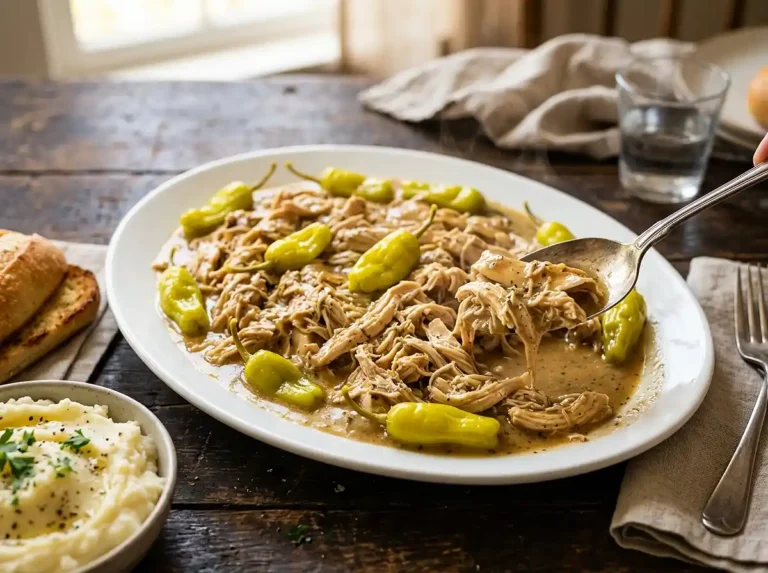
These Homemade Garlic Butter For Garlic Bread rolls are basically begging to be served alongside something cozy. I love them with Homestyle Chicken and Gravy, Creamy Mushroom Chicken, or a big bowl of Simple Crockpot Chicken Pot Pie. They’re also perfect for soaking up pasta sauce or alongside a big salad.
Storage: If you somehow manage not to eat these all at once (impressive self-control), store the garlic butter bread bolls in an airtight container at room temperature for up to 3 days.
Reheating: Wrap your garlic butter bread rolls in foil and warm in a 300°F oven for about 10 minutes. Or microwave for 15-20 seconds if you’re in a hurry.
Freezing: You can freeze baked rolls for up to 3 months. Just thaw at room temperature and reheat. Or freeze the shaped dough balls before the first rise, then thaw, rise, and bake when you’re ready.
This is the kind of recipe that makes you want to cook everything in sight. Lucky for you, the Quick Breads & Loaves collection is full of exactly that. Go explore and find your new go-to dish.
No-Waste Kitchen Magic
Let’s talk about making the most of every delicious bite:
Day-Old Rolls: Turn them into the most amazing garlic bread croutons. Just cube them up, toss with olive oil and herbs, and bake at 350°F until crispy. They’re perfect on salads or soups.
Extra Garlic Butter: That finishing butter is incredible on anything. Toss it with pasta, spread it on corn on the cob, or use it to make garlic toast.
Leftover Parsley: Chop it fine and freeze it in ice cube trays with a little olive oil. Pop one out anytime you need fresh herbs for cooking.
Stale Rolls: Make bread pudding (savory or sweet), or blitz them in a food processor for homemade breadcrumbs.
Garlic Butter Bread Rolls FAQs
Can I make the dough ahead of time?
Absolutely! You can mix the dough, do the first rise, shape the rolls, and refrigerate them overnight covered tightly. The next day, let your garlic butter bread rolls come to room temperature and rise until puffy (about 30-45 minutes), then bake as directed. Cold dough actually develops more flavor.
Can I freeze these Garlic Butter Bread Rolls?
Yep! Freeze the baked rolls in a freezer bag for up to 3 months. You can also freeze the dough balls after shaping — just add about 30 minutes to the rising time when you’re ready to bake, and maybe an extra minute or two in the oven.
What if I don’t have a stand mixer?
No problem! You can mix everything in a big bowl and knead by hand for about 12-15 minutes. It’s a bit of an arm workout, but totally doable. The dough should feel smooth and elastic when it’s ready.
Can I use active dry yeast instead of instant?
Sure can. Just bloom it first in the warm milk with the sugar for about 5 minutes until it’s foamy, then proceed with the recipe.
Why are my garlic butter bread rolls not as fluffy as yours?
The most common reason is not kneading long enough or the dough not rising enough. Make sure you’re giving that dough hook the full 10-12 minutes, and let the rolls rise until they’re truly doubled — don’t rush it.
How do I know when the garlic butter bread rolls are done?
They should be golden brown on top and sound slightly hollow when you tap them. An instant-read thermometer inserted in the center should read about 190°F if you want to be really precise.
Garlic Butter Bread Rolls Closing
So there you go — Garlic Butter Bread Rolls that taste like they came from a fancy bakery but are secretly so easy you could make them on a Tuesday. They’re fluffy, buttery, garlicky, and honestly just the kind of food that makes dinner feel special.
Whether you’re serving them at a holiday table or just making a random weeknight a little cozier, these rolls deliver every single time.
I’d love to hear how yours turn out! Drop a comment below, share a pic, or tag me if you post them on social. Happy baking, friend!
I’m Linda Sandra — a Charleston home chef and comfort-food daydreamer. Around here, cooking’s not about perfection — it’s about cozy vibes, creative twists, and food that feels like love.

Garlic Butter Bread Rolls
Equipment
- 9×13 inch baking pan
- Stand mixer with dough hook
- Small pot
- Kitchen scale
- Pastry brush
- Clean kitchen towel or plastic wrap
- Measuring cups and spoons
Ingredients
For the Rolls
- 4 ½ tablespoons unsalted butter
- 2 tablespoons minced garlic
- 3 ½ cups all-purpose flour plus 1 tablespoon
- 3 tablespoons chopped fresh parsley
- 1 tablespoon granulated sugar
- 2 ¼ teaspoons instant yeast
- 1 teaspoon fine sea salt
- 1 cup whole or 2% milk warmed to 110°F
- 1 large egg room temperature
- 1 beaten egg for brushing the tops
For the Garlic Butter
- 2 tablespoons unsalted butter
- 1 tablespoon minced garlic
- 1 tablespoon chopped fresh parsley
- pinch flaky sea salt for finishing
Instructions
- Lightly butter the bottom and sides of your 9×13 pan. Don’t skip this — nobody wants rolls that stick.
- In a small pot, melt those 4 1/2 tablespoons of butter over medium heat. Toss in the minced garlic and let it cook for about 1-2 minutes until it smells absolutely heavenly. Take it off the heat and let it cool while you get everything else ready.
- In your stand mixer bowl, combine the flour, parsley, sugar, yeast, and salt. Add the warmed milk (make sure it’s not too hot or you’ll kill the yeast), the egg, and that cooled garlic butter you just made. Attach your dough hook and let it knead on low speed for about 10-12 minutes. You’re looking for smooth, soft, and just slightly tacky. If it’s sticking to everything like it’s auditioning for a glue commercial, add a tablespoon of flour at a time until it behaves.
- Cut your dough into 12 equal pieces — this is where a kitchen scale comes in handy (about 67 grams each if you’re being precise). Roll each piece into a smooth ball by cupping your hand over it and moving in a circular motion. Pinch the bottom seam tight so it holds its shape, then place all 12 balls into your buttered pan.
- Cover the pan with plastic wrap or a clean kitchen towel and put it somewhere warm. Let those rolls rise until they’ve doubled in size — usually about 1-2 hours.
- Preheat your oven to 350°F. Brush the tops of your risen rolls with beaten egg (this gives them that gorgeous golden shine). Bake for 20-30 minutes, or until the tops are golden brown and your kitchen smells like pure joy.
- While the rolls are baking, make your finishing garlic butter. Melt 2 tablespoons of butter in a pot, add the garlic, and cook for 1-2 minutes. Stir in the parsley. The second those rolls come out of the oven, brush them generously with this garlic butter and sprinkle with flaky sea salt. Serve them warm and watch them disappear.